
使用vue +Cesium 开发目前也是主流,有两种方式开发,一种就是直接将cesium 安装包直接下载好,直接在index.html 中引入使用,和传统的html 方式一样直接使用;在多人开发的时候和我们项目开发完成后打包很是不方便,也是有点缺陷,这里我通过我使用的经验,将配置的方式给大家参考下;
这里使用开源的Cesium 1.9 版本
网站地址:Cesium: The Platform for 3D Geospatial
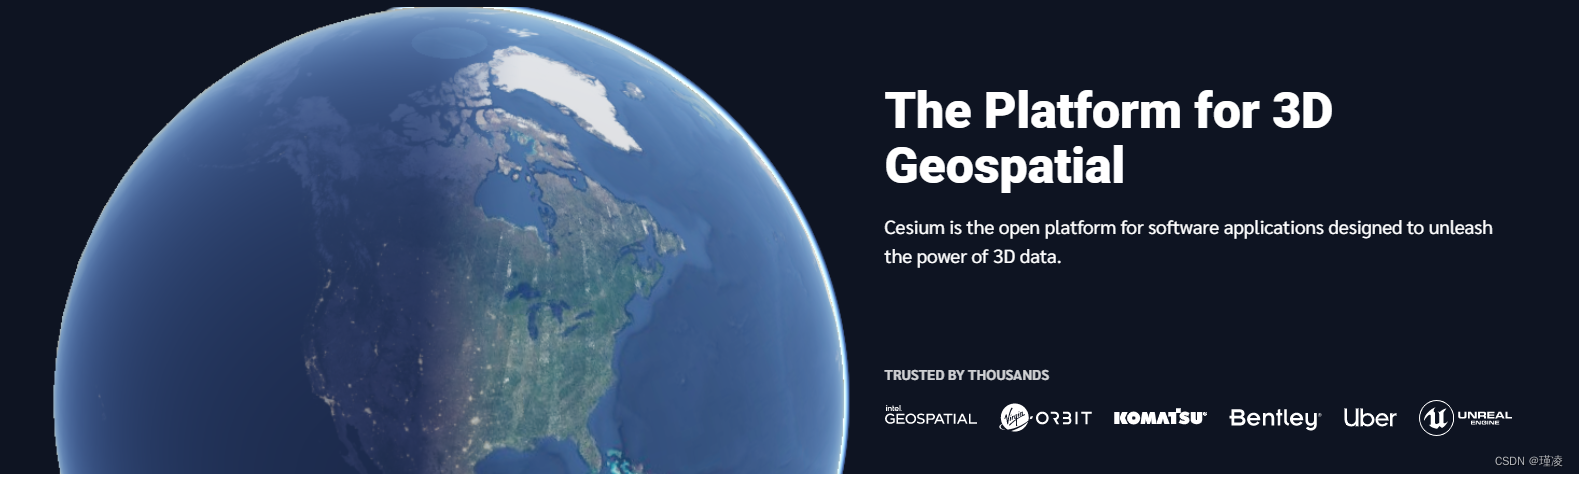
为何截取上面的图,容我再废话一行,如果刚刚使用这个框架,可能感触不深,或者如果使用很长一段时间,会发现我们cesium 目前和多个三维引擎以及游戏都开始融合了;接下来看配置:
创建vue 项目直接使用vue cli 脚手架方式直接创建就可以了,这里就不写了阿;
创建完成的vue 项目需要安装cesium npm 包:
npm install cesium;
安装后就开始进行配置:
1、vue.config.js 修改这里可能不同vue 版本创建方式没有:
const CopyWebpackPlugin = require('copy-webpack-plugin')
const webpack = require('webpack')
const path = require('path')

let cesiumSource = './node_modules/cesium/Source'
let cesiumWorkers = '../Build/Cesium/Workers'

module.exports = {
    // 基本路径  3.6之前的版本时 baseUrl
    publicPath: "./",
    // 输出文件目录
    outputDir: "dist",
    // eslint-loader 是否在保存的时候检查
    lintOnSave: false,
    // webpack-dev-server 相关配置
    devServer: {
        open: process.platform === "darwin",
        host: "0.0.0.0",
        port: 8088,
        https: false,
        hotOnly: false
    },
    configureWebpack: {
        output: {
            sourcePrefix: ' '
        },
        amd: {
            toUrlUndefined: true
        },
        resolve: {
            alias: {
                'vue$': 'vue/dist/vue.esm.js',
                '@': path.resolve('src'),
                'cesium': path.resolve(__dirname, cesiumSource)
            }
        },
        plugins: [
            new CopyWebpackPlugin([{ from: path.join(cesiumSource, cesiumWorkers), to: 'Workers' }]),
            new CopyWebpackPlugin([{ from: path.join(cesiumSource, 'Assets'), to: 'Assets' }]),
            new CopyWebpackPlugin([{ from: path.join(cesiumSource, 'Widgets'), to: 'Widgets' }]),
            new CopyWebpackPlugin([{ from: path.join(cesiumSource, 'ThirdParty/Workers'), to: 'ThirdParty/Workers' }]),
            new webpack.DefinePlugin({
                CESIUM_BASE_URL: JSON.stringify('./')
            })
        ],
        module: {
            unknownContextCritical: /^.\/.*$/,
            // eslint-disable-next-line no-dupe-keys
            unknownContextCritical: false
        }
    }
};
上面的文件可以直接复制,这里我就不贴图片,方便各位:
2、修改main.js

这里看红框部分即可,各位大佬大神就敲下阿;
3、 测试:直接修改了原有自带的helloworld 组件:
<template>
  <div class="hello">
    <div id="cesiumContainer"></div>
  </div>
</template>

<script>
export default {
  name: 'HelloWorld',
  mounted() {
    let Cesium = this.cesium
    let viewer = new Cesium.Viewer('cesiumContainer');
    viewer._cesiumWidget._creditContainer.style.display = "none";
  }
}
</script>
4、启动项目看见上面第一张球说明成功了;
5、麻烦各位大佬打开微信扫一扫关注一波,我会持续更新,更好的资源和工具在微信中:
凌vs云 公众号