apache(Web服务器):
Apache是世界使用排名第一的Web服务器软件。它可以运行在几乎所有广泛使用的计算机平台上,由于其跨平台和安全性被广泛使用,是最流行的Web服务器端软件之一。它快速、可靠并且可通过简单的API扩充,将Perl/Python等解释器编译到服务器中。同时Apache音译为阿帕奇,是北美印第安人的一个部落,叫阿帕奇族,在美国的西南部。也是一个基金会的名称、一种武装直升机等等。
Apacheweb服务器软件拥有以下特性:
Apache Server配置界面 Apache Server配置界面
1.支持最新的HTTP/1.1通信协议
2.拥有简单而强有力的基于文件的配置过程
3.支持通用网关接口
4.支持基于IP和基于域名的虚拟主机
5.支持多种方式的HTTP认证
6.集成Perl处理模块
7.集成代理服务器模块
8.支持实时监视服务器状态和定制服务器日志
9.支持服务器端包含指令(SSI)
10.支持安全Socket层(SSL)
11.提供用户会话过程的跟踪
12.支持FastCGI
13.通过第三方模块可以支持JavaServlets
阿帕奇的常规配置:
[root@localhost mnt]# yum install httpd -y 安装阿帕奇服务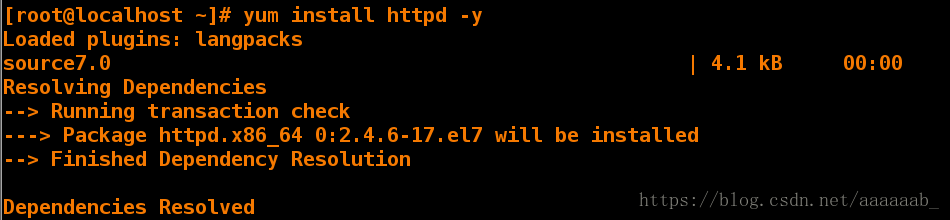
[root@localhost mnt]# systemctl start httpd 打开阿帕奇服务
[root@localhost html]# systemctl stop firewalld 关闭防火墙
[root@localhost mnt]# netstat -antlupe | grep httpd 查看端口
tcp6 0 0 :::80 :::* LISTEN 0 67447 4947/httpd
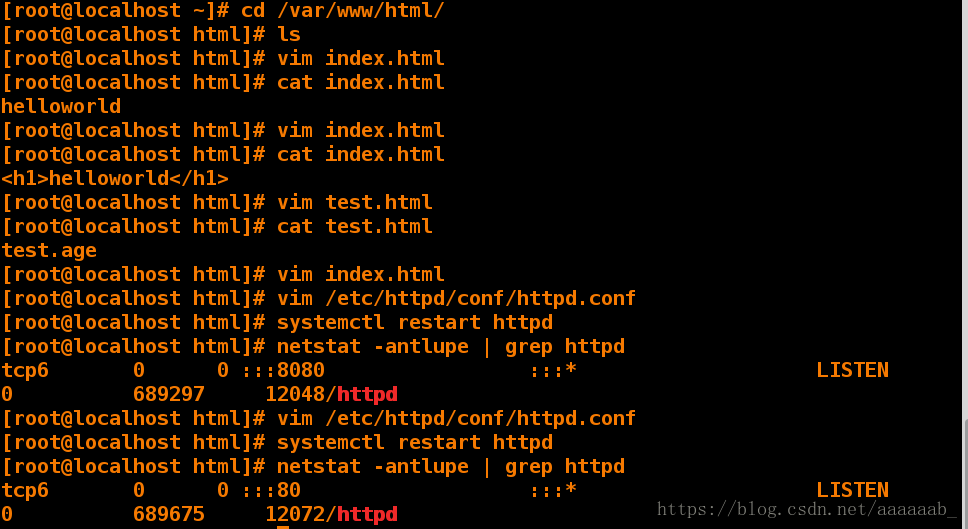
[root@localhost mnt]# cd /var/www/html/
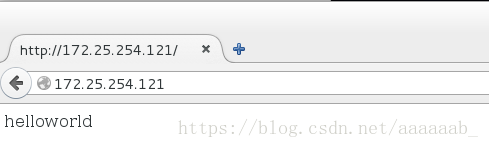
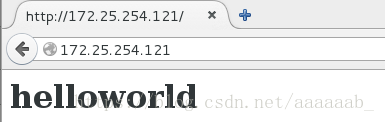
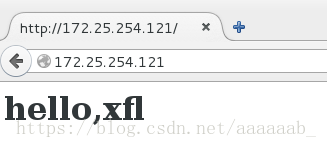
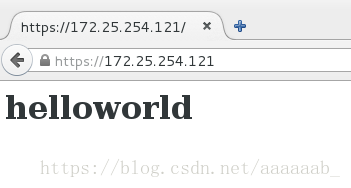
[root@localhost html]# vim index.html 在浏览器输入172.25.254.121查看
[root@localhost html]# vim index.html
[root@localhost html]# vim test.html
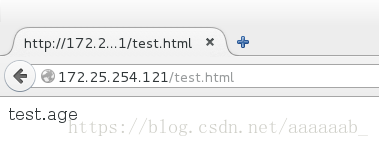
[root@localhost html]# cat test.html 加入绝对路径测试,输入172.25.254.121/test.html查看
test.age
1,修改默认端口:
[root@localhost html]# vim /etc/httpd/conf/httpd.conf 更改端口为8080
[root@localhost html]# systemctl restart httpd   重启httpd服务
[root@localhost html]# netstat -antlupe  | grep httpd  查看端口
tcp6 0 0 :::8080 :::* LISTEN 0 70526 5159/httpd 
[root@localhost html]# vim /etc/httpd/conf/httpd.conf  将端口改回来
[root@localhost html]# systemctl restart httpd    重启服务
[root@localhost html]# netstat -antlupe  | grep httpd   查看端口
tcp6 0 0 :::80 :::* LISTEN 0 70936 5198/httpd 
操作演示:
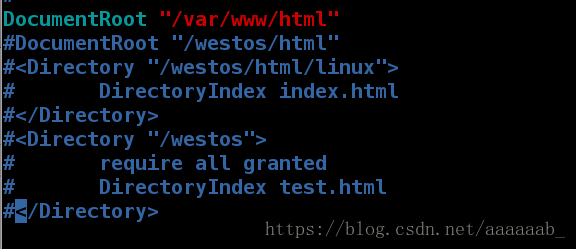
2, 修改默认发布目录:
[root@localhost html]# mkdir /haha/html -p
[root@localhost html]# cd /haha/html/
[root@localhost html]# vim index.html编辑默认发布文件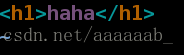
[root@localhost html]# vim /etc/httpd/conf/httpd.conf 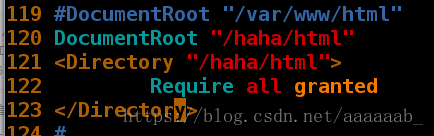
[root@localhost html]# systemctl restart httpd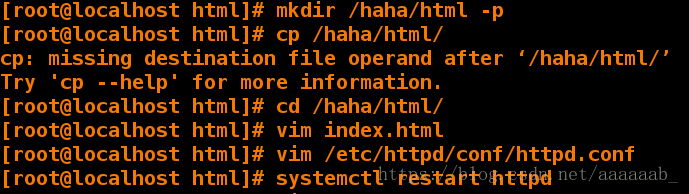
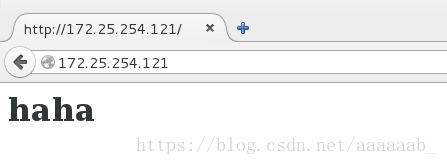
在浏览器测试:
3,修改默认发布文件:
[root@localhost html]# vim xfl.html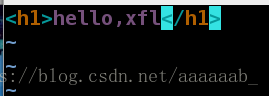
[root@localhost html]# vim /etc/httpd/conf/httpd.conf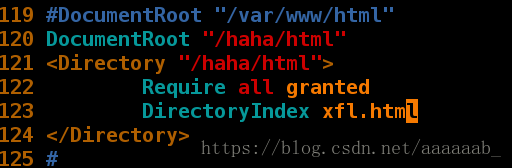
[root@localhost html]# systemctl restart httpd
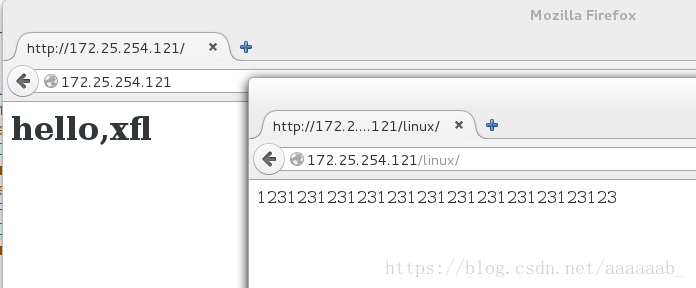
在浏览器测试:
4、添加发布目录及文件:
[root@localhost html]# mkdir linux/
[root@localhost html]# ls
index.html  linux  xfl.html
[root@localhost html]# cd linux/
[root@localhost linux]# ls
[root@localhost linux]# vim index.html
[root@localhost linux]# vim /etc/httpd/conf/httpd.conf
#将/haha/html下的目录/linux也设置为可访问的目录以及里面的文件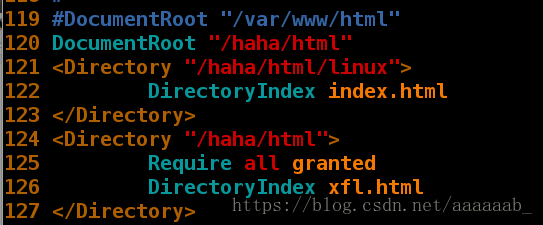
[root@localhost linux]# systemctl restart httpd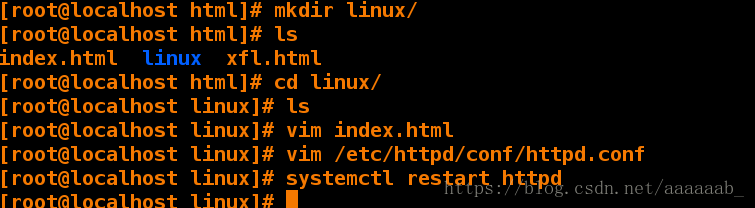
在浏览器测试:
基于IP的用户认证:
[root@localhost westos]# cd /etc/httpd/
[root@localhost httpd]# ls
conf  conf.d  conf.modules.d  logs  modules  run
[root@localhost httpd]# htpasswd -cm apacheuser admin  建立用户
New password:
Re-type new password:
Adding password for user admin
[root@localhost httpd]# cat apacheuser
admin:$apr1$/s.CSA09$.aDX.Tcgl8V7zKSDjjqqF0
[root@localhost httpd]# htpasswd -cm apacheuser tom    再次加入参数c会覆盖原来的
New password:
Re-type new password:
Adding password for user tom
[root@localhost httpd]# cat apacheuser
tom:$apr1$i4qTag3h$N6tq1/im23Go00jq/.jpS1
[root@localhost httpd]# htpasswd -m apacheuser admin
New password:
Re-type new password:
Adding password for user admin
[root@localhost httpd]# cat apacheuser   查看建立的用户
tom:$apr1$i4qTag3h$N6tq1/im23Go00jq/.jpS1
admin:$apr1$tN60p7ht$H7iL10QCHKCL.QAfrsiIf.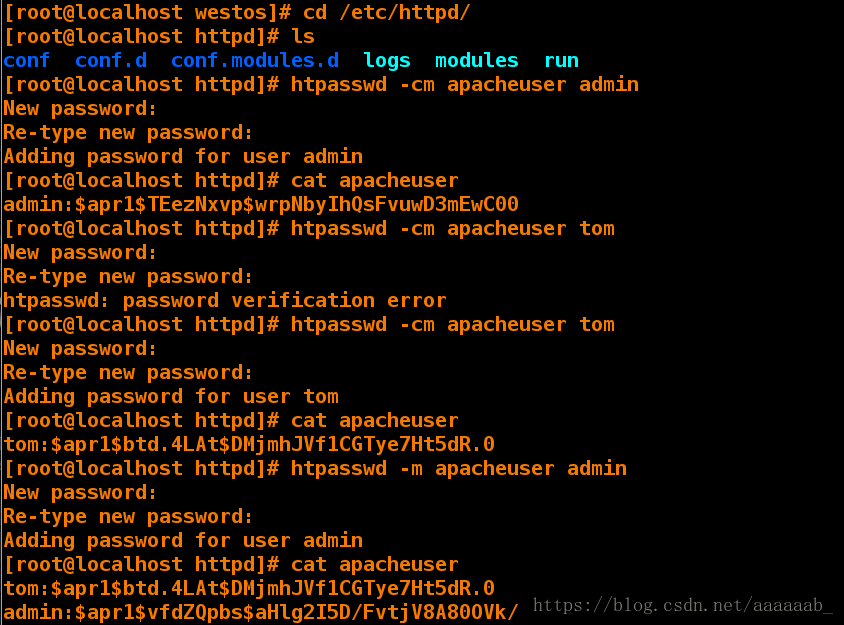
[root@localhost httpd]# vim /etc/httpd/conf/httpd.conf 设定admin用户
[root@localhost httpd]# systemctl restart httpd 用浏览器查看时需要登陆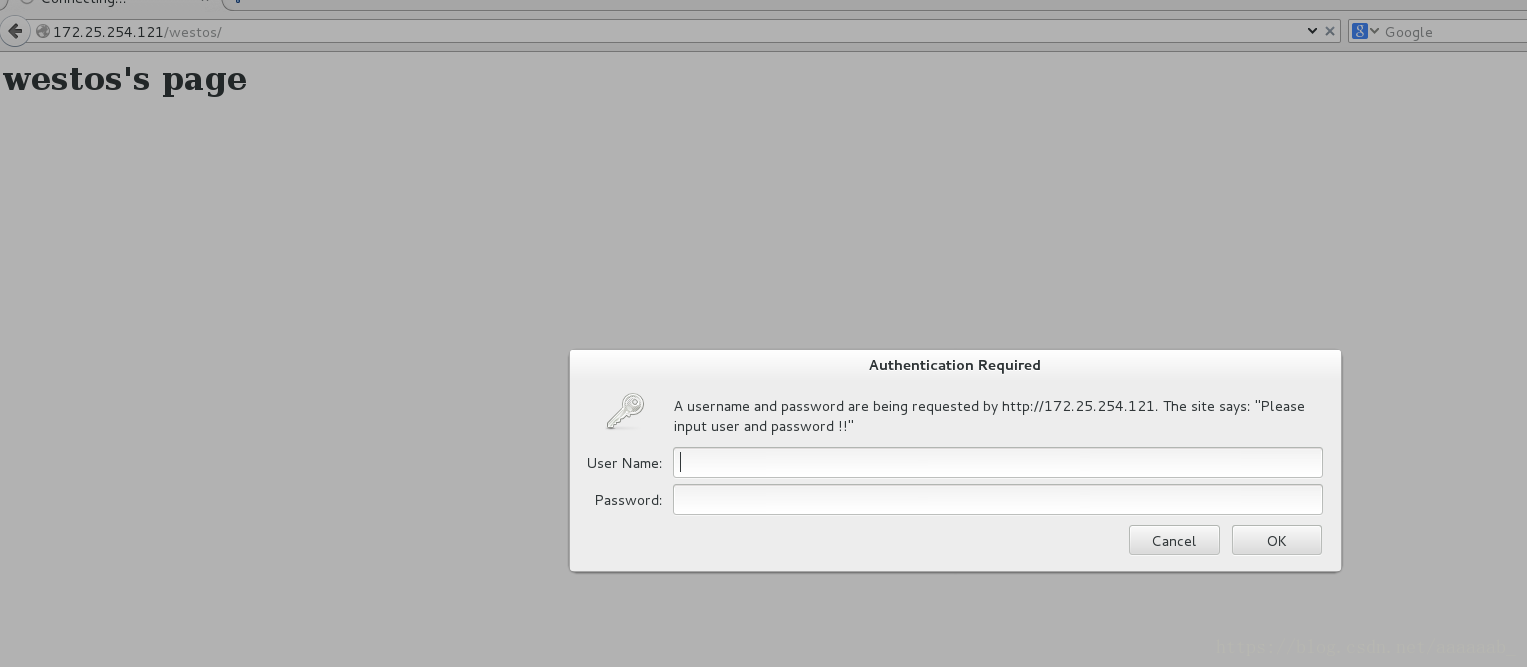
登陆admin用户:
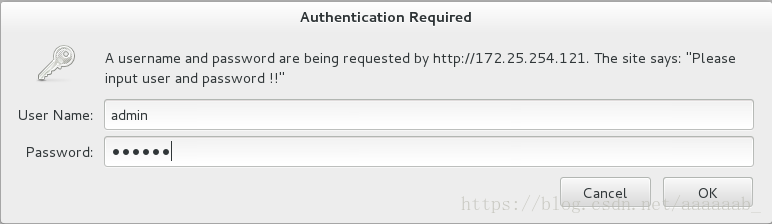
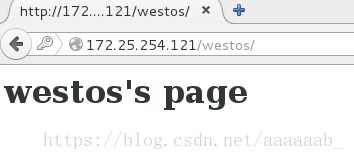
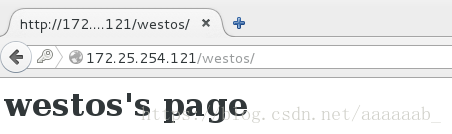
可以查看:
[root@localhost httpd]# vim /etc/httpd/conf/httpd.conf 设定建立的所有用户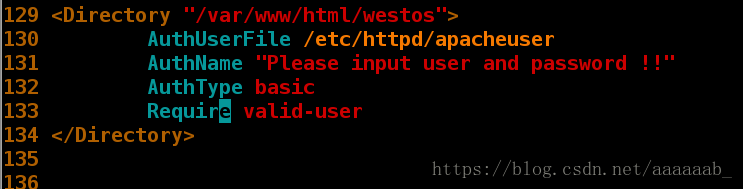
[root@localhost httpd]# systemctl restart httpd 用浏览器查看进行测试之前建立的tom用户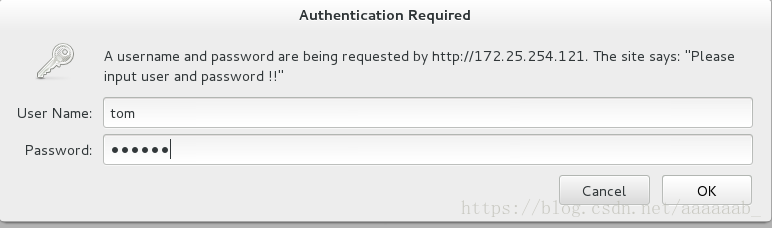
可以查看:
基于用户的访问认证:
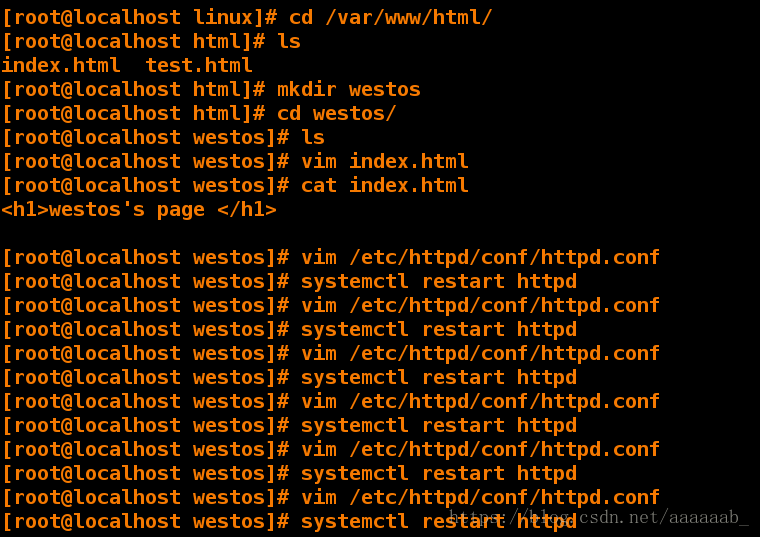
[root@localhost ~]# cd /var/www/html
[root@localhost html]# ls
index.html test.html
[root@localhost html]# mkdir westos 建立目录
[root@localhost html]# ls
index.html test.html westos
[root@localhost html]# cd westos/
[root@localhost westos]# ls
[root@localhost westos]# vim index.html 建立文件进行测试
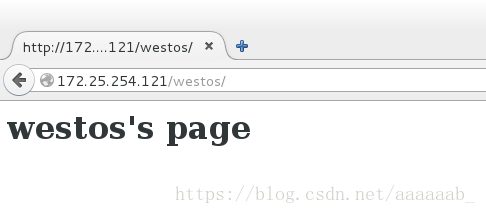
[root@localhost westos]# cat index.html
<h1>westos's page </h1>
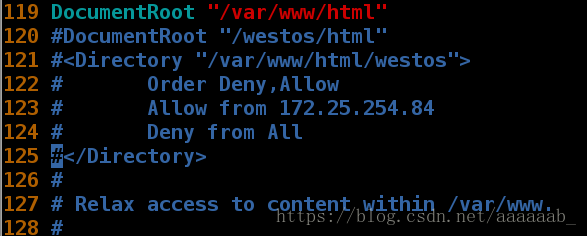
[root@localhost westos]# vim /etc/httpd/conf/httpd.conf
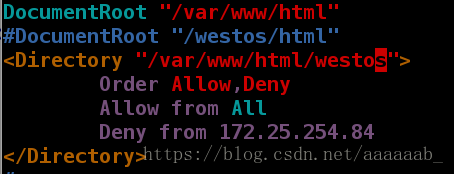
<Directory "/var/www/html/westos">
122 Order Allow,Deny Allow在前先读取Allow
123 Allow from All
124 Deny from 172.25.254.84 Deny会覆盖Allow,意味着仅仅172.25.254.84的主机不可以查看,也就是我的真机IP进行测试
125 </Directory>首先将原来写入的文件注释掉:
配置黑名单:
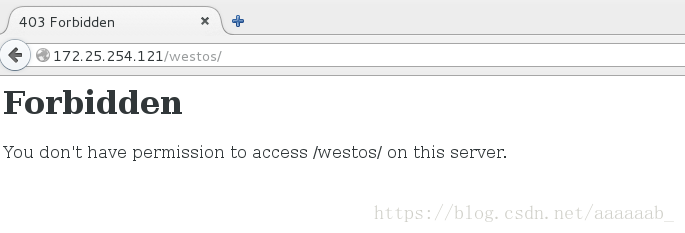
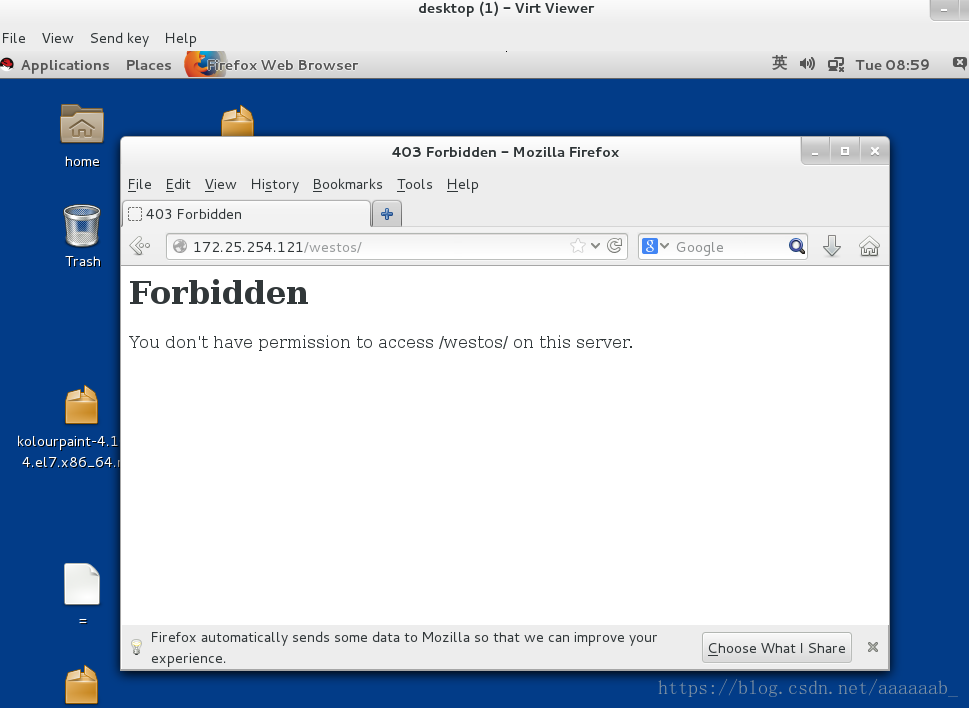
[root@localhost westos]# systemctl restart httpd 在浏览器测试172.25.254.121/westos/真机在黑名单里面不允许查看:
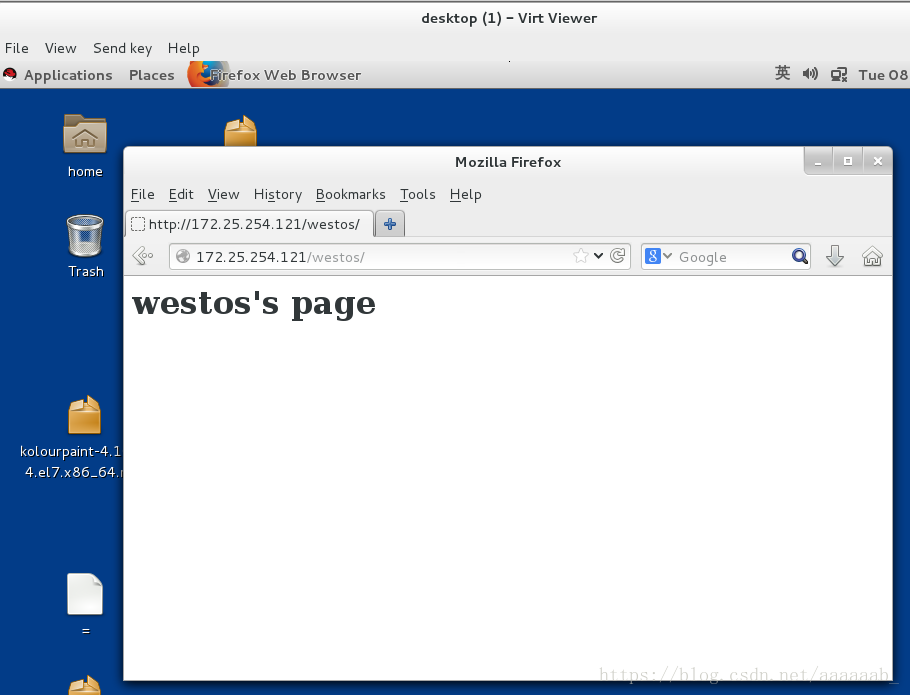
虚拟机不在黑名单可以查看:
[root@localhost westos]# vim /etc/httpd/conf/httpd.conf  配置白名单
<Directory "/var/www/html/westos">
        Order Deny,Allow  Deny在前先读取Deny
        Allow from 172.25.254.84
        Deny from All   意味着仅仅172.25.254.84可以查看文件内容
</Directory>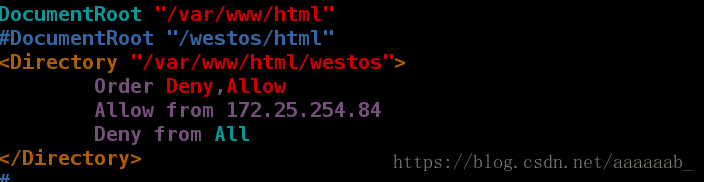
[root@localhost westos]# systemctl restart httpd
[root@localhost westos]# vim /etc/httpd/conf/httpd.conf  白名单在真机和虚拟机浏览器进行效果查看
真机在白名单可以查看:
虚拟机不在白名单不可以查看文件内容:
恢复实验环境:
操作演示:
虚拟主机设置:
在真机添加解析,因为在真机测试,浏览器在那儿就在那儿写解析:
[root@foundation21 ~]# vim /etc/hosts 编辑配置文件
[root@foundation21 ~]# cat /etc/hosts 添加解析
127.0.0.1   localhost localhost.localdomain localhost4 localhost4.localdomain4
::1         localhost localhost.localdomain localhost6 localhost6.localdomain6
172.25.254.250 content.example.com
172.25.254.121 www.westos.com news.westos.com music.westos.com login.westos.com
在虚拟机配置文件:
[root@localhost httpd]# cd /etc/httpd
[root@localhost httpd]# ls
apacheuser  conf  conf.d  conf.modules.d  logs  modules  run
[root@localhost httpd]# cd conf.d/
[root@localhost conf.d]# ls
autoindex.conf  README  userdir.conf  welcome.conf
[root@localhost conf.d]# vim default.conf 设定配置文件
[root@localhost conf.d]# mkdir /var/www/virtual/westos.com/news/ -p   建立两个目录
[root@localhost conf.d]# mkdir /var/www/virtual/westos.com/music/ -p
[root@localhost conf.d]# vim /var/www/virtual/westos.com/news/index.html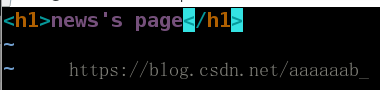
[root@localhost conf.d]# vim /var/www/virtual/westos.com/music/index.html
[root@localhost conf.d]# vim news.conf 配置文件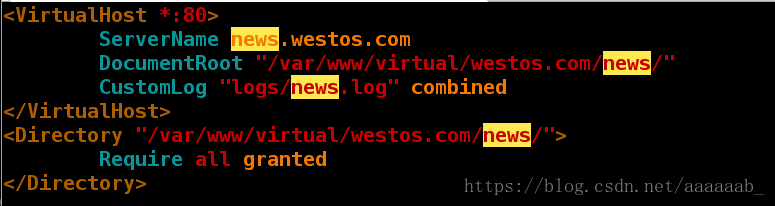
[root@localhost conf.d]# cp news.conf music.conf  使用:%s/news/music/g替换文件
[root@localhost conf.d]# vim music.conf 配置文件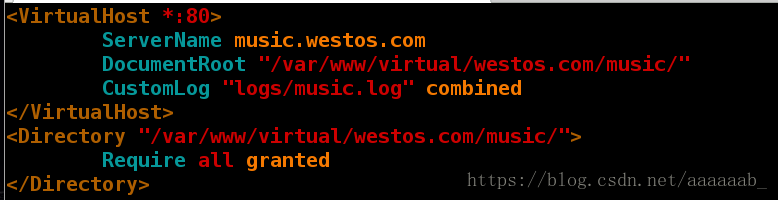
[root@localhost conf.d]# systemctl restart httpd
[root@localhost conf.d]# ls
autoindex.conf  music.conf  README        welcome.conf
default.conf    news.conf   userdir.conf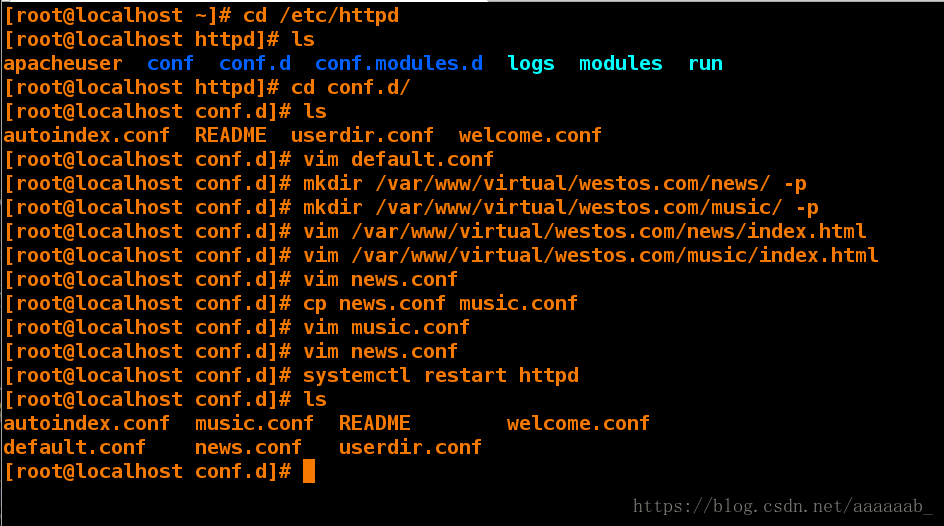
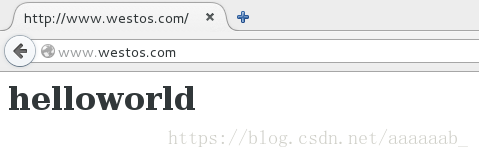
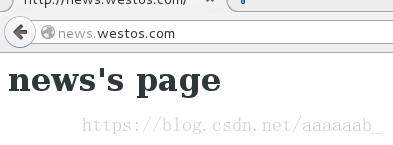
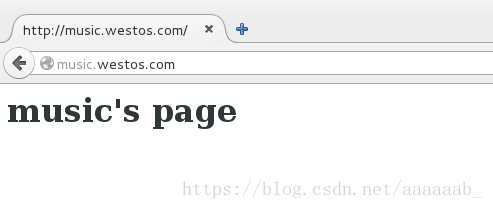
在浏览器分别测试会出现不同的效果:
1.www.westos.com
2.news.wests.com
3.music.westos.com
简述HTTPS和HTTP区别:
HTTPS是以安全为目标的HTTP通道,简单讲是HTTP的安全版。https协议需要到ca申请证书,一般免费证书很少,需要交费。而http是超文本传输协议,信息是明文传输,https 则是具有安全性的ssl加密传输协议http和https使用的是完全不同的连接方式用的端口也不一样,前者是80,后者是443。http的连接很简单,是无状态的。HTTPS协议是由SSL+HTTP协议构建的可进行加密传输、身份认证的网络协议 要比http协议安全。
安装证书及其私钥:
[root@localhost conf.d]# yum install mod_ssl.x86_64 -y 安装服务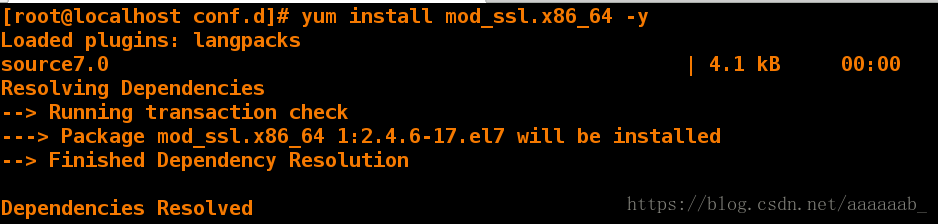
[root@localhost conf.d]# ls /etc/httpd/conf.d/
autoindex.conf  music.conf  README    userdir.conf
default.conf    news.conf   ssl.conf  welcome.conf
[root@localhost conf.d]# systemctl restart httpd   重启服务
[root@localhost conf.d]# yum install crypto-utils.x86_64 -y  安装私钥
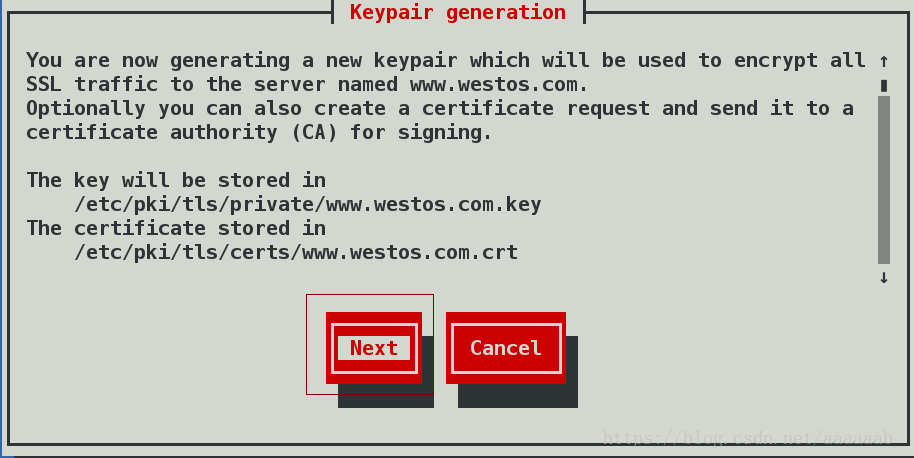
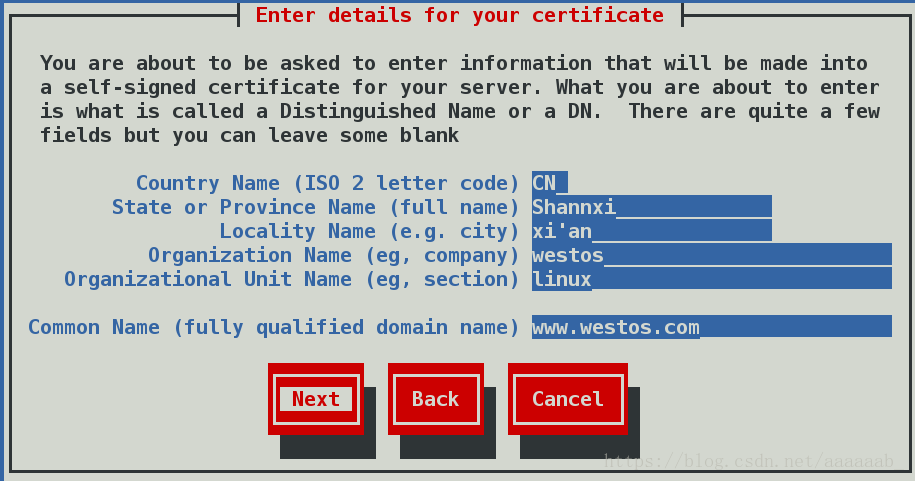
[root@localhost conf.d]# genkey www.westos.com 进入图形化界面,第二次加载得敲击键盘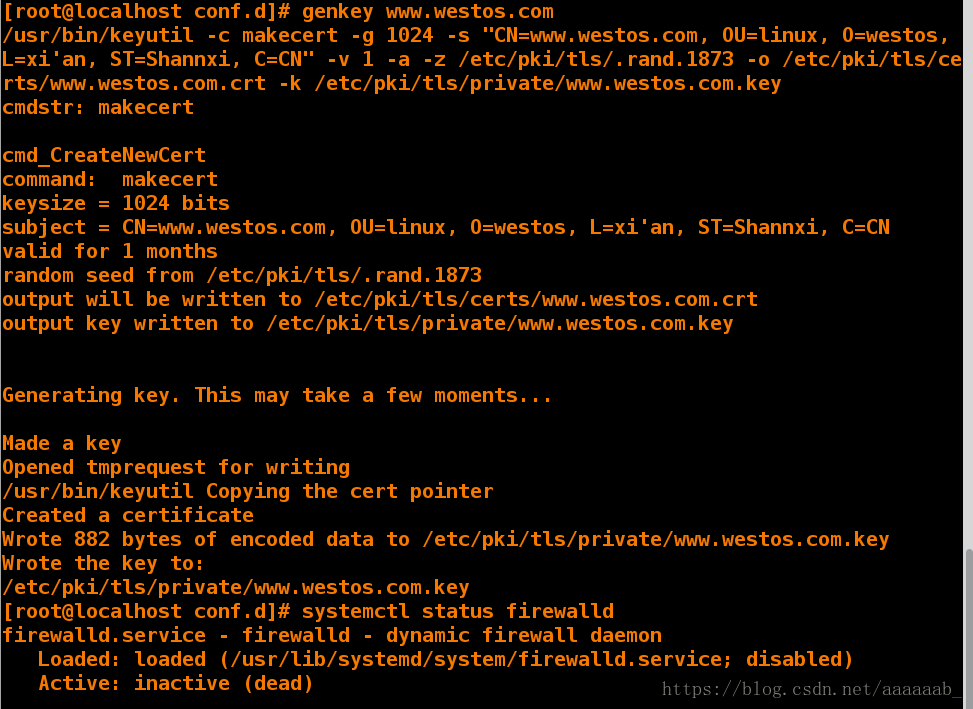
output will be written to /etc/pki/tls/certs/www.westos.com.crt  替换主配置文件
output key written to /etc/pki/tls/private/www.westos.com.key    替换主配置文件
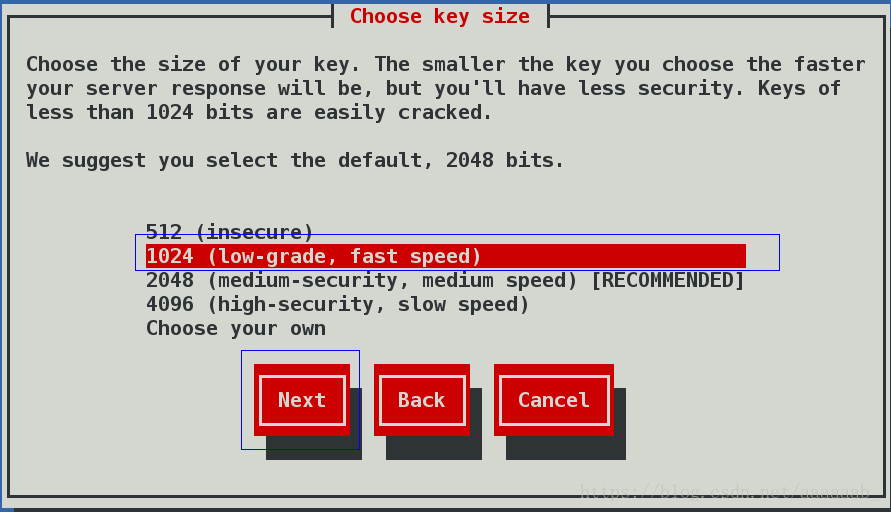
选取安装密钥大小:
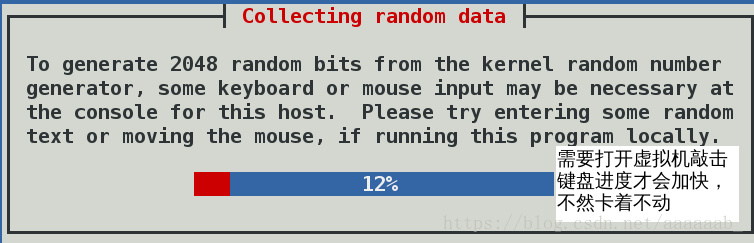
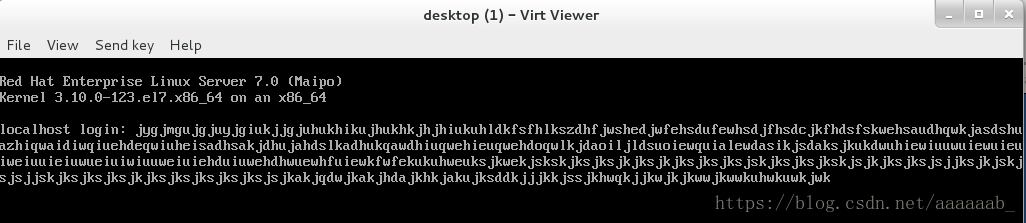
进入虚拟机敲击键盘,不然会一直卡着:
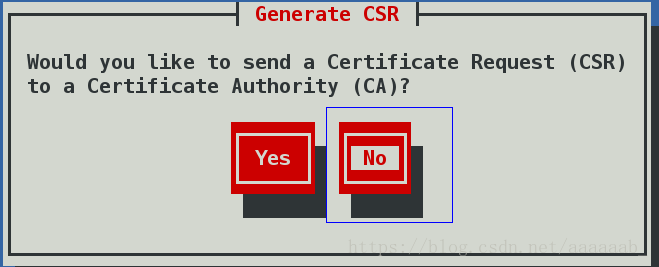
询问是否发送一个证书请求到证书当局,点击NO
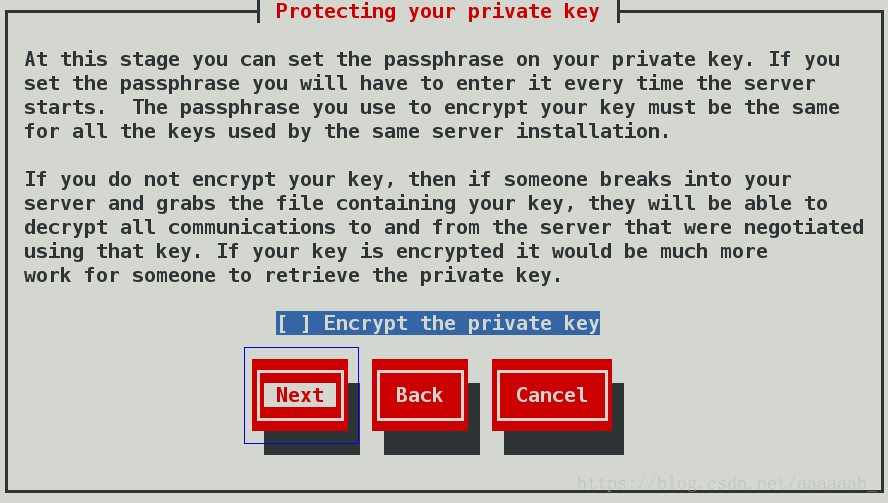
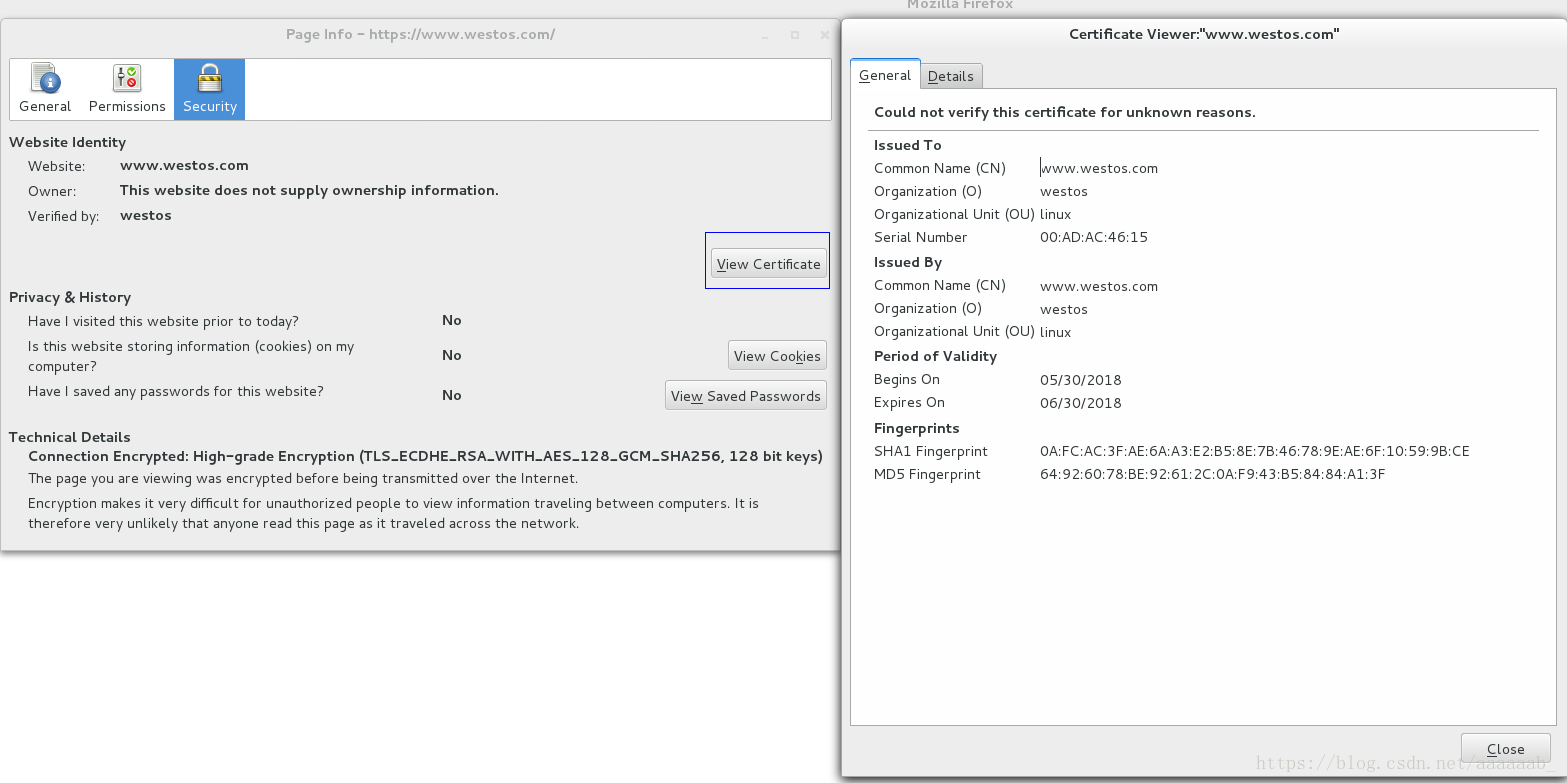
配置自己的证书:
用另外一台主机原因是方便替换配置文件,其实都是连接的一个虚拟机:
[root@foundation84 ~]# ssh [email protected]
root@172.25.254.221's password:
Last login: Sat May 26 21:32:23 2018
[root@localhost ~]# cd /etc/httpd/conf.d/
[root@localhost conf.d]# ls
autoindex.conf  music.conf  README    tmprequest    welcome.conf
default.conf    news.conf   ssl.conf  userdir.conf
[root@localhost conf.d]# vim ssl.conf 查看主配置文件进行替换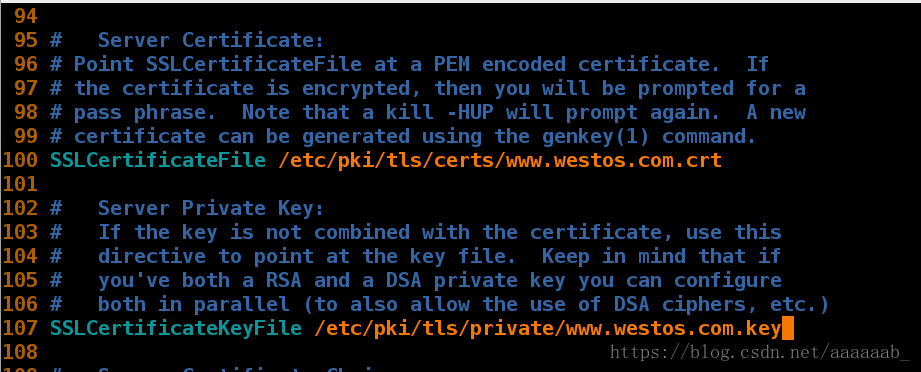
[root@localhost conf.d]# systemctl restart httpd 重启服务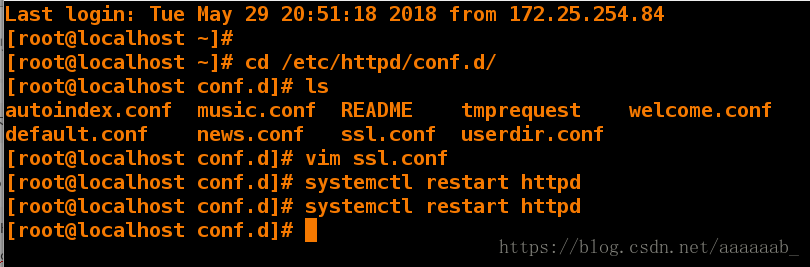
在浏览器中测试https://www.westos.com进会进入下载证书界面:
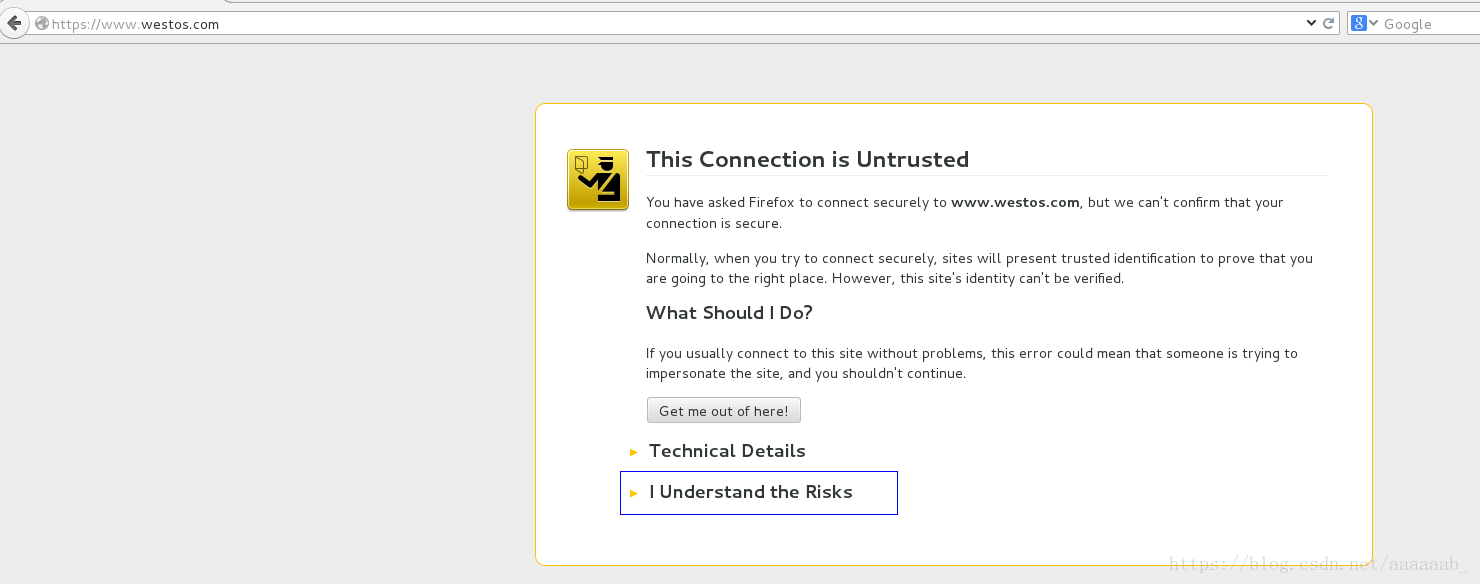
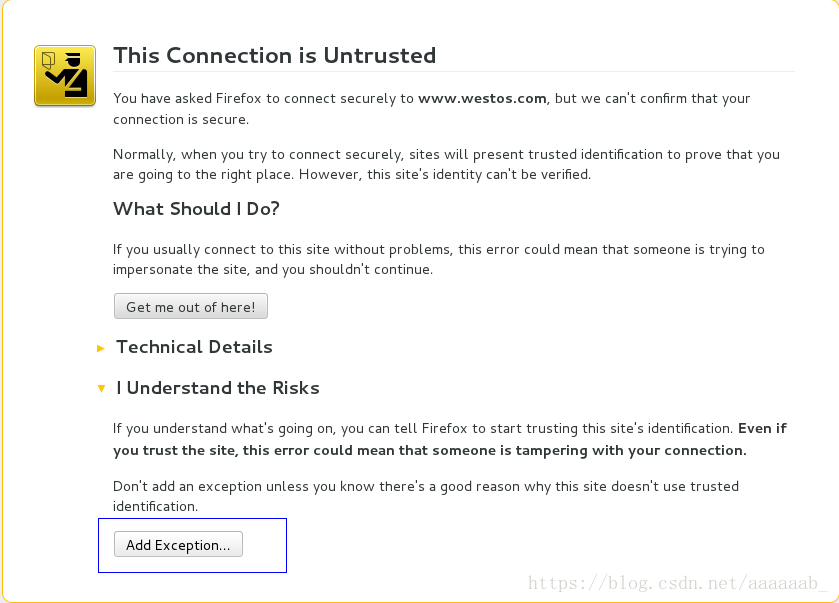
下载证书:
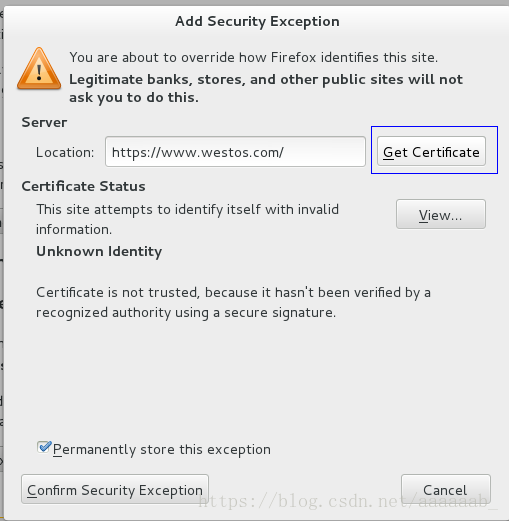
展示证书:
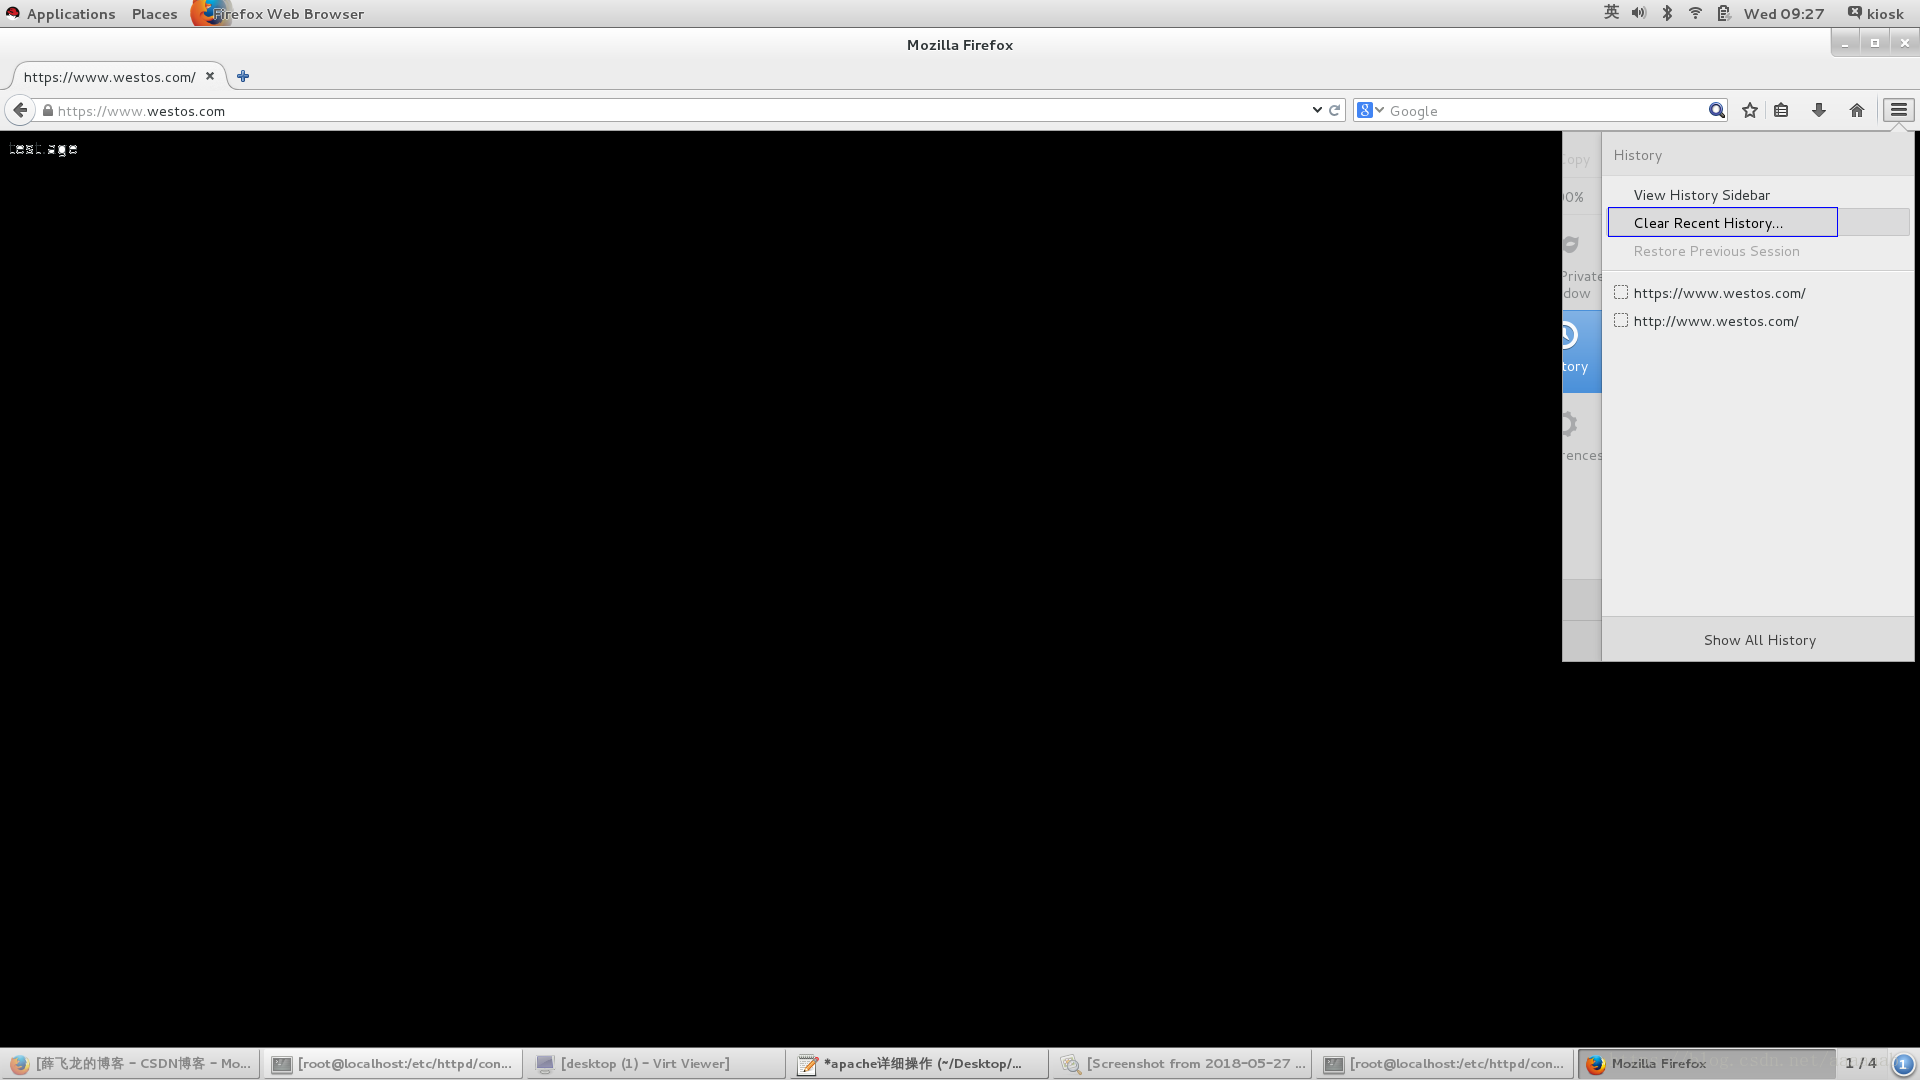
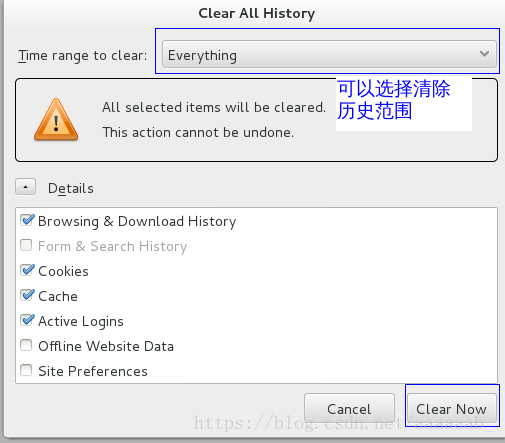
清楚网页缓存历史的步骤,方便进行实验演示:
网页重写:
在真机添加解析,加入login解析:
[root@foundation21 ~]# vim /etc/hosts 加入login解析
在虚拟机:
[root@localhost conf.d]# ls
autoindex.conf  music.conf  README    tmprequest    welcome.conf
default.conf    news.conf   ssl.conf  userdir.conf
[root@localhost conf.d]# cp news.conf login.conf
[root@localhost conf.d]# vim login.conf  编辑login配置文件
[root@localhost conf.d]# systemctl restart httpd
[root@localhost conf.d]# mkdir -p /var/www/virtual/westos.com/login/
[root@localhost conf.d]# vim /var/www/virtual/westos.com/login/index.html
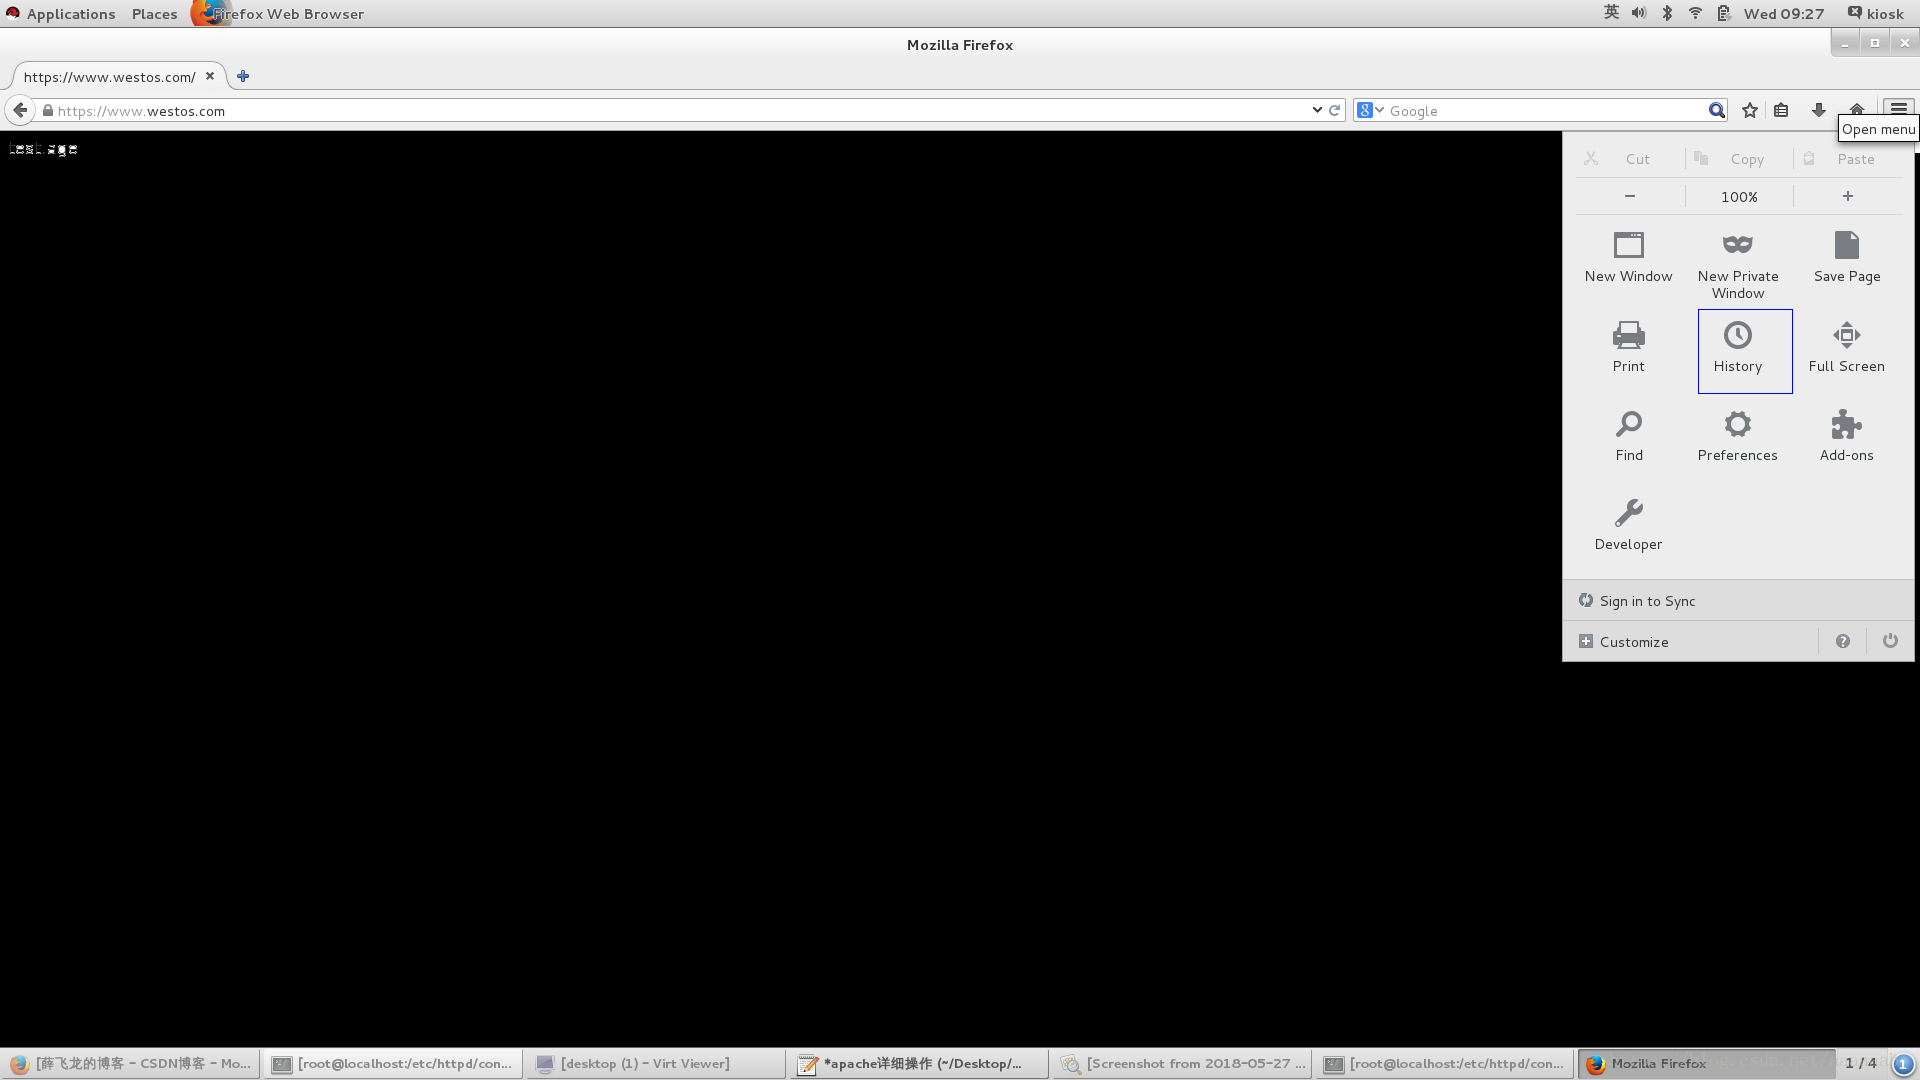
在浏览器测试是得点击下载证书就会出现自己所写的内容:

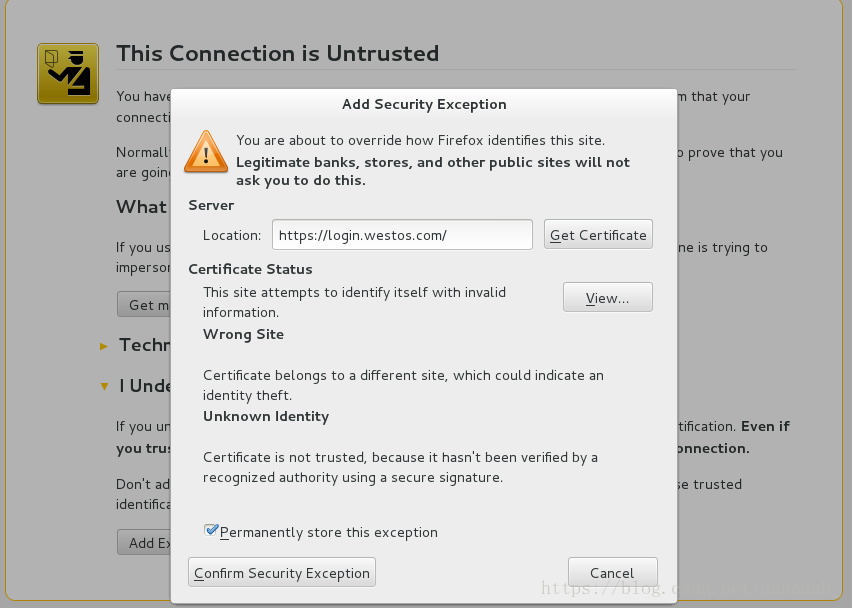
当输入login.westos.com会自动跳转到https加密方式。

简述CGI和PHP语言:
CGI是通用网关协议,是开发动态网页的一个标准,遵循这个标准就可以用BAT、CMD、sh、PERL、C、C++、PERL以及PHP等语言编写程序处理网页请求和返回数据到客户端浏览器。CGI是协议和标准,是一种规范,不是语言。
PHP是一个动态网页开发语言,主要用于处理浏览器提交的数据以及返回结果给浏览器。PHP可以以CGI方式工作,也可以以ISAPI、NSAPI等模块方式工作。
PHP语言支持:
一开始在浏览器输入172.25.254.221查询到Hello world
[root@localhost conf.d]# cd /var/www/html/
[root@localhost html]# ls
index.html  test.html  westos
[root@localhost html]# vim index.php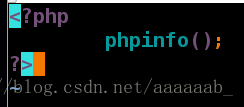
[root@localhost html]# cd /etc/httpd/conf.d/
[root@localhost conf.d]# ls
autoindex.conf  login.conf  news.conf  ssl.conf    userdir.conf
default.conf    music.conf  README     tmprequest  welcome.conf
[root@localhost conf.d]# vim /etc/httpd/conf/httpd.conf 编辑改变默认访问顺序
[root@localhost conf.d]# systemctl restart httpd 重启服务进去浏览器查看为空白
[root@localhost conf.d]# yum install php -y  安装PHP
[root@localhost conf.d]# systemctl restart httpd  重启服务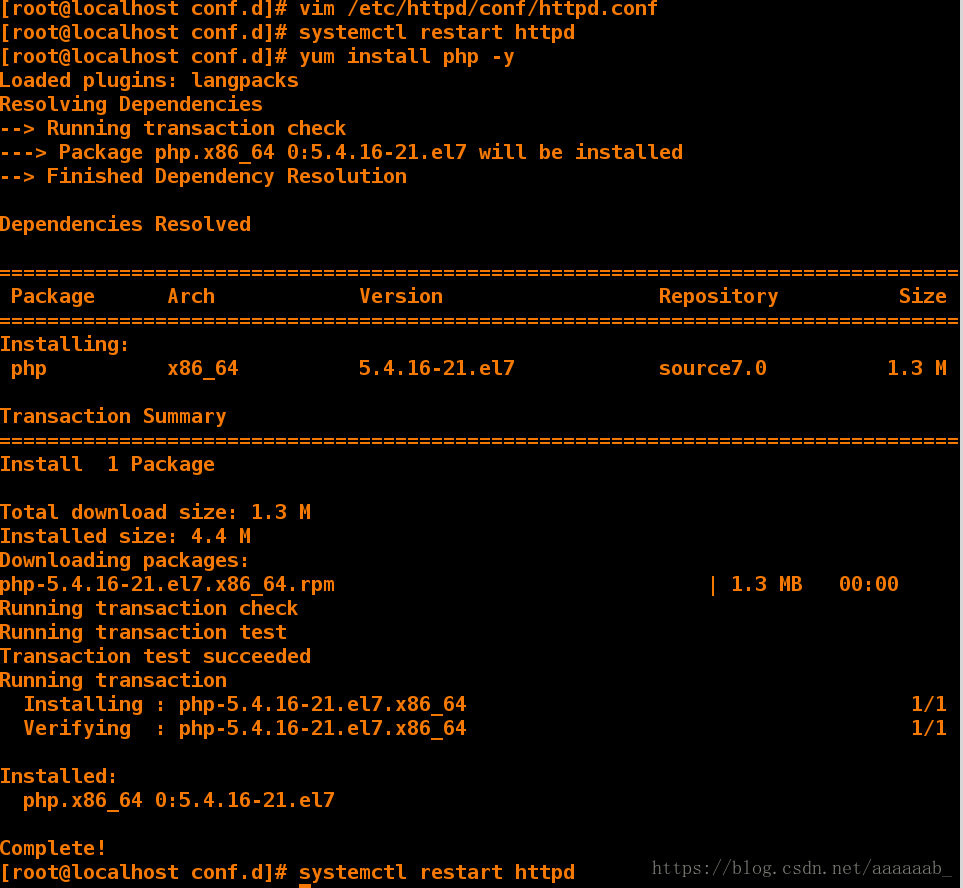
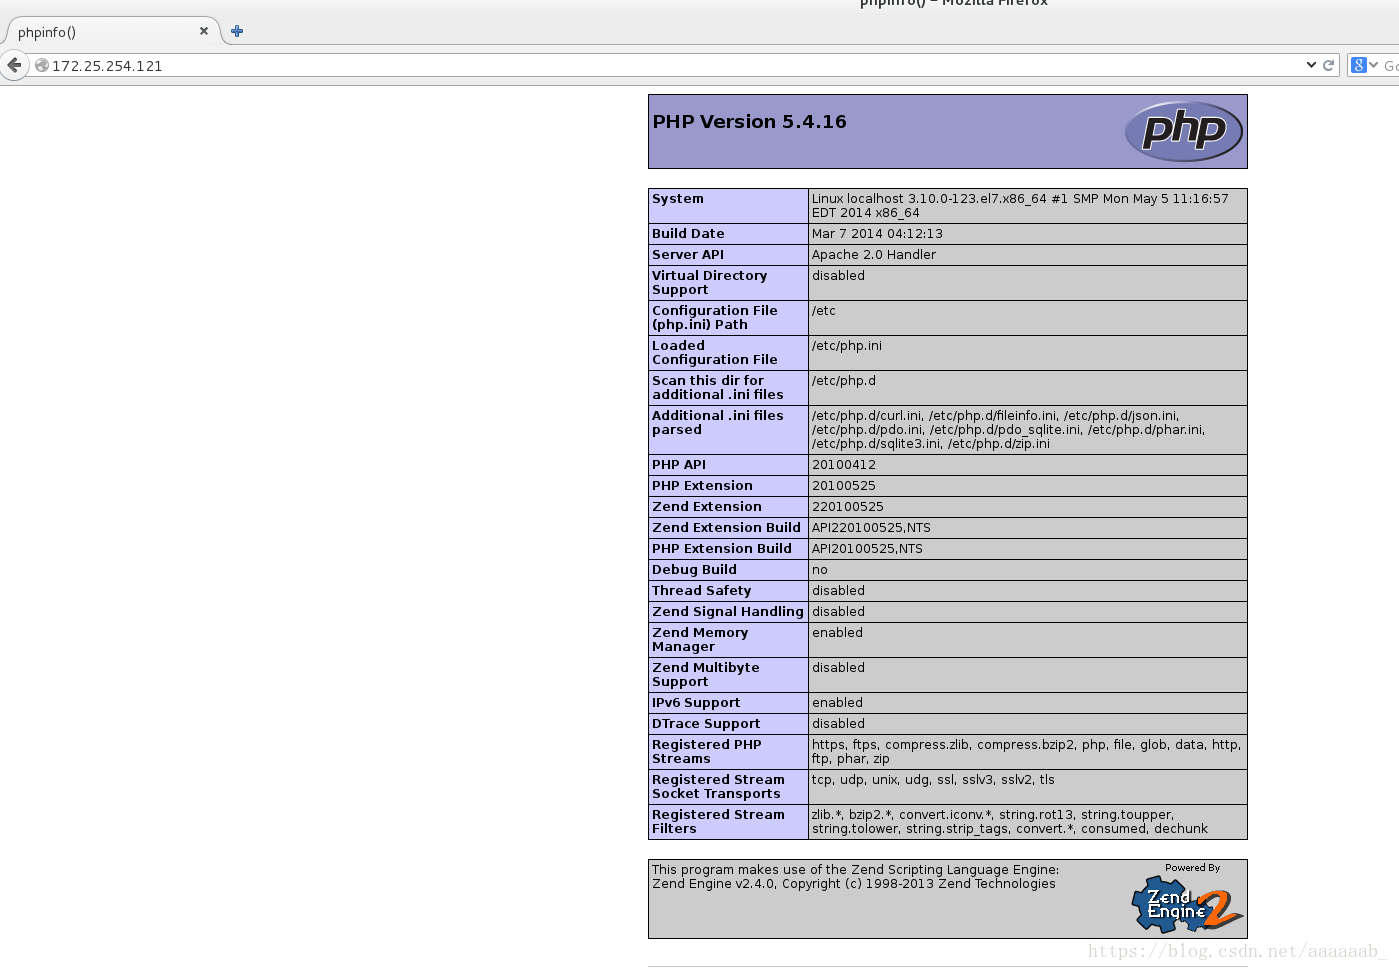
安装之后在网页测试就可以看到PHP界面:
CGI语言支持:
[root@localhost conf.d]# cd /var/www/html/
[root@localhost html]# ls
index.html  index.php  test.html  westos
[root@localhost html]# mkdir cgi
[root@localhost html]# ls
cgi  index.html  index.php  test.html  westos
[root@localhost html]# vim cgi/index.cgi  编辑CGI配置文件
[root@localhost html]# chmod +x cgi/index.cgi   增加权限
[root@localhost html]# systemctl restart httpd  重启服务
[root@localhost html]# ./cgi/index.cgi  运行脚本
Content-type: text/html

Tue May 29 23:02:38 EDT 2018进入浏览器输入172.25.254.121/cgi/index.cgi就会出现文件内容而不执行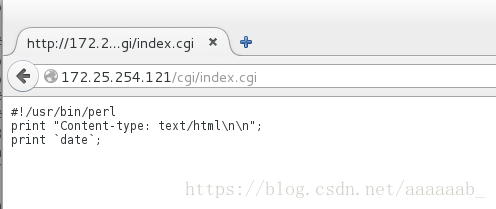
[root@localhost html]# ls
cgi  index.html  index.php  test.html  westos
[root@localhost html]# cd /etc/httpd/conf.d/
[root@localhost conf.d]# ls
autoindex.conf  login.conf  news.conf  README    tmprequest    welcome.conf
default.conf    music.conf  php.conf   ssl.conf  userdir.conf
[root@localhost conf.d]# vim default.conf 编辑配置文件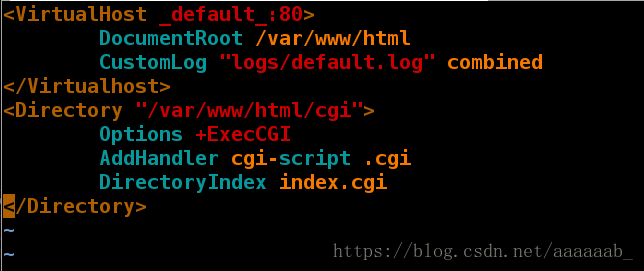
[root@localhost conf.d]# systemctl restart httpd重启服务
进去浏览器输入172.25.254.121/cgi/index.cgi就会自动运行脚本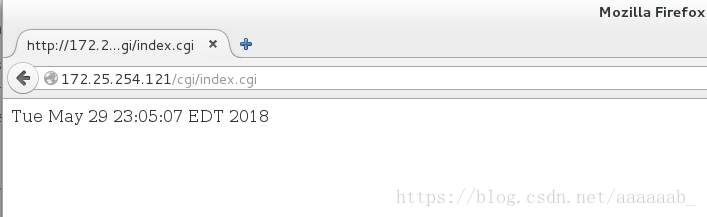
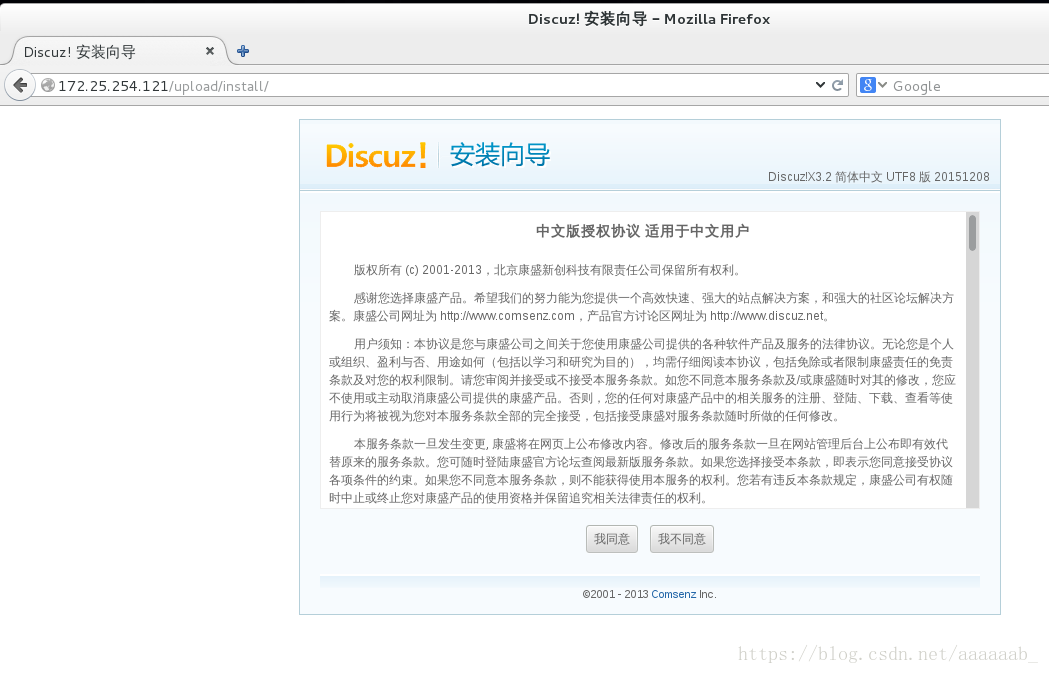
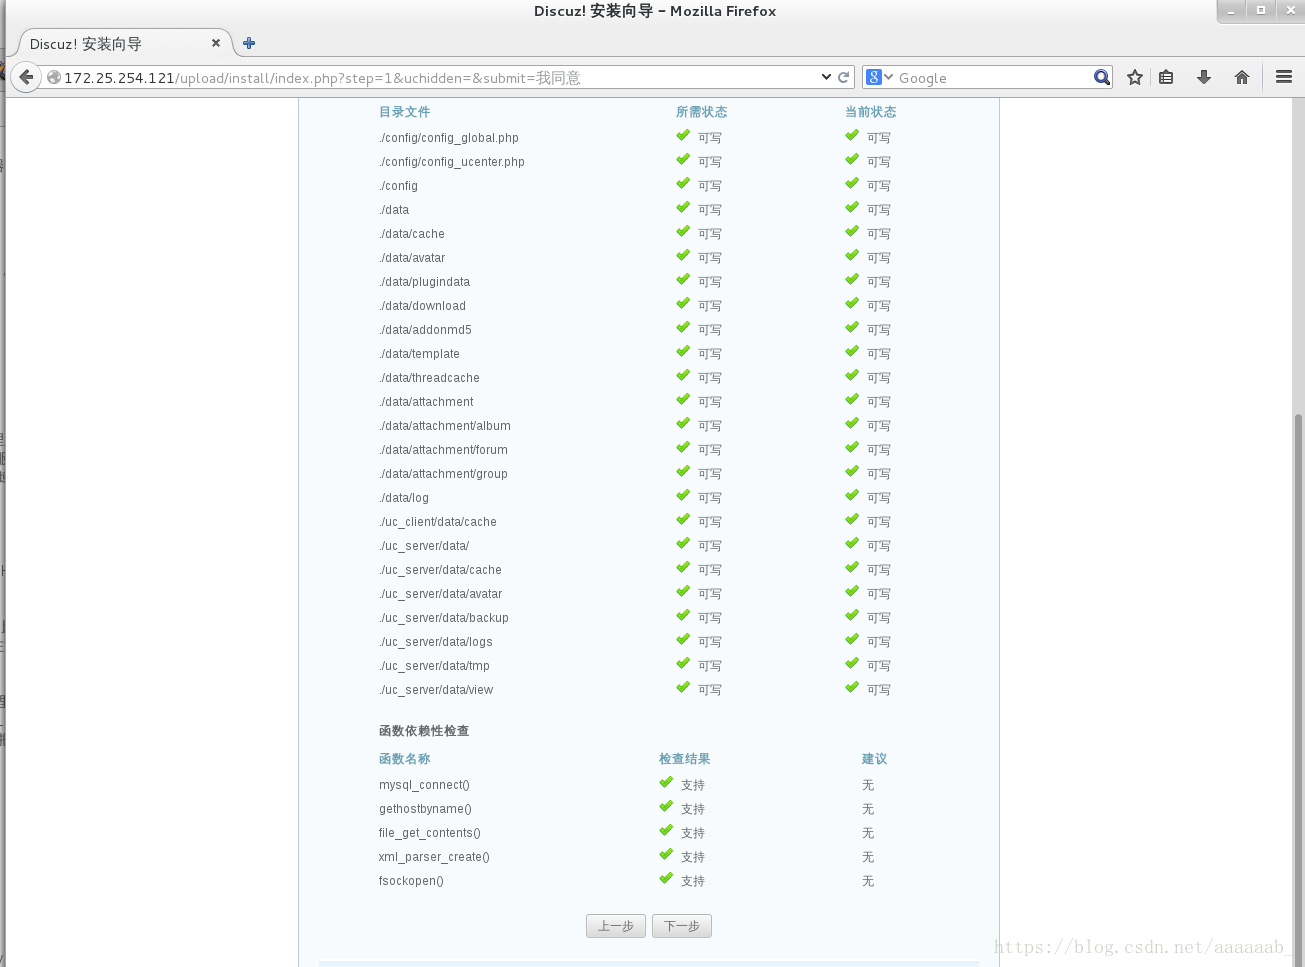
创建一个 Discuz论坛:
[root@localhost ~]# systemctl start mariadb  开启数据库服务
[root@localhost ~]# cd /var/www/html/
[root@localhost html]# ls 这个安装包可以在网上下载
cgi  Discuz_X3.2_SC_UTF8.zip  index.html  index.php  test.html  westos
[root@localhost html]# unzip Discuz_X3.2_SC_UTF8.zip 
[root@localhost html]# ls
cgi                      index.html  readme     upload   westos
Discuz_X3.2_SC_UTF8.zip  index.php   test.html  utility
[root@localhost html]# chmod 777 /var/www/html/upload/ -R
[root@localhost html]# yum install php-mysql -y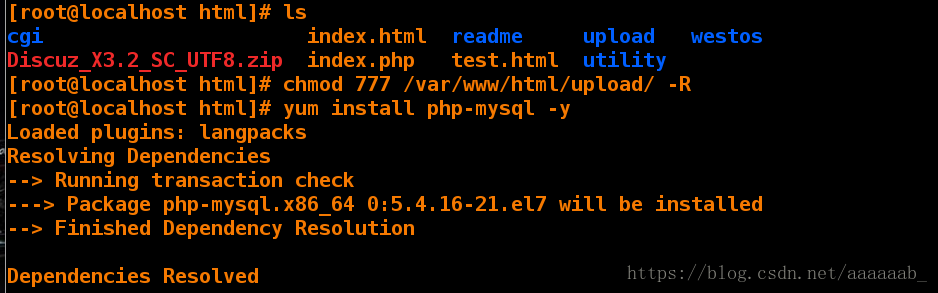
[root@localhost html]# systemctl restart httpd
在浏览器输入172.25.254.221/upload进去安装。

用之前建立的用户认证进行登陆:

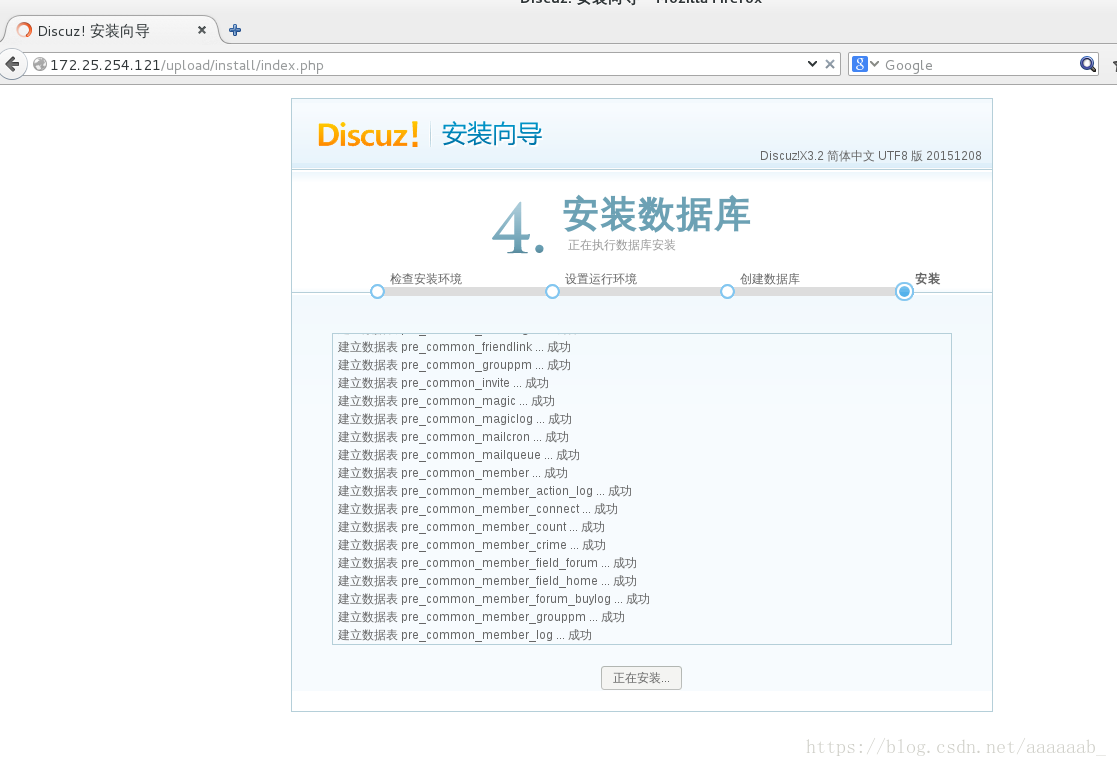

最后输入用户密码就可以登陆:

Squid cache:
(简称为Squid)是一个流行的自由软件(GNU通用公共许可证)的代理服务器和Web缓存服务器。Squid有广泛的用途,从作为网页服务器的前置cache服务器缓存相关请求来提高Web服务器的速度,到为一组人共享网络资源而缓存万维网,域名系统和其他网络搜索,到通过过滤流量帮助网络安全,到局域网通过代理上网。Squid主要设计用于在Linux一类系统运行。
Squid是一种在Linux系统下使用的优秀的代理服务器软件。squid不仅可用在Linux系统上,还可以用在AIX、Digital Unix、FreeBSD、HP-UX、Irix、NetBSD、Nextstep、SCO和Solaris等系统上。Squid与Linux下其它的代理软件如Apache、Socks、TIS FWTK和delegate相比,下载安装简单,配置简单灵活,支持缓存和多种协议。
squid正向代理:
服务主机:
[root@localhost network-scripts]# yum install squid -y 安装squid
[root@localhost network-scripts]# vim /etc/squid/squid.conf
[root@localhost network-scripts]# systemctl start squid
[root@localhost network-scripts]# ping www.baidu.com   保证能上网
客户主机:
打开浏览器设置代理之后就可以联网查看www.baidu.com
设置代理:
1:

2:

3:

squid反向代理:
打开server虚拟机:
[root@localhost ~]# yum install squid -y安装
[root@localhost ~]# systemctl stop firewalld 关闭火墙
[root@localhost ~]# vim /etc/squid/squid.conf 编辑配置文件
[root@localhost ~]# systemctl start squid开启服务

