本文使用uView2的upload组件实现从手机相册上传,也可以拍照上传。此组件可以再小程序,h5,App端上传图片,使用方便。

1. 前端代码
<template>
	<view class="u-page">
		<view class="u-demo-block">
			<view class="u-demo-block__content">
				<!-- 注意,如果需要兼容微信小程序,最好通过setRules方法设置rules规则 -->
				<u--form
					labelPosition="left"
					:model="form"
					ref="form1"
				>
            <u-form-item
				label="上传照片"
				prop="form.problemPhotos"
				borderBottom
				labelWidth="80"
				ref="item3"
			>
				<u-upload
					:fileList="fileList1"
					:previewFullImage="true"
					@afterRead="afterRead"
					@delete="deletePic"
					name="1"
					multiple
					:maxCount="10"
				></u-upload>
			</u-form-item>
		</u--form>
				<u-button
					type="primary"
					text="提交"
					customStyle="margin-top: 50px"
					@click="submit"
				></u-button>
            </view>
		</view>
	</view>
</template>
2. 读取照片或者上传照片
本文在uview2的upload上传组件基础上进行了修改Upload 上传 | uView 2.0 - 全面兼容nvue的uni-app生态框架 - uni-app UI框架
(1)上传文件,url写成自己的后台路径,header参照的是若依电脑端的写法。
uni.uploadFile({
url: '/dev-api/common/upload',
header: {
Authorization: "Bearer " + getToken(),
},
filePath: url,
name: 'file',
(2)将文件的路径/profile/upload/2023/02/27/123_20230227141005A061.jpg通过uploadFilePromise函数返回值resolve(JSON.parse(res.data).fileName)赋值给fileList数组对象的 rl。
(3)然后在submit提交的时候将数组转化成字符串用‘,’隔开赋值给this.form.problemPhotos。
let images = []
this.fileList1.forEach((item) => {
images.push(item.rl)
})
this.form.problemPhotos=images.join(',');
具体代码如下:
import { getToken } from "@/utils/auth";
<script>
	export default {
		data() {
			return {
				fileList1: [],
			}
		},
		methods: {
		// 删除图片
			deletePic(event) {
			this[`fileList${event.name}`].splice(event.index, 1)
			},
						// 新增图片
			async afterRead(event) {

				// 当设置 mutiple 为 true 时, file 为数组格式,否则为对象格式
				let lists = [].concat(event.file)
				let fileListLen = this[`fileList${event.name}`].length
				lists.map((item) => {
				this[`fileList${event.name}`].push({
				...item,
				status: 'uploading',
				message: '上传中'
				})
				})
				console.log(this.fileList1)
				for (let i = 0; i < lists.length; i++) {
					const result = await this.uploadFilePromise(lists[i].url)
					let item = this[`fileList${event.name}`][fileListLen]
					this[`fileList${event.name}`].splice(fileListLen, 1, Object.assign(item, {
					status: 'success',
					message: '',
					rl: result
					}))
					fileListLen++
					}

				console.log(this.fileList1);
				//this.problemPhotos=this.fileList1;
			},
		    uploadFilePromise(url) {
	            let _self=this;
		    	return new Promise((resolve, reject) => {
		    	let a = uni.uploadFile({
		    	url: '/dev-api/common/upload',
				header: {
				        Authorization: "Bearer " + getToken(),
				      },
		    	filePath: url,
		    	name: 'file',
		    	success: (res) => {
					 let result = JSON.parse(res.data)
				   //	console.log(result.fileName);
		    		setTimeout(() => {
		    		resolve(JSON.parse(res.data).fileName)
		    		}, 1000)
		    	}
		    	});
		    	})
		    },
			submit() {
					 if (this.form.id == null) {
						 this.form.problemStatus=1;
						let images = []
						this.fileList1.forEach((item) => {
						 			images.push(item.rl)
						 		})
						 this.form.problemPhotos=images.join(',');
					     addProblems(this.form).then(response => {
					     this.$modal.msgSuccess("新增成功");
					});
					}
			}
		},
	}
</script>
4. 在manifest.json进行配置如下,真机调试需配置target:http://127.0.0.1:8085。其中8085是后端端口号。
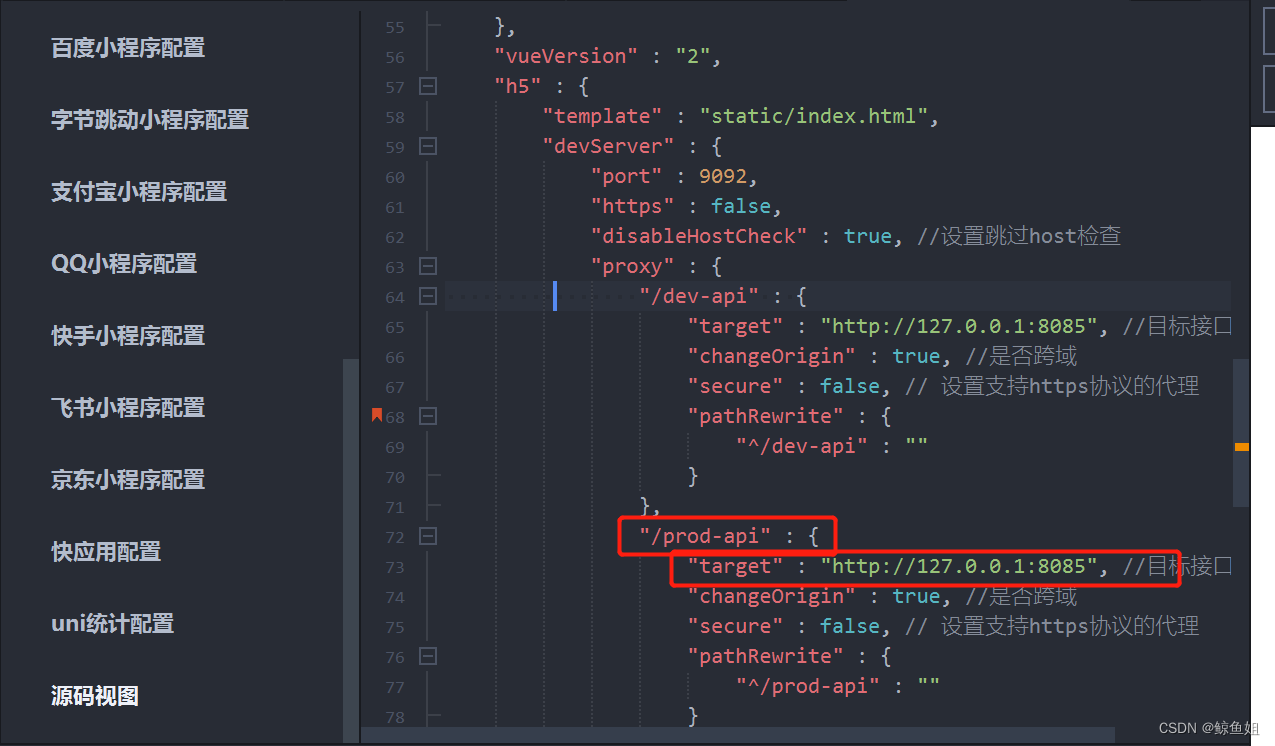
"h5" : {
"template" : "static/index.html",
"devServer" : {
"port" : 9092,
"https" : false,
"disableHostCheck" : true, //设置跳过host检查
"proxy" : {
"/dev-api" : {
"target" : "http://127.0.0.1:8085", //目标接口域名
"changeOrigin" : true, //是否跨域
"secure" : false, // 设置支持https协议的代理
"pathRewrite" : {
"^/dev-api" : ""
}
},
"/prod-api" : {
"target" : "http://127.0.0.1:8085", //目标接口域名
"changeOrigin" : true, //是否跨域
"secure" : false, // 设置支持https协议的代理
"pathRewrite" : {
"^/prod-api" : ""
}
}
}
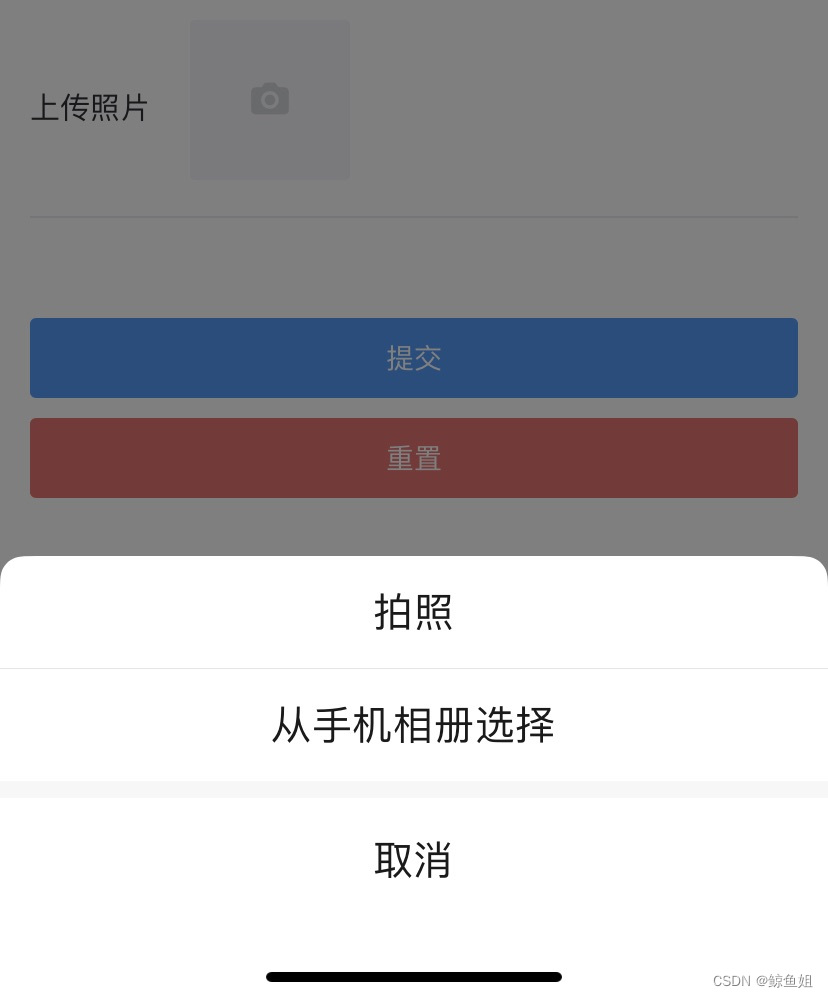
},5. 使用微信工具的真机调试,可以在手机以小程序方式选择“拍照”或者“从手机相册选择”。
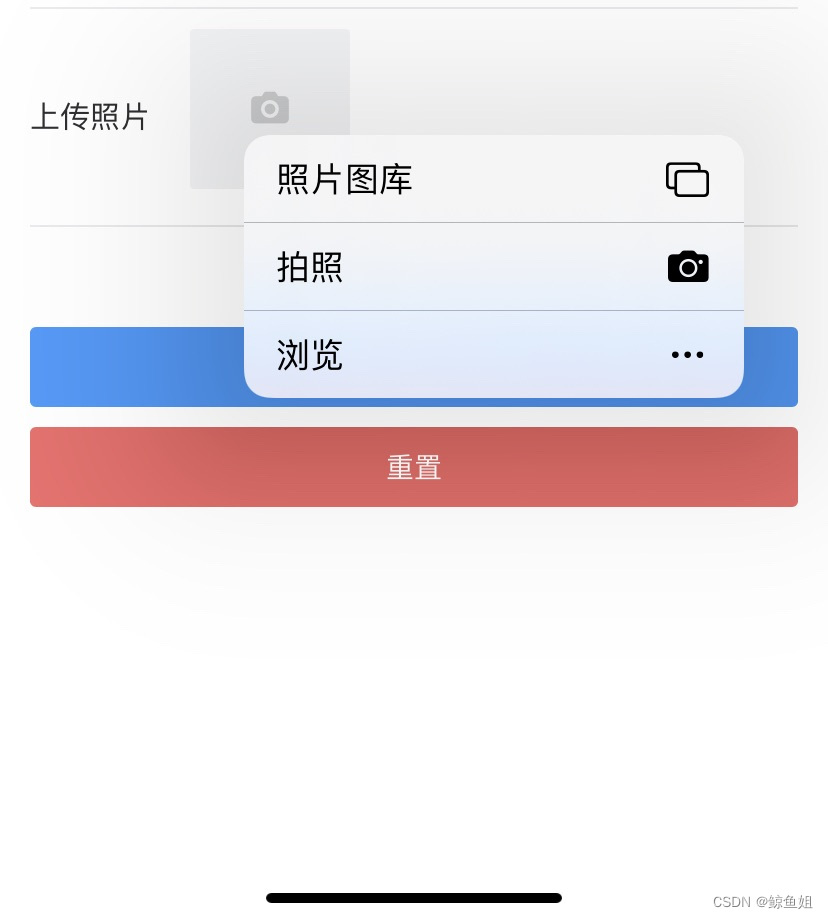
6. 使用h5在浏览器效果如下