前几天,有个项目需要,我用了三天时间写了爬虫并部署到服务器。我以前没有接触过Linux服务器,查阅了很多博客文献,写下这一篇完整教程。
首先是我的基本环境配置:
window11,Python3.9,Mysql,Debain11,Google浏览器。
下面进入正题,我以简书网站为例:
一、在本机编写爬虫(Scrapy+Selenium)
1.安装Scrapy
pip install scrapy2.创建Scrapy爬虫项目
以爬取 简书付费连载 为例,该网页为异步加载方式,这里尤其注意,如果你确定自己爬虫代码没问题,但是就是提取不出网页中的数据,别犹豫了,这个网站就是异步加载的,单纯用Scrapy是不行的,必须结合Selenium或者其他方法。

首先明确爬取的内容,本次爬取的是作品名称、作者、阅读量。然后将所有数据存储在Mysql数据库中,如果你爬取的数据包含时间,处理方法也和以上的数据一样。
使用cmd进入你想要存放爬虫项目的文件夹后,继续在cmd输入:
scrapy startproject jianshuSpiderjianshuSpider换成你自己的爬虫项目名称即可,接着使用cd进入爬虫项目后,再输入创建爬虫的命令,注意,爬虫项目名字和爬虫名称是两个概念,这两个不能一样!
cd jianshuSpider
# scrapy genspider <爬虫名字> <允许爬取的域名>
scrapy genspider jianshu jianshu.com
结果如图所示:
3.编写爬虫
在Pycharm中打开该项目,结构如下:

jianshu.py:编写爬虫类的逻辑代码,定义爬取内容、网页数据提取等,我们自己实现;
items.py:编写要保存数据items的类,可以放多个类,我们自己实现;
middlewares.py:中间件,编写网页爬取数据流的传递,基本不用改;
pipelines.py:管道,编写数据持久化代码,定义对数据库的增删改查;
settings.py:配置,基本不用改,额外注意打开一些端口即可。
3.1 修改settings.py
# Obey robots.txt rules
ROBOTSTXT_OBEY = False

# 添加的编码格式
FEED_EXPORT_ENCODING = 'utf-8'

DOWNLOAD_DELAY = 3
RANDOMIZE_DOWNLOAD_DELAY = True   # 自己加这一行

# Disable cookies (enabled by default)
COOKIES_ENABLED = False   # 防止被服务器追踪

# Override the default request headers:
DEFAULT_REQUEST_HEADERS = {
  'Accept': 'text/html,application/xhtml+xml,application/xml;q=0.9,*/*;q=0.8',
  'Accept-Language': 'en',
  'User-Agent': 'Mozilla/5.0 (Windows NT 10.0; Win64; x64) AppleWebKit/537.36 (KHTML, like Gecko) Chrome/101.0.0.0 Safari/537.36'
}

# Configure item pipelines
# See https://docs.scrapy.org/en/latest/topics/item-pipeline.html
ITEM_PIPELINES = {
   'jianshuSpider.pipelines.JianshuspiderPipeline': 300,
}
其中User-Agent修改时,如何查看自己的User-Agent:浏览器地址栏输入about:version,其中用户代理显示的就是该浏览器的User-Agent。
3.2 编写items.py
# Define here the models for your scraped items
#
# See documentation in:
# https://docs.scrapy.org/en/latest/topics/items.html

import scrapy


class JianshuspiderItem(scrapy.Item):
    # define the fields for your item here like:
    # name = scrapy.Field()
    name = scrapy.Field()
    author = scrapy.Field()
    readtimes = scrapy.Field()
    pass
3.3 编写jianshu.py
这里面涉及到网页数据的提取,我使用xpath提取器,这个很简单使用。Google浏览器为我们提供了复制xpath的功能,鼠标右击,点击检查后,选中我们需要解析的数据,右击,复制,复制xpath。
class JianshuSpider(scrapy.Spider):
    name = 'jianshu'
    allowed_domains = ['jianshu.com']

    # start_urls列表中可以放多个URL,爬虫会一个一个URL进行遍历访问,URL之间用英文逗号隔开
    start_urls = ['https://www.jianshu.com/mobile/books?category_id=284']

    def parse(self, response):
        books = response.xpath('//*[@id="book-waterfall"]/div')
        bookitem = JianshuspiderItem()
        for book in books:
            bookitem['name'] = book.xpath('./div/div[2]/p/text()').get()
            bookitem['author'] = book.xpath('./div/div[2]/div/span[1]/span/text()').get()
            bookitem['readtimes'] = (book.xpath('./div/div[2]/div/span[2]/text()').get()).lstrip()
            print("作品:", bookitem['name'])
            print("作者:", bookitem['author'])
            print("阅读量:", bookitem['readtimes'])
        pass
写到这里就可以运行爬虫了,在PyCharm终端输入scrapy crawl jianshu 回车即可运行,或者在项目下新建一个start.py文件,注意!它必须和爬虫目录同级!

每次执行时只需要执行这个文件,start.py代码如下:
from scrapy.cmdline import execute
execute(['scrapy', 'crawl', 'jianshu', '--nolog'])
运行之后发现,我们没有拿到任何数据!

就是因为这个网站是异步加载的,可以使用selenium的方式来解决。
3.4 Selenium解决异步加载问题
安装Selenium:pip install selenium
安装Google浏览器驱动,参考这篇文章,但是并不需要添加环境变量。
这里简单说一下这两个东西的作用,selenium是软件测试必须的东西,它可以自动执行我们定义好的脚本程序,再加上浏览器驱动,就可以让selenium自动控制浏览器模拟人的浏览行为,可以实现网页点击、拖动等人为功能,但是放在Linux服务器上跑的时候,启动会非常慢,得五六分钟。
都安装好之后就可以编写完整的爬虫代码了。
完整的jianshu.py
# jianshu.py
import scrapy
from selenium import webdriver
from jianshuSpider.items import JianshuspiderItem
from selenium.webdriver.chrome.options import Options

class JianshuSpider(scrapy.Spider):
    name = 'jianshu'
    allowed_domains = ['jianshu.com']

    # start_urls列表中可以放多个URL,爬虫会一个一个URL进行遍历访问,URL之间用英文逗号隔开
    start_urls = ['https://www.jianshu.com/mobile/books?category_id=284']

    # 实例化⼀个浏览器对象
    def __init__(self):
        # 防止网站识别selenium
        options = Options()
        options.add_argument('--no-sandbox')
        options.add_argument("--headless")
        options.add_experimental_option('excludeSwitches', ['enable-automation'])
        options.add_experimental_option('useAutomationExtension', False)
        options.add_argument('-ignore-certificate-errors')
        options.add_argument('-ignore -ssl-errors')
        self.bro = webdriver.Chrome(chrome_options=options)
        super().__init__()

    def parse(self, response):
        books = response.xpath('//*[@id="book-waterfall"]/div')
        bookitem = JianshuspiderItem()
        for book in books:
            bookitem['name'] = book.xpath('./div/div[2]/p/text()').get()
            bookitem['author'] = book.xpath('./div/div[2]/div/span[1]/span/text()').get()
            bookitem['readtimes'] = (book.xpath('./div/div[2]/div/span[2]/text()').get()).lstrip()
            yield bookitem
        pass

    # 在爬虫中新添加的方法:关闭bro
    def closed(self, spider):
        print("spider closed")
        print("浏览器已关闭")
        self.bro.quit()
接着去middlewares.py中进行修改,网上说scrapy中使用selenium有两种方式,一种是修改process_request,另一种是修改process_response。区别在于前者只会打开一个浏览器界面,而后者会根据代码的编写,打开多个浏览器界面,这样就会比较慢。因此我使用第一种方法,代码如下:
# 完整的middlewares.py
# Define here the models for your spider middleware
#
# See documentation in:
# https://docs.scrapy.org/en/latest/topics/spider-middleware.html

from scrapy import signals
import time
# useful for handling different item types with a single interface
from itemadapter import is_item, ItemAdapter
from scrapy.http import HtmlResponse

class JianshuspiderSpiderMiddleware:
    # Not all methods need to be defined. If a method is not defined,
    # scrapy acts as if the spider middleware does not modify the
    # passed objects.

    @classmethod
    def from_crawler(cls, crawler):
        # This method is used by Scrapy to create your spiders.
        s = cls()
        crawler.signals.connect(s.spider_opened, signal=signals.spider_opened)
        return s

    def process_spider_input(self, response, spider):
        # Called for each response that goes through the spider
        # middleware and into the spider.

        # Should return None or raise an exception.
        return None

    def process_spider_output(self, response, result, spider):
        # Called with the results returned from the Spider, after
        # it has processed the response.

        # Must return an iterable of Request, or item objects.
        for i in result:
            yield i

    def process_spider_exception(self, response, exception, spider):
        # Called when a spider or process_spider_input() method
        # (from other spider middleware) raises an exception.

        # Should return either None or an iterable of Request or item objects.
        pass

    def process_start_requests(self, start_requests, spider):
        # Called with the start requests of the spider, and works
        # similarly to the process_spider_output() method, except
        # that it doesn’t have a response associated.

        # Must return only requests (not items).
        for r in start_requests:
            yield r

    def spider_opened(self, spider):
        spider.logger.info('Spider opened: %s' % spider.name)


class JianshuspiderDownloaderMiddleware:
    # Not all methods need to be defined. If a method is not defined,
    # scrapy acts as if the downloader middleware does not modify the
    # passed objects.

    @classmethod
    def from_crawler(cls, crawler):
        # This method is used by Scrapy to create your spiders.
        s = cls()
        crawler.signals.connect(s.spider_opened, signal=signals.spider_opened)
        return s

    def process_request(self, request, spider):
        # Called for each request that goes through the downloader
        # middleware.

        # Must either:
        # - return None: continue processing this request
        # - or return a Response object
        # - or return a Request object
        # - or raise IgnoreRequest: process_exception() methods of
        #   installed downloader middleware will be called
        bro = spider.bro
        bro.get(request.url)  # 每个请求使用一个bro
        # 控制浏览器进行下拉滑动,并设置时间间隔
        bro.execute_script('window.scrollTo(0,document.body.scrollHeight)')
        time.sleep(1)
        bro.execute_script('window.scrollTo(0,document.body.scrollHeight)')
        time.sleep(1)
        text = bro.page_source
        response = HtmlResponse(url=request.url, body=text.encode('utf-8'), status=200)
        print("访问:{0}".format(request.url))
        return response

    def process_response(self, request, response, spider):
        # Called with the response returned from the downloader.

        # Must either;
        # - return a Response object
        # - return a Request object
        # - or raise IgnoreRequest
        return response

    def process_exception(self, request, exception, spider):
        # Called when a download handler or a process_request()
        # (from other downloader middleware) raises an exception.

        # Must either:
        # - return None: continue processing this exception
        # - return a Response object: stops process_exception() chain
        # - return a Request object: stops process_exception() chain
        pass

    def spider_opened(self, spider):
        spider.logger.info('Spider opened: %s' % spider.name)
3.5 连接数据库进行存储
安装pymysql:pip install pymysql
先去本地的navicat中新建数据库jianshu,新建数据表books,添加三个变量name、author和readtimes。

接着修改pipelines.py
import pymysql
class JianshuspiderPipeline:
    def process_item(self, item, spider):
        conn = pymysql.connect(
            host="...",
            user="...",
            passwd="...",
            charset="utf8",
            use_unicode=False
        )
        cursor = conn.cursor()
        cursor.execute("USE jianshu")
        sql = "REPLACE INTO books(name, author, readtimes)" \
                   "VALUES(%s, %s, %s)"
        try:
            cursor.execute(sql,
                            (item['name'], item['author'], item['readtimes']))
            conn.commit()
            print("=================正在写入数据库==================")
        except BaseException as e:
            print("错误在这里>>>>>>>>>>>>>", e, "<<<<<<<<<<<<<错误在这里")
        conn.close()
        return item
运行start.py,可以在navicat中看到结果:
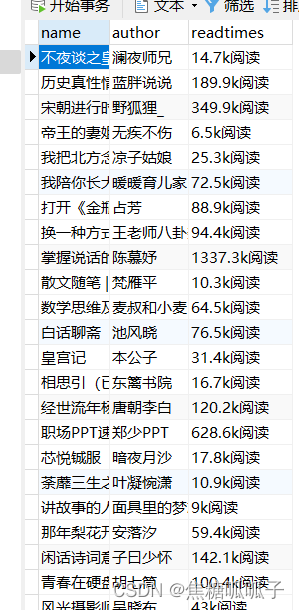
说明本地爬虫已经完成!下面部署到Linux服务器!
二、部署到服务器
1. 购买服务器
大家量力而行,新用户购买很便宜,也有试用的。我使用阿里云服务器,系统为Debain11.
2. 上传项目至服务器
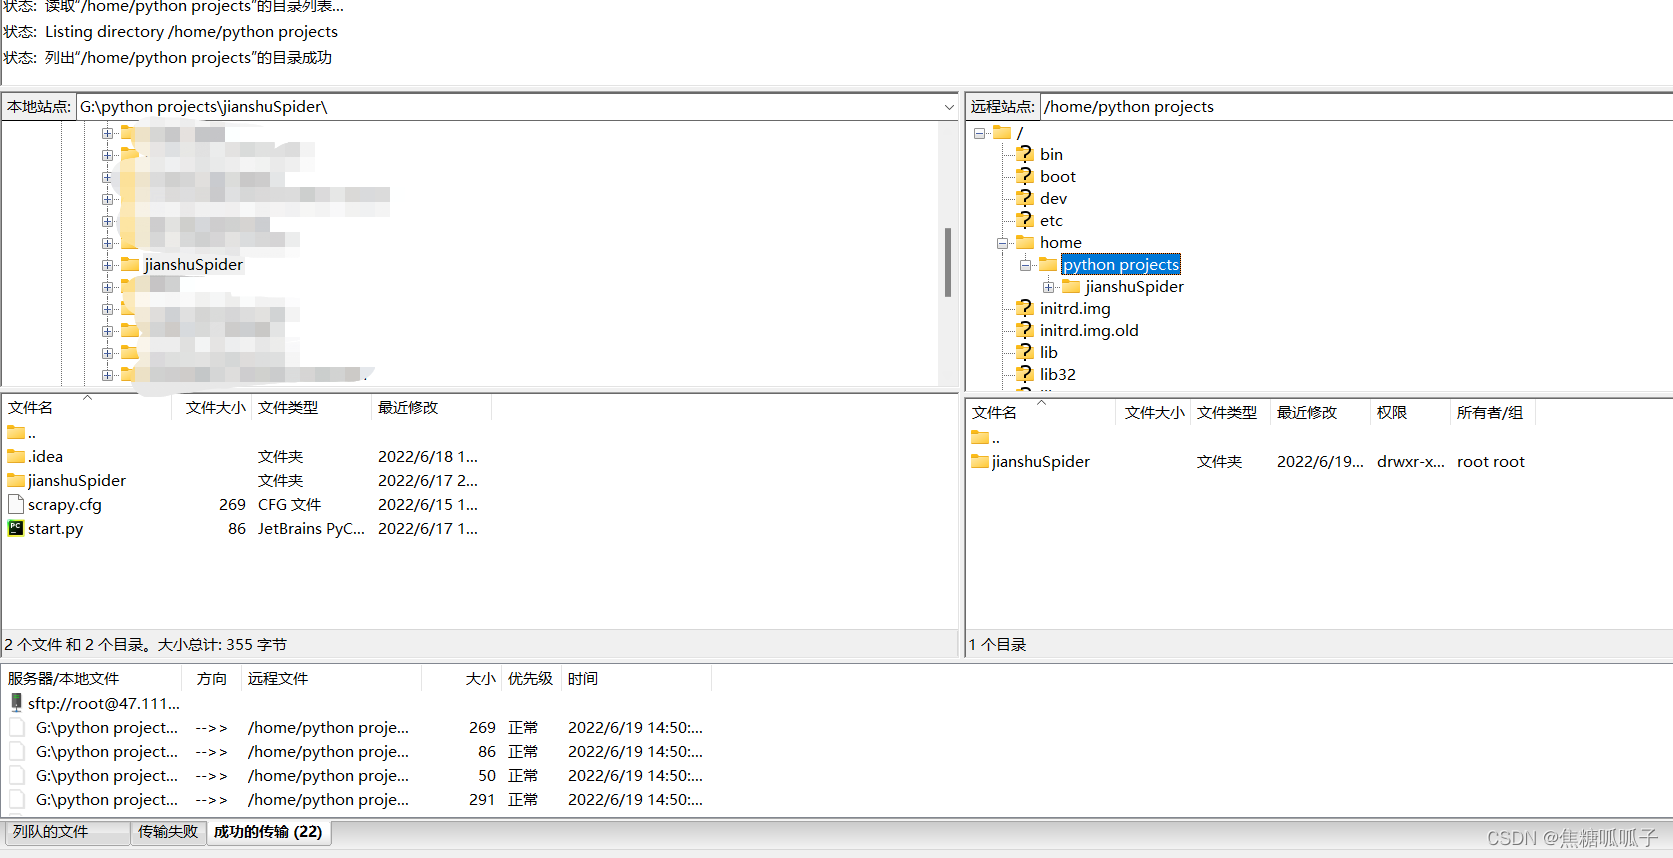
下载FileZilla软件,该软件是专门用来进行和服务器进行数据传输用的,完全免费。
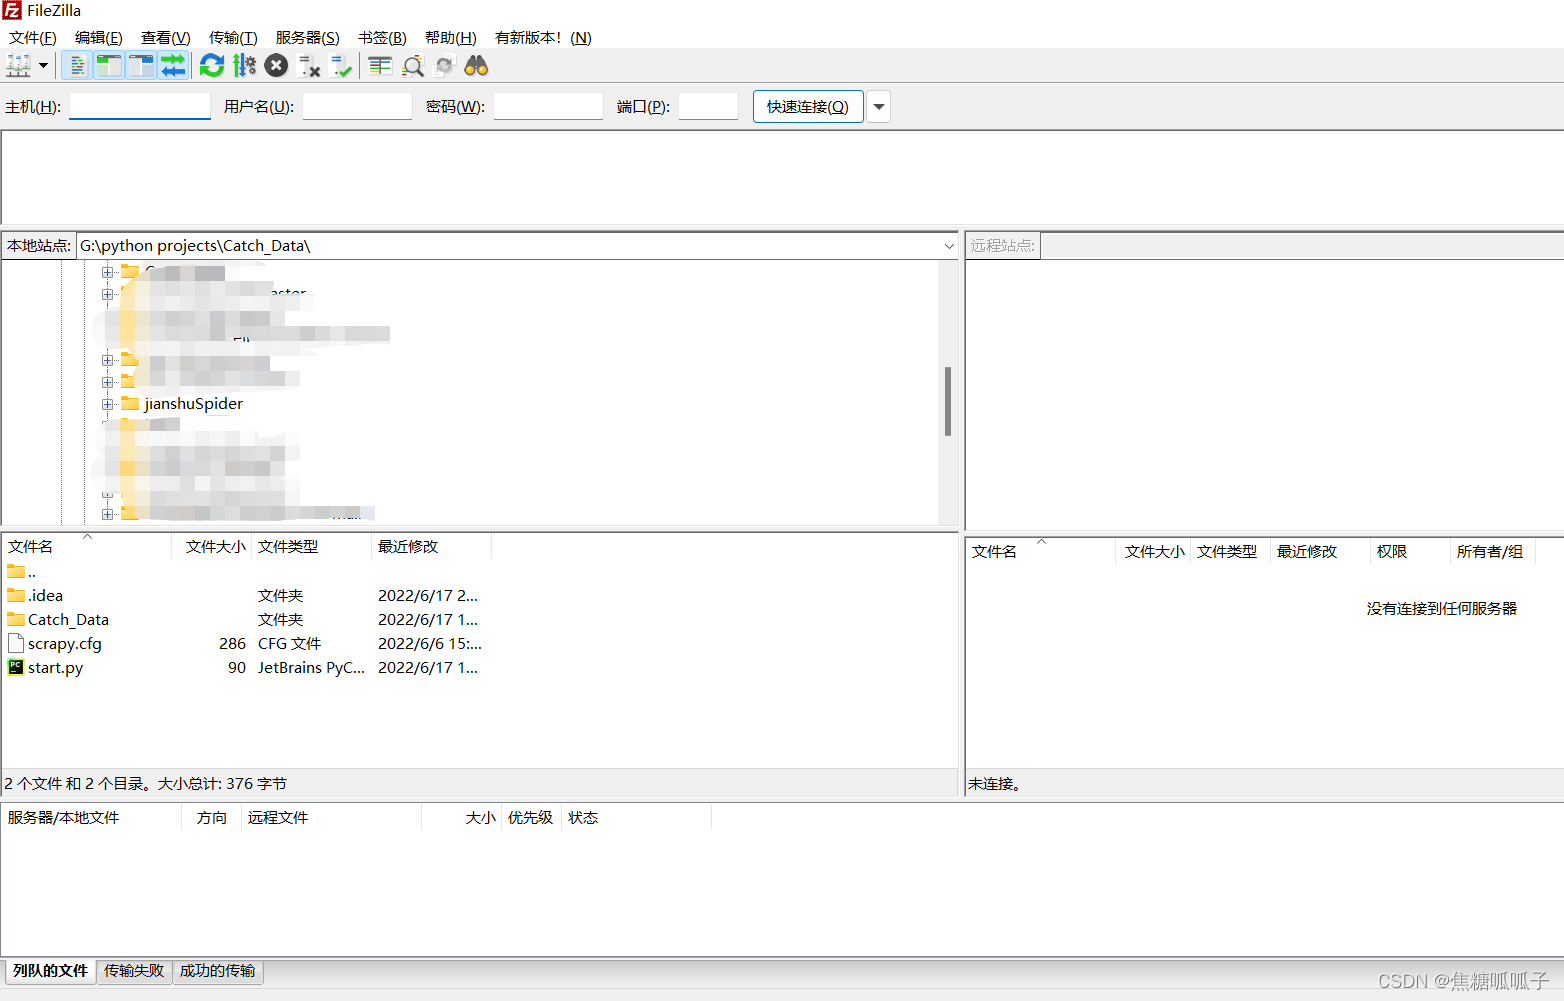
我们直接在上面页面的主机输入刚刚购买的服务器的公网IP,用户名、密码、端口(输入22)依次输入后,快速连接,连接成功。

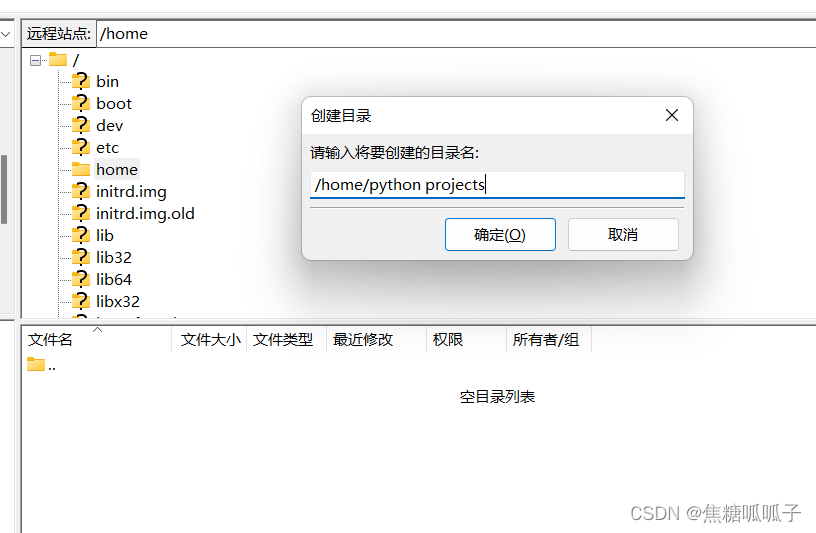
接着在右上角面板中右击home,创建目录为python projects,点击确定。
点击选中python projects文件夹,接着去左上角面板选择我们需要上传的项目,右击,选择上传
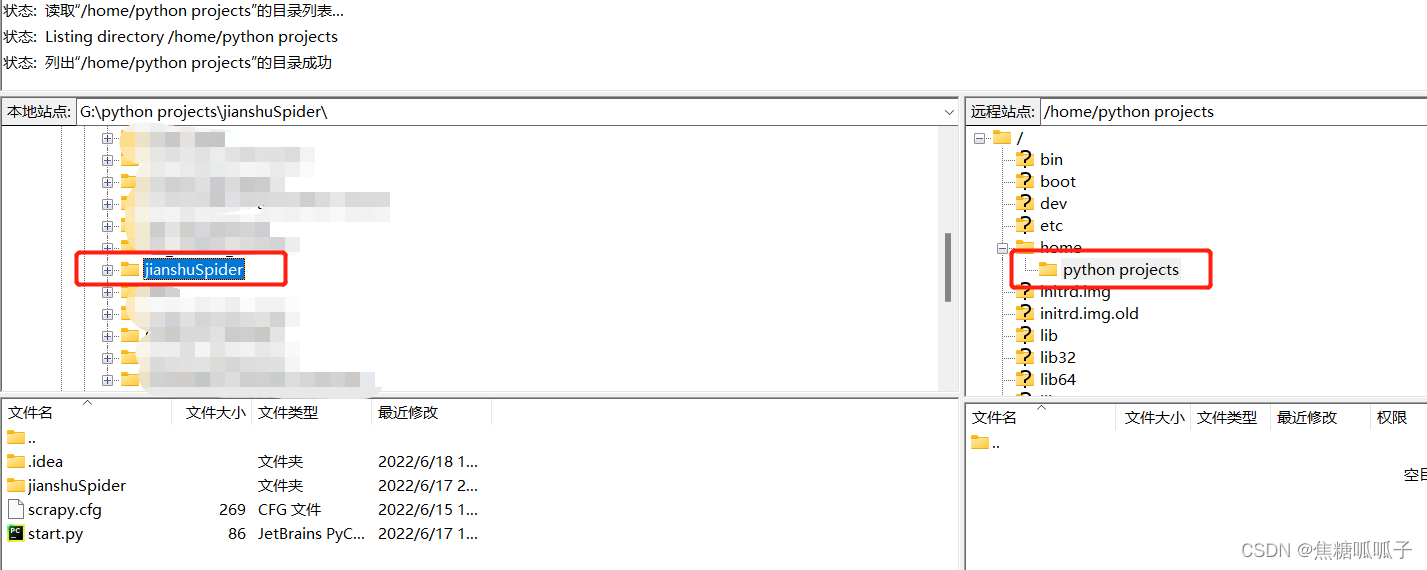
上传成功,如果有传输失败的,再传一遍就行。注意!在本地调试完代码,一定记住上传到服务器进行覆盖!!!
3. Linux服务器环境配置
0.准备工作
使用FTP软件把本地的爬虫项目上传至服务器的/home目录下,接着,我使用Putty软件远程连接服务器,没有通过网页版的终端来控制,一个效果。
按照下面的步骤配置服务器:
1.apt update
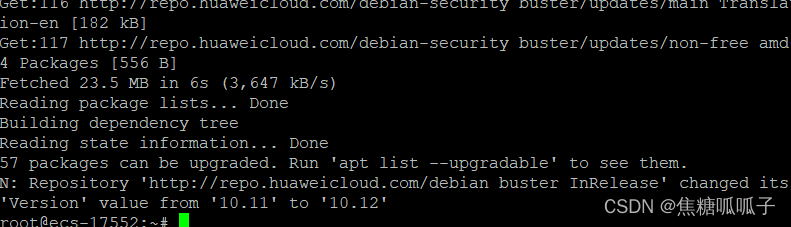
2. apt upgrade -y

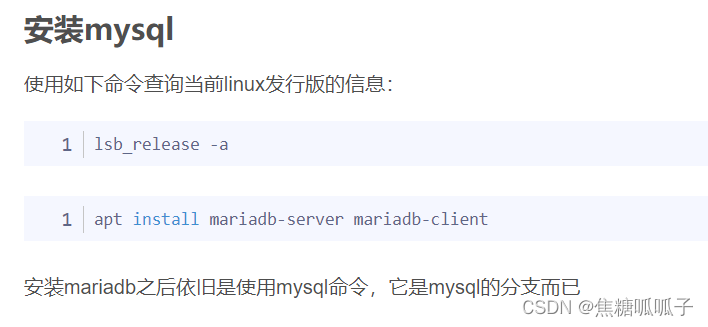
3.apt install mysql-server
如果报错:

解决:
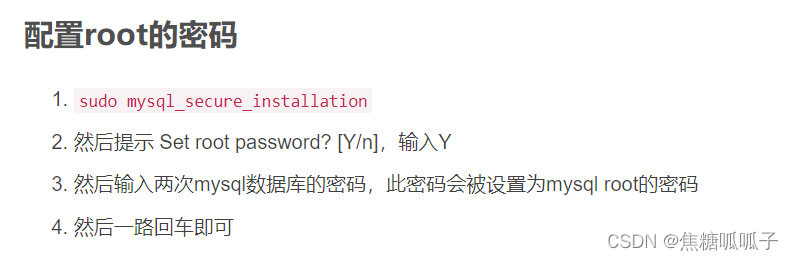
安装好之后,输入以下命令设置数据库远程连接:
mysql -u root -p
select host,user,password from user;
GRANT ALL PRIVILEGES ON *.* TO 'root'@'%' IDENTIFIED BY '密码(改成自己的)' WITH GRANT OPTION;设置mysql的端口:
可以参考这篇文章:
https://www.cnblogs.com/linjiqin/p/5270938.html
![]()
接着去服务器的网页中设置安全组协议,添加3306(mysql)协议。
4.没有sudo:

解决:


5.系统自带python3

6.安装谷歌浏览器、驱动、selenium
Ubuntu16.04 安装chromedriver、chrome 及 运行selenium_龙王.*?的博客-CSDN博客

7.服务器的防火墙设置
apt install ufw
systemctl enable ufw
systemctl start ufw
ufw allow ssh
ufw allow http
ufw allow 3306
8.试运行,进入爬虫目录下
Cd /home/Catch_Data
Python3 start.py
发现可以运行了。
9.下面编写一个shell文件
进入到服务器的主路径下,新建scripts文件夹,编写spider.sh文件
Mkdir scripts

Cd scripts

Cat > spider.sh
在spider.sh文件中输入
Cd /home/Catch_Data

Python3 start.py
Ctrl+D保存并退出
现在使用 chmod 命令使文件 spider.sh 可执行,
chmod +x spider.sh最后,通过在 spider.sh 前面加上“bash”来运行你的shell 脚本:
bash /scripts/spider.sh10.设置定时启动
编辑crontab文件:crontab -e
参考以下文章:
Crontab定时任务入门教程,实战例子_Errors_In_Life的博客-CSDN博客
最后:
service cron start