本实验使用VPP 接管两个网卡,分别模拟WAN侧和LAN侧,WAN侧连接Vmnet8,接入互联网,LAN侧连接Vmnet2,在Ubuntu中搭建一个dhcp server,使另外一台虚拟机能够自动获取ip上网。
环境
Ubuntu 版本:20.04
VPP 版本:23.02
拓扑

配置
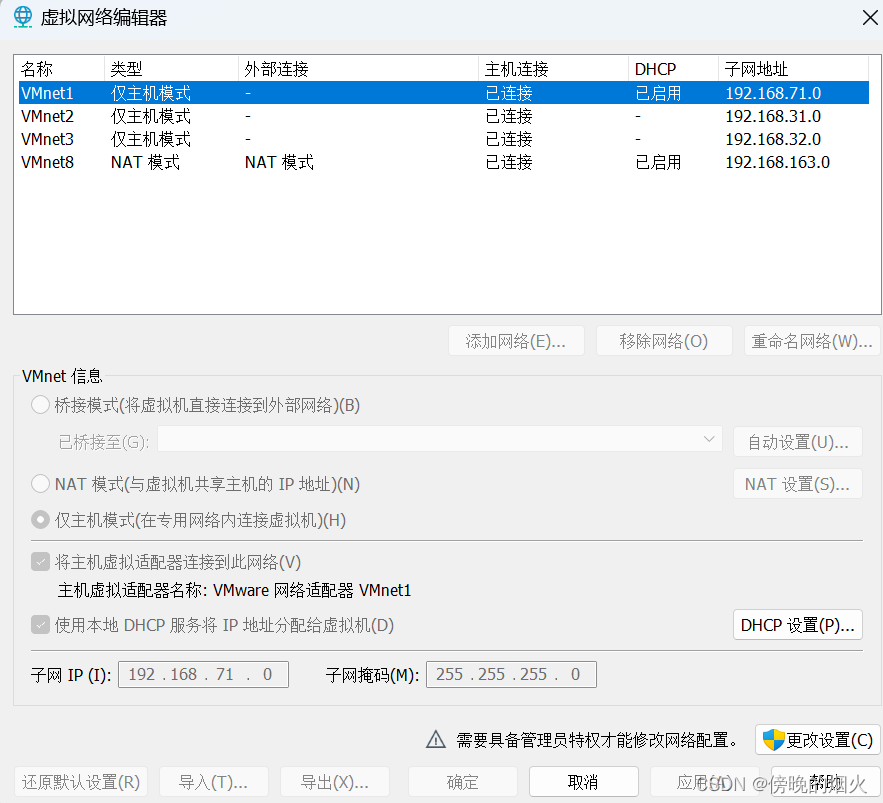
虚拟网络
VMnet2 :主机模式,连接一台windows 虚拟机
VMnet8 :NAT 模式,用于给VPP提供互联网
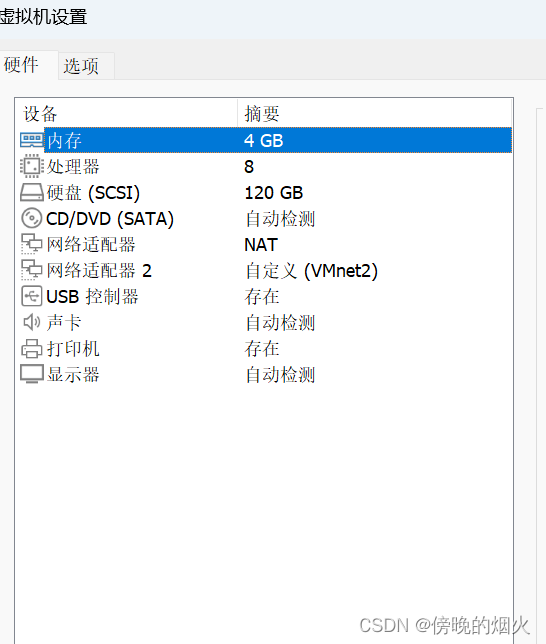
Ubuntu (VPP 运行的机器)
创建两个网卡,VMnet2 和NAT
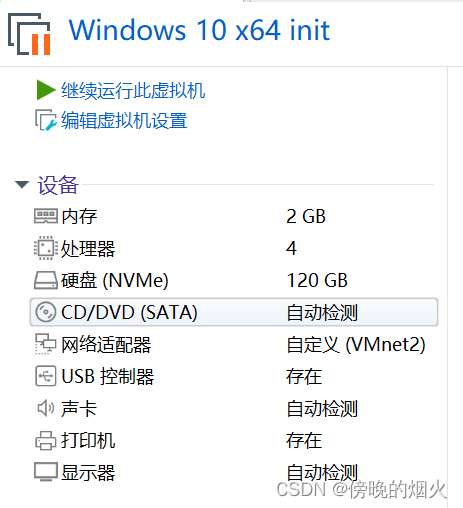
Win10 虚拟机
有一个网卡,放在VMnet2
VPP
startup.conf
unix {
	interactive
	cli-listen /run/vpp/cli.sock
	gid 0
	startup-config ./init_cli
}
dpdk {
	dev 0000:02:01.0{
		name eth0
	}
	dev 0000:02:06.0{
		name eth1
	}
}

api-trace {
  on
}

socksvr {
  default
}

cpu {
	main-core 1
	corelist-workers 2,3
}

buffers {
        buffers-per-numa 128000
}

plugins {
	plugin oddbuf_plugin.so { enable }
}
init_cli
comment { setup wan }
comment { setup eth0 interface }
set interface state eth0 up
comment { start dhcp client }
set dhcp client intfc eth0
comment { setup lan }
comment { create bridge }
create bridge-domain 10
comment { setup loopback interface }
create loopback interface
set interface l2 bridge loop0 10 bvi
set interface ip address loop0 192.168.1.1/24
set interface state loop0 up
comment { setup eth1 }
set interface l2 bridge eth1 10
set interface state eth1 up
comment { setup tap0 to conncect host,use host dhcpserver }
create tap host-ip4-addr 192.168.1.2/24 host-if-name vtap
set interface l2 bridge tap0 10
set interface state tap0 up
comment { setup nat }
nat44 plugin enable
nat44 add interface address eth0
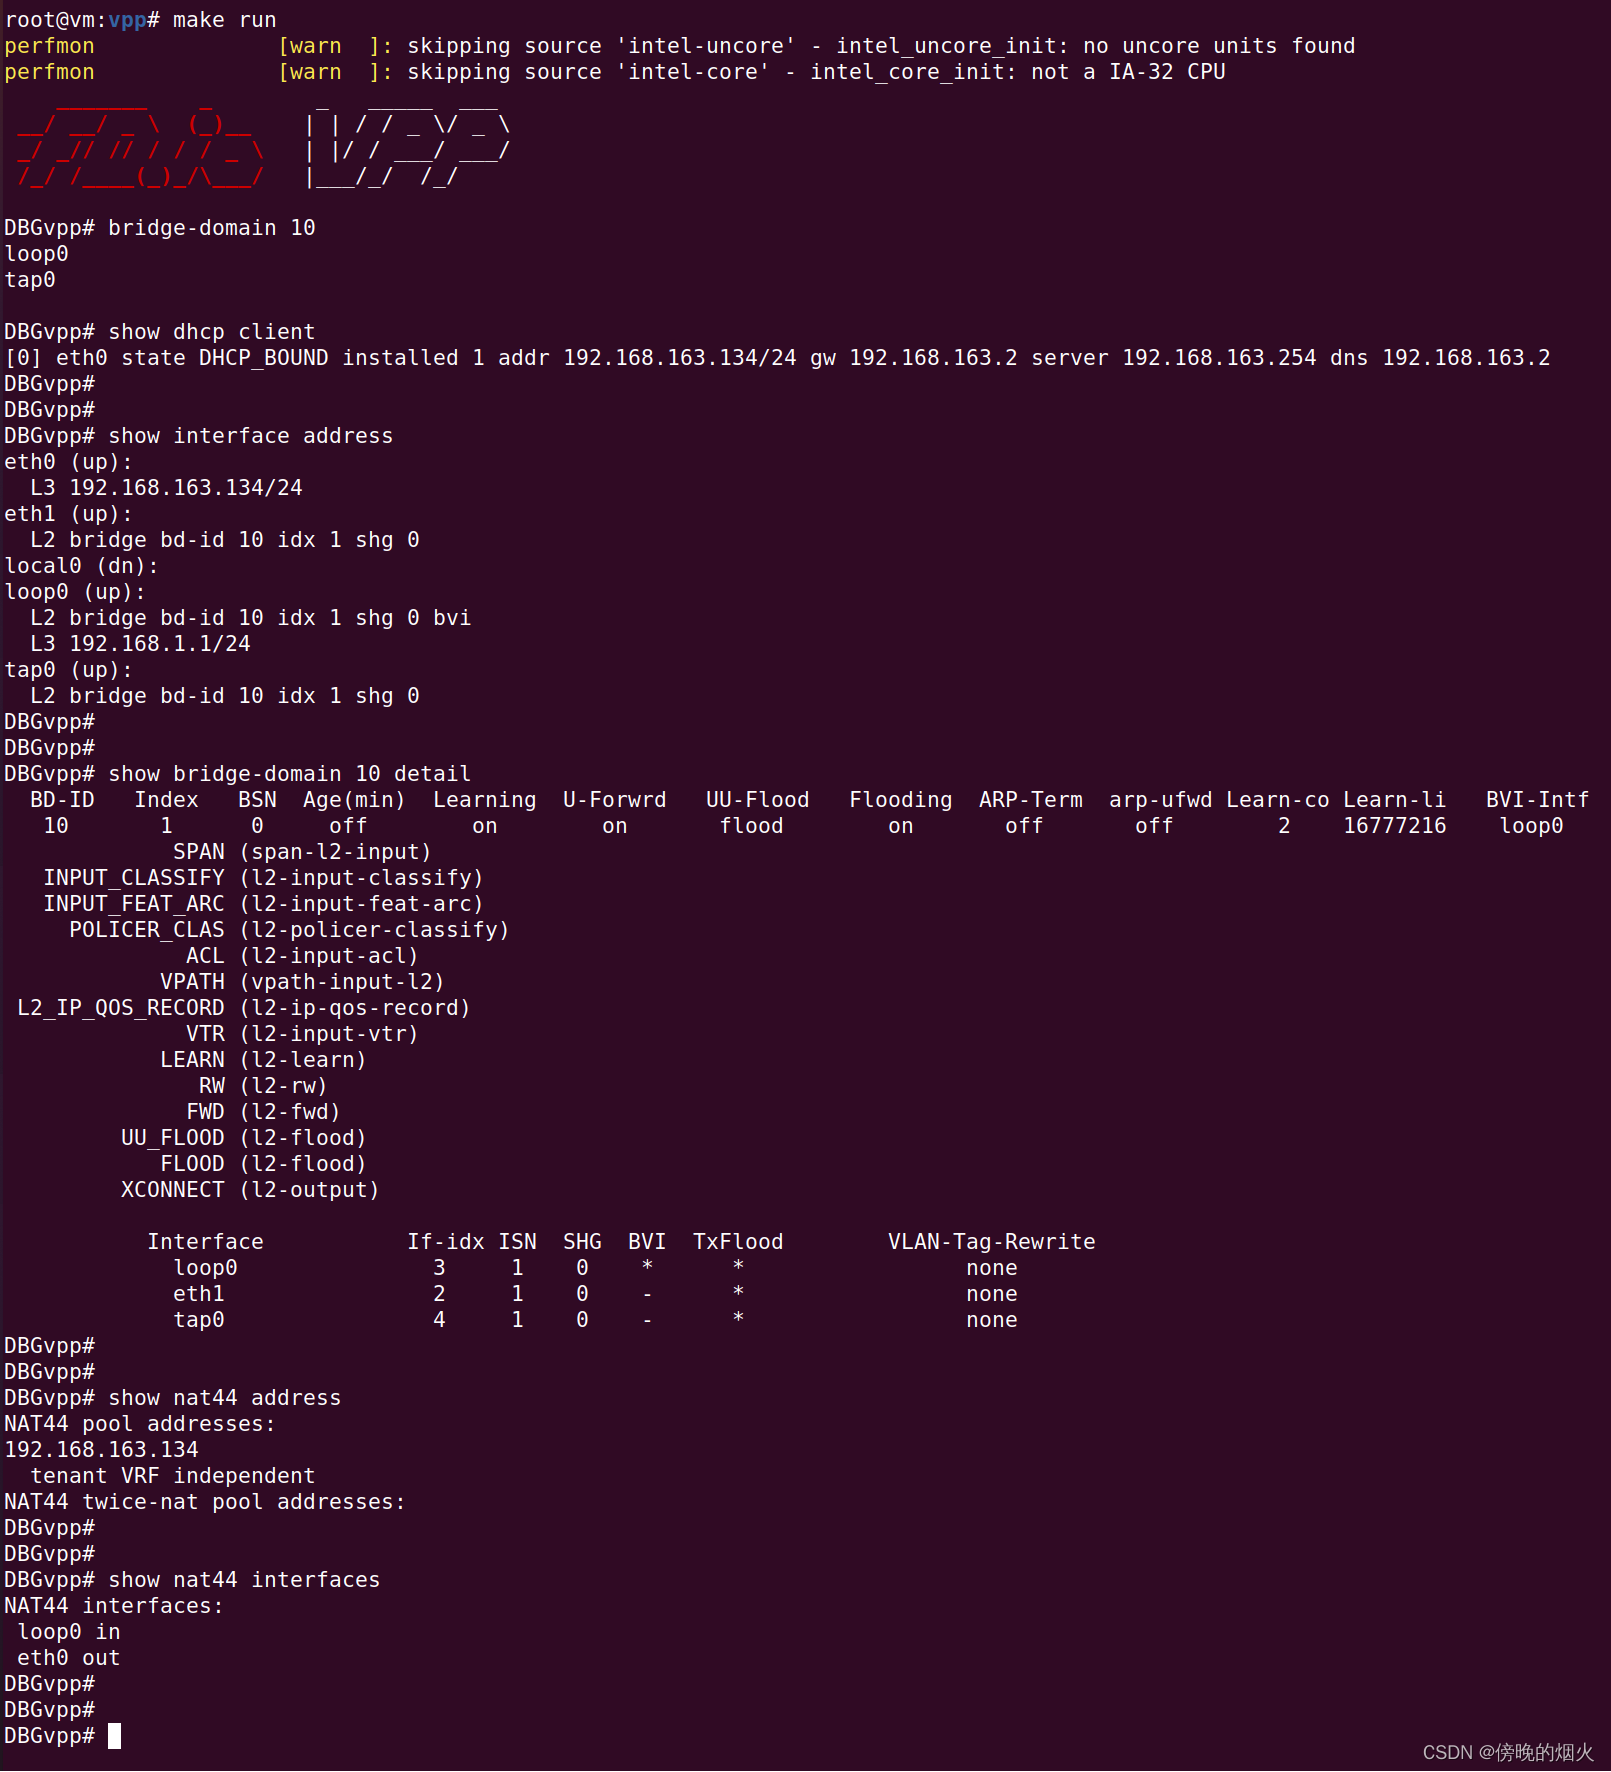
set interface nat44 in loop0 out eth0eth0 作为WAN 口,使用DHCP的方式获得VMnet8分配的地址
LAN侧创建了一个桥,用loop0 接口给桥配置IP地址,这样可以加多个网口,本次实验只添加了一个eth1
LAN --> WAN 配置nat转换
创建一个tap接口,并加到桥中,用于连接host 中的dhcp server
开始操作
启动VPP
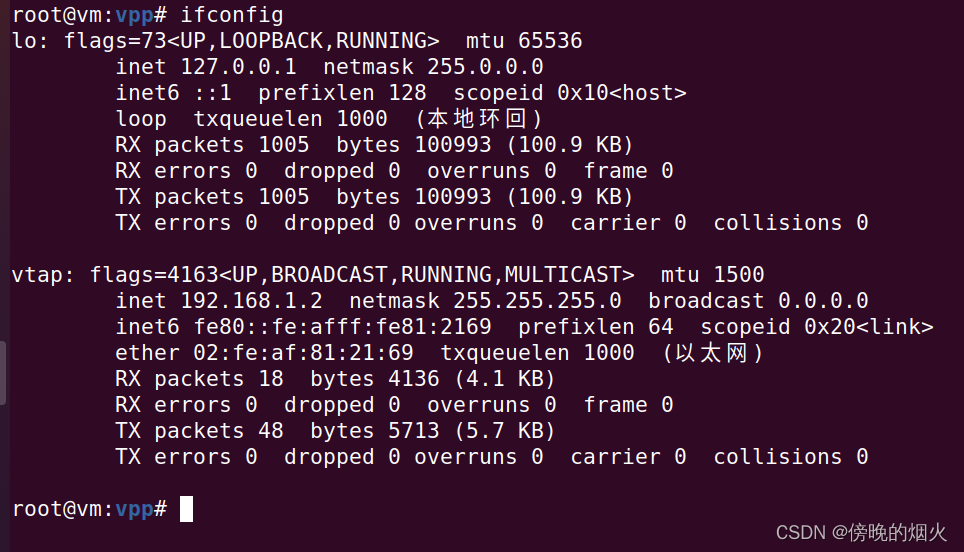
在Ubuntu中查看接口,会有一个vtap
配置dhcp server
参考 https://wujianming.blog.csdn.net/article/details/130756920
将dhcp监听的接口改为 vtap,然后启动dhcp server
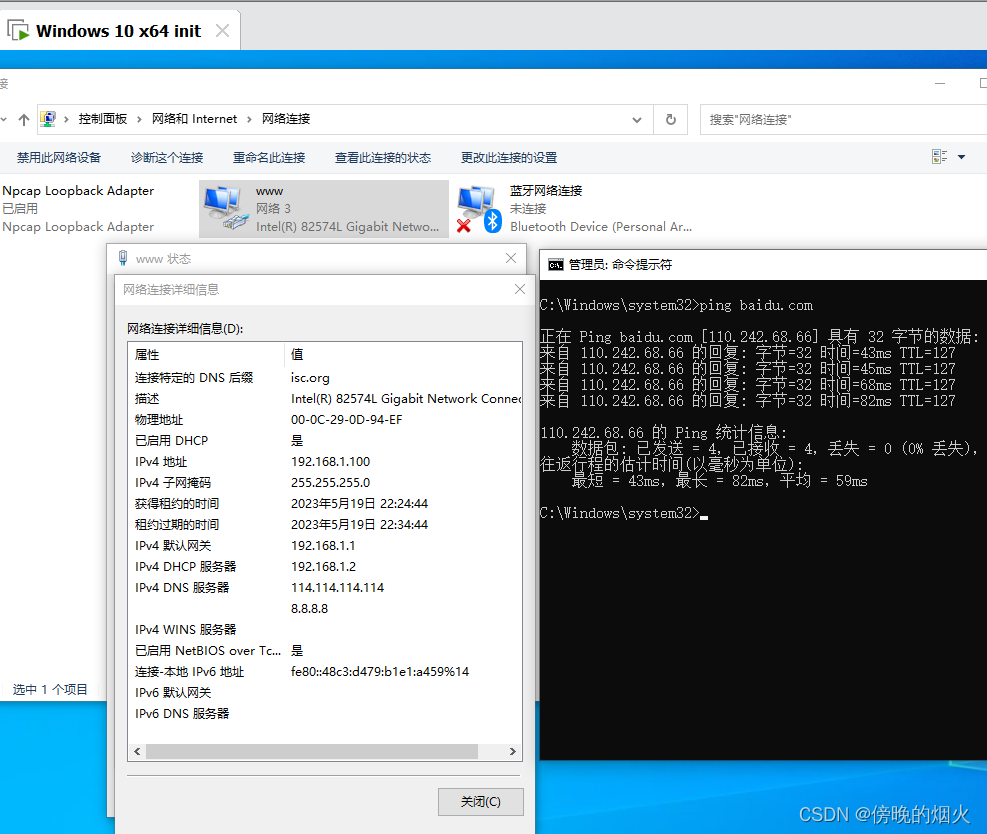
配置虚拟机