前言
本章基于前章基础上功能 继续优化,
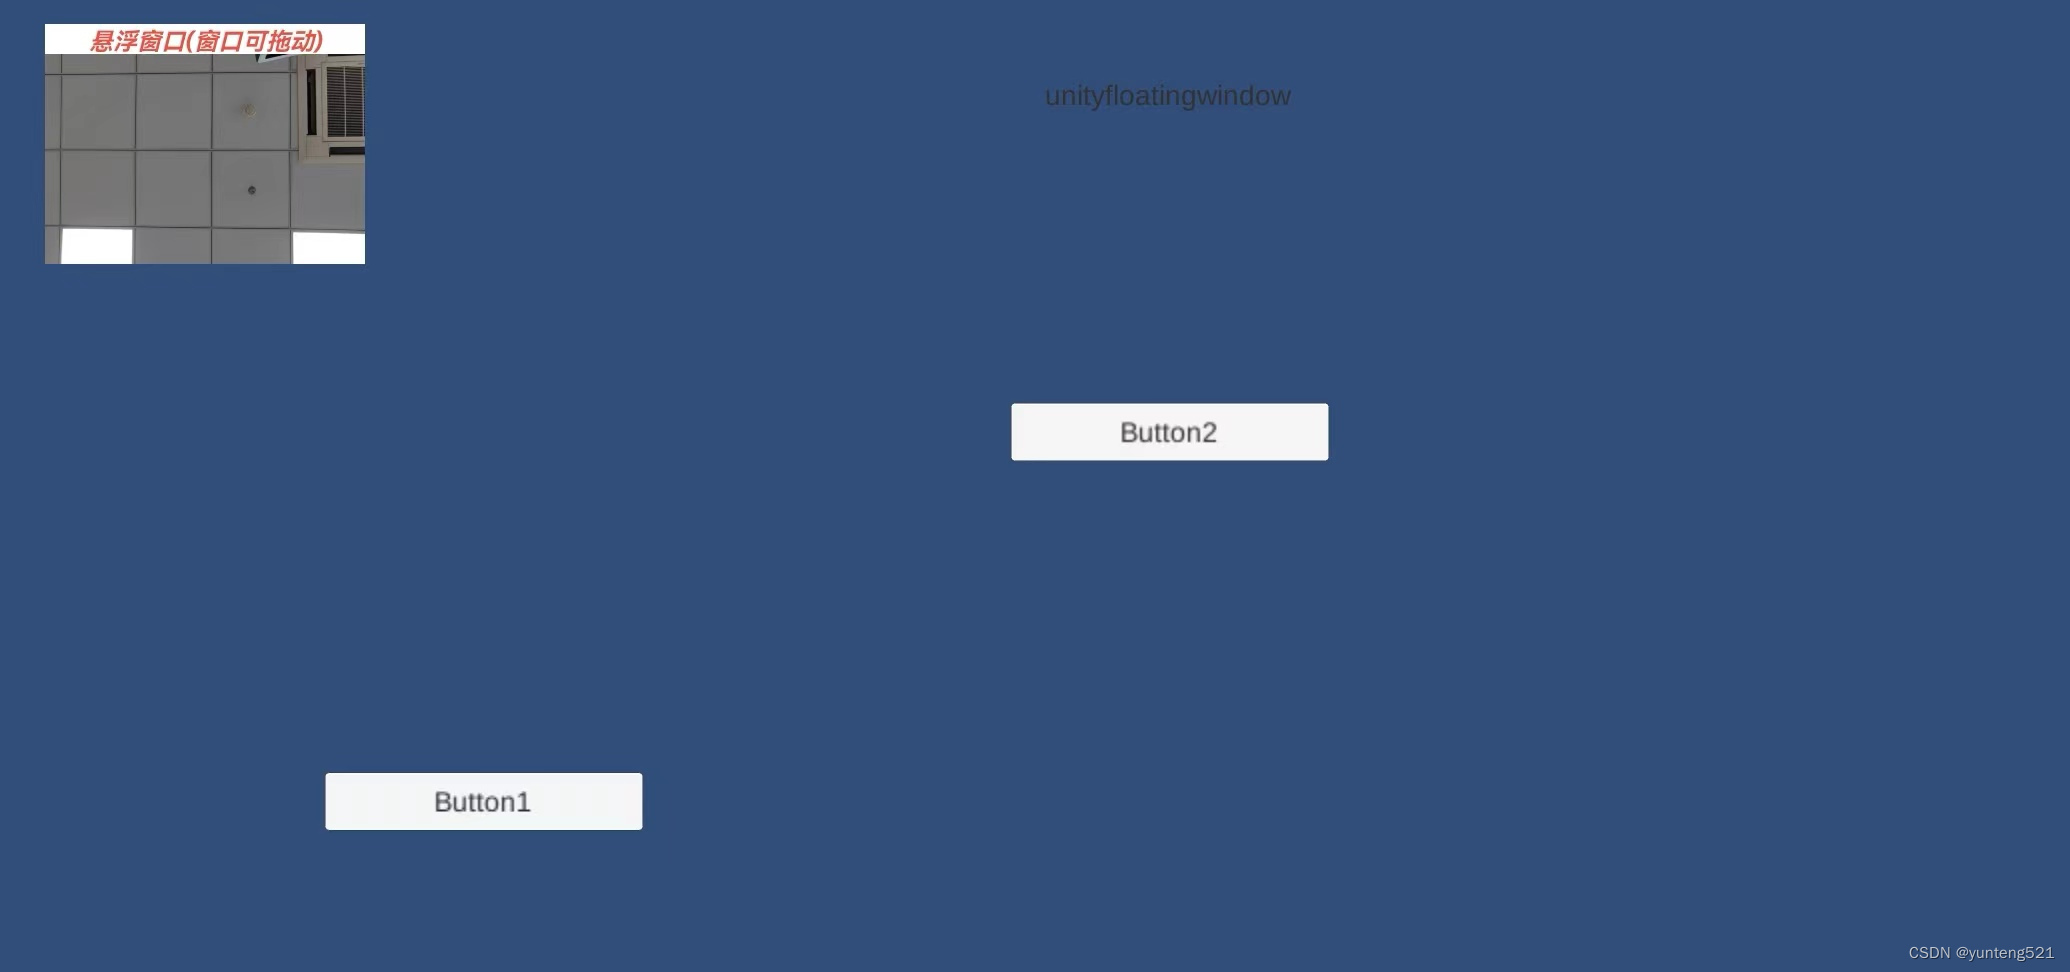
针对 窗口,没有任何提示及窗口太大
优化,1:浮动窗口变小 2 窗口上增加文字 3修改起始位置
1:修改的xml
camera_display.xml
<?xml version="1.0" encoding="utf-8"?>
<FrameLayout xmlns:android="http://schemas.android.com/apk/res/android"
    android:layout_width="match_parent"
    android:layout_height="match_parent"
    >
    <TextureView
        android:id="@+id/preview"
        android:layout_width="match_parent"
        android:layout_height="match_parent">
    </TextureView>
    <TextView
        android:id="@+id/showtext"
        android:layout_width="match_parent"
        android:layout_height="10sp"
        android:gravity="center"
        android:text="悬浮窗口(窗口可拖动)"
        android:textStyle="bold|italic"
        android:textColor="#EA5246"
        android:background="#ffffff"
        android:textSize="8sp">
    </TextView>
</FrameLayout>
2修改的代码
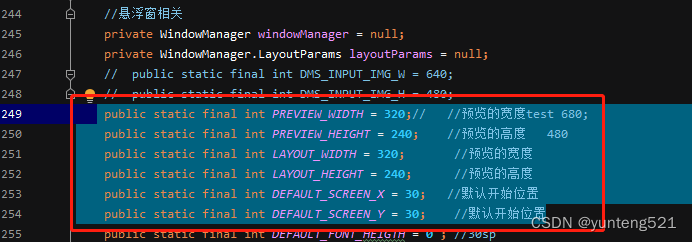
1>第一处
public static final int PREVIEW_WIDTH = 320;//   //预览的宽度test 680;
    public static final int PREVIEW_HEIGHT = 240;    //预览的高度   480
    public static final int LAYOUT_WIDTH = 320;       //预览的宽度
    public static final int LAYOUT_HEIGHT = 240;      //预览的高度
    public static final int DEFAULT_SCREEN_X = 30;   //默认开始位置
    public static final int DEFAULT_SCREEN_Y = 30;    //默认开始位置
2>第2处
if(screenratio >= 4){


         final int nmultiple = 1; //2  //基础分辨率的倍数
            switch (ratio){


                case ratio4_3:{


                    return  new Size(s4_3.getWidth()*nmultiple,s4_3.getHeight()*nmultiple) ;
                }
                case ratio3_2:{


                    return  new Size(s3_2.getWidth()*nmultiple,s3_2.getHeight()*nmultiple) ;
                }
                case ratio16_10:{


                    return  new Size(s16_10.getWidth()*nmultiple,s16_10.getHeight()*nmultiple) ;
                }
                case ratio16_9:{


                    return  new Size(s16_9.getWidth()*nmultiple,s16_9.getHeight()*nmultiple) ;
                }
            }
        }

3:测试及结果