一、前期工作准备
1.下载yaml第三方库源码
在自己新建的目录下git下来(已经配置git环境)
git clone https://github.com/jbeder/yaml-cpp或者直接去这个网站上下载zip,然后解压到自己的目录。
2.下载cmake
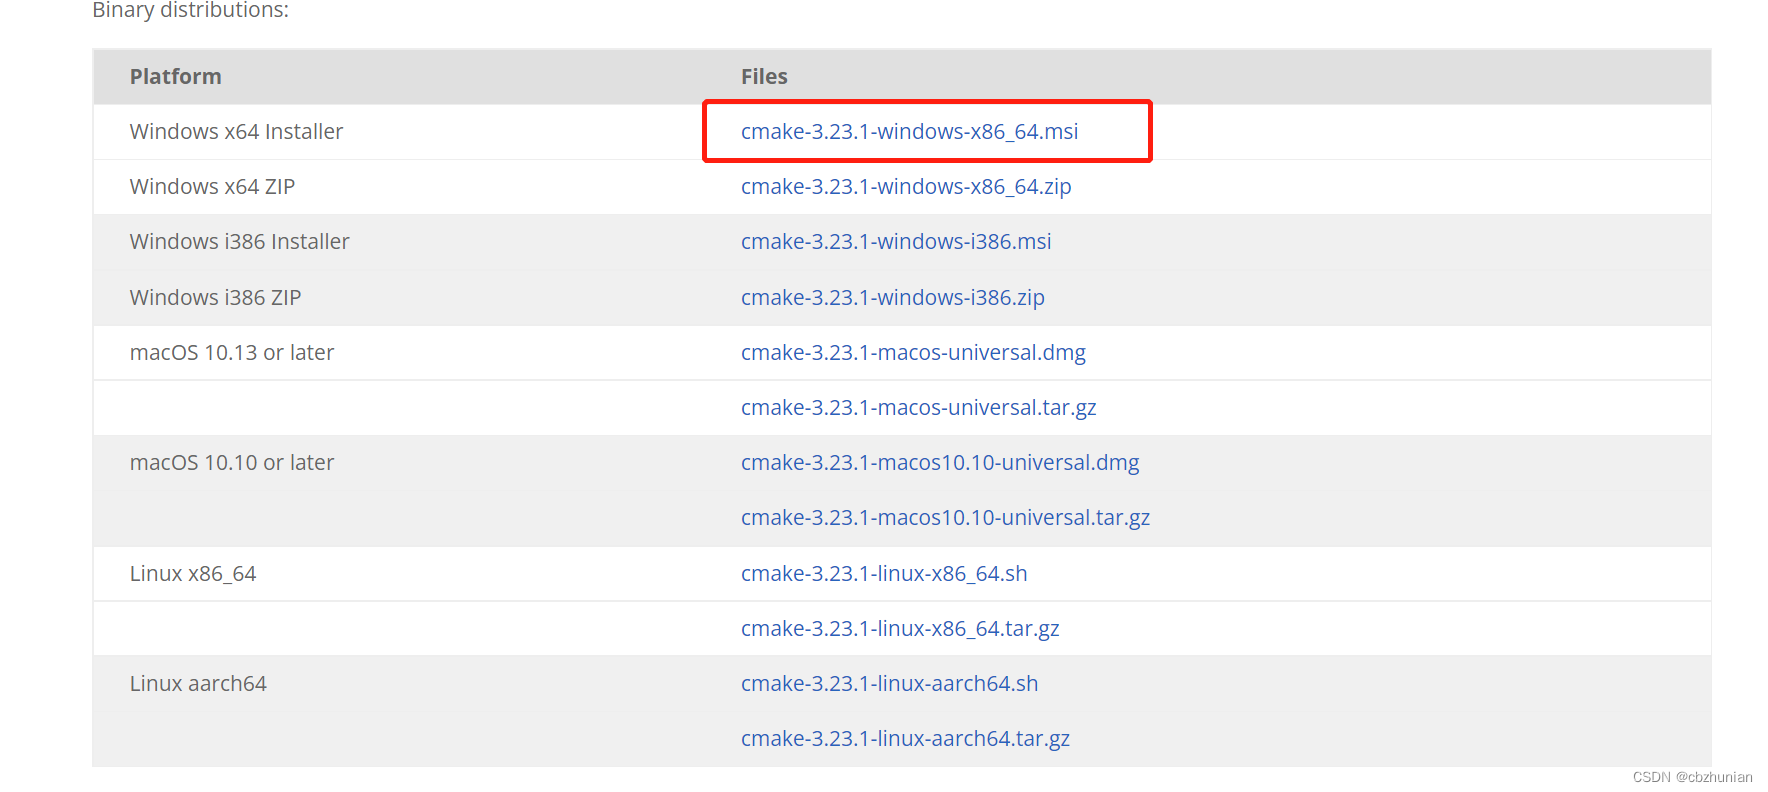 基本都是下一步下一步安装
3.cmake生成
 第三步配置环境的具体内容
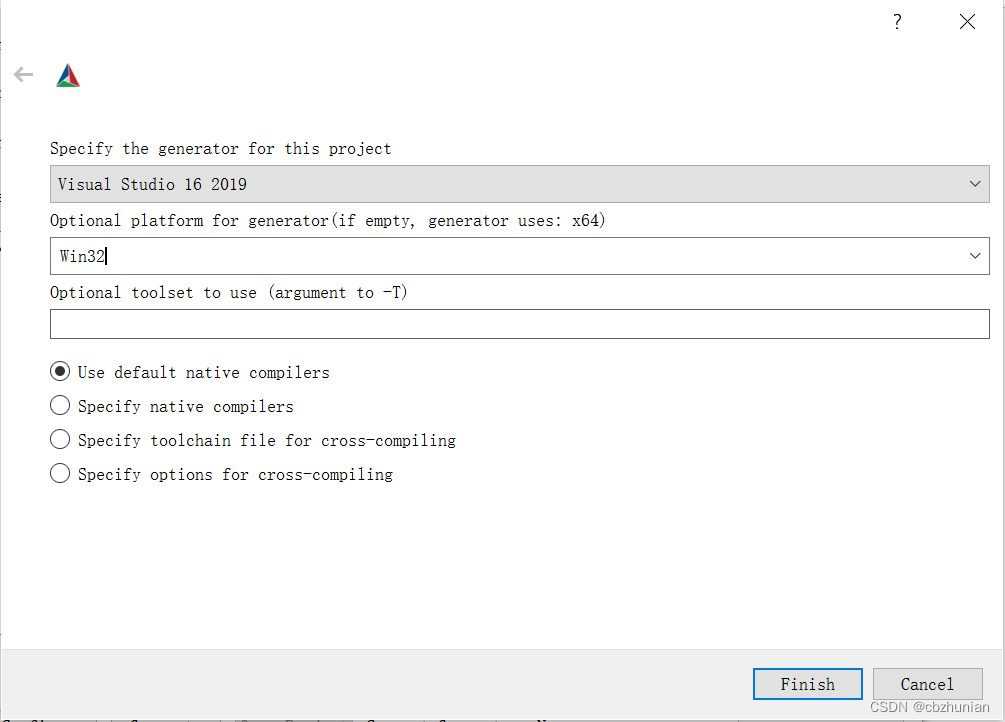
4.进入build目录,生成yaml-cpp.lib 文件
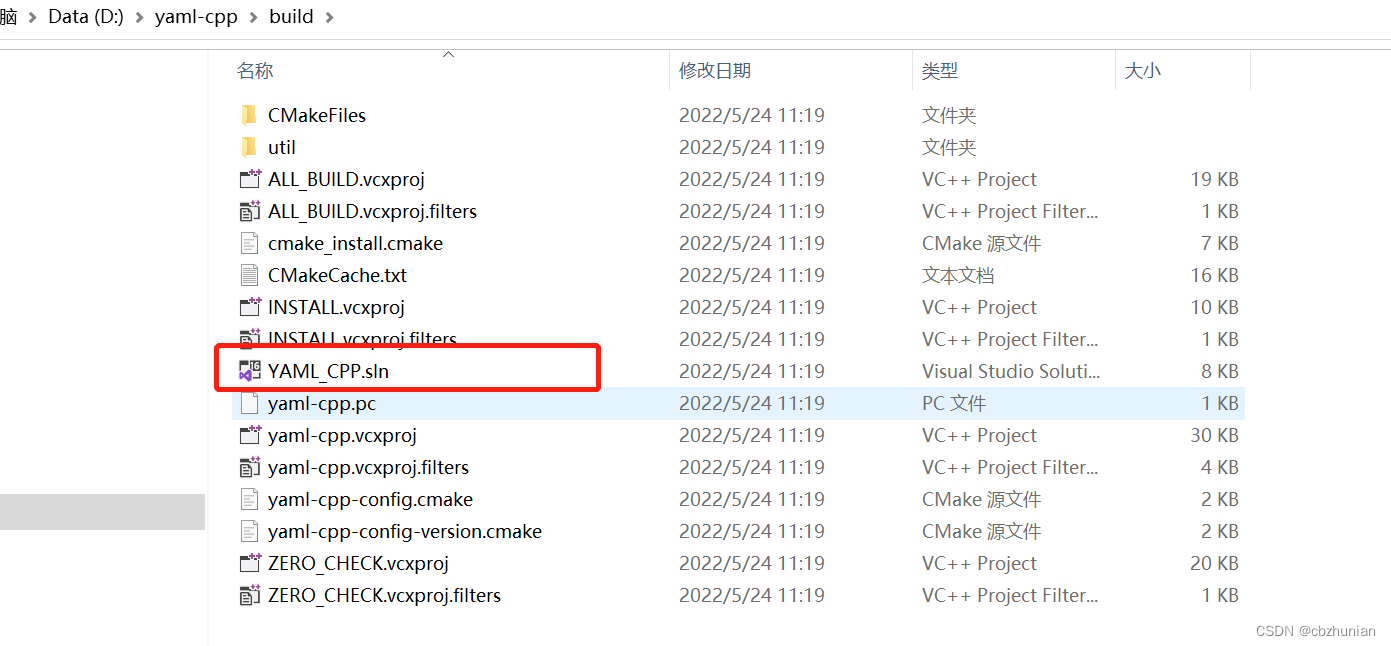
 在目录release下生成lib文件。
5.项目使用lib文件
配置相关环境,参考 vs2013引用第三方动态链接库,设置include,lib,dll路径问题_cbzhunian的博客-CSDN博客
yaml的头文件在
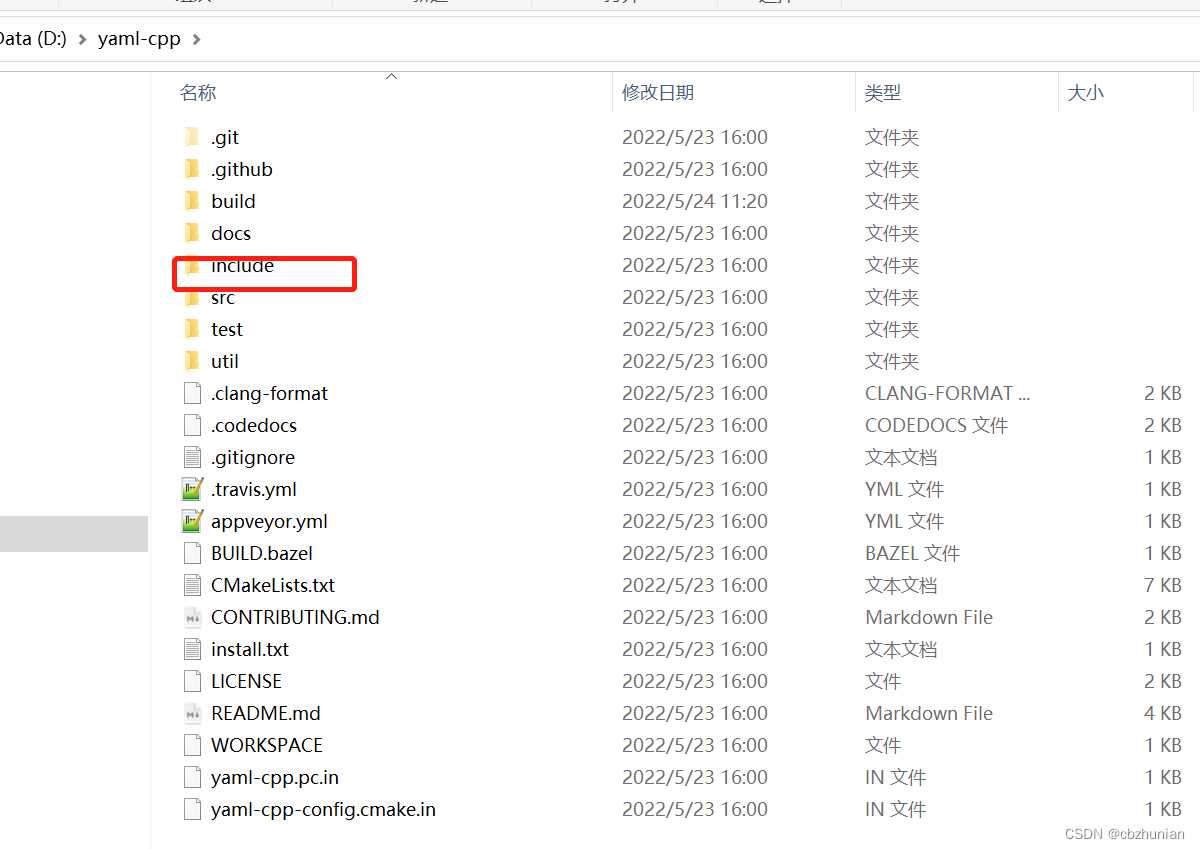
库文件在
 测试文件
测试文件
#include <iostream>
#include <fstream>
#include "yaml-cpp/yaml.h"
#pragma comment(lib, "yaml-cpp.lib")

int main()
{
    YAML::Emitter out;
    out << "Hello, World!";

    std::cout << "Here's the output YAML: " << out.c_str();
    std::cout << std::endl;

    YAML::Node config = YAML::LoadFile("config.yaml");

    if (config["lastLogin"]) {
        std::cout << "Last logged in: " << config["lastLogin"].as<std::string>() << std::endl;
    }

    const std::string username = config["username"].as<std::string>();
    const std::string password = config["password"].as<std::string>();

    config["lastLogin"] = "2022-05-24 10:26:10";


    std::cout << "username: " << username << ", password: " << password << std::endl;

    std::ofstream fout("config.yaml");
    fout << config;

    return 0;
}
yaml文件
lastLogin: 2022-05-24 10:26:10
username: root
password: 123
编译会出现LNK2001错误
二、出现LNK2001错误
出现错误是因为上面编译出得lib文件。默认是静态库,点击yaml头文件进去查看。
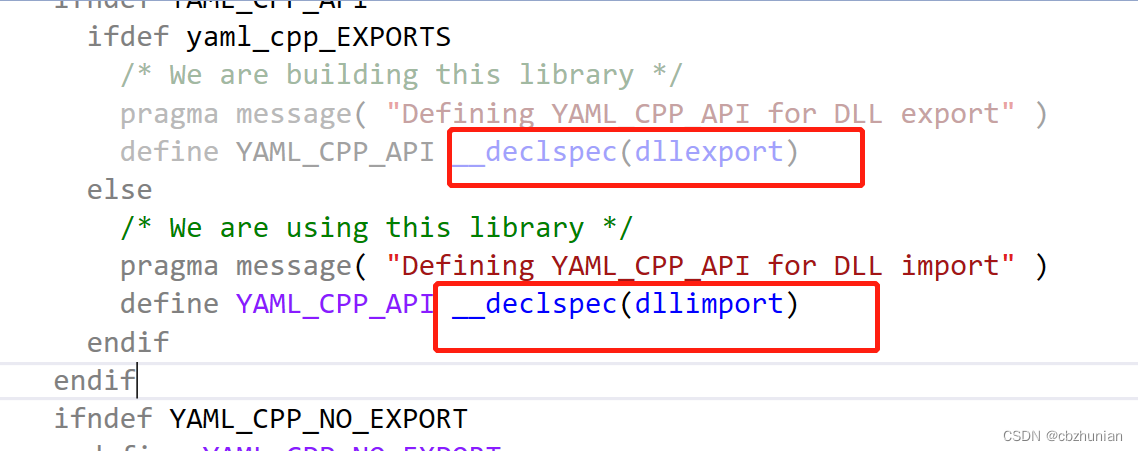
有__declspec(dllimport) 的关键字,而静态库是不能出现这个关键字,所以说会导致出现LNK2001错误。
重新编译yaml文件为动态库

再次编译成功,记得把dll文件拷贝到exe文件的运行目录,或者参考vs2013引用第三方动态链接库,设置include,lib,dll路径问题_cbzhunian的博客-CSDN博客
进行配置。