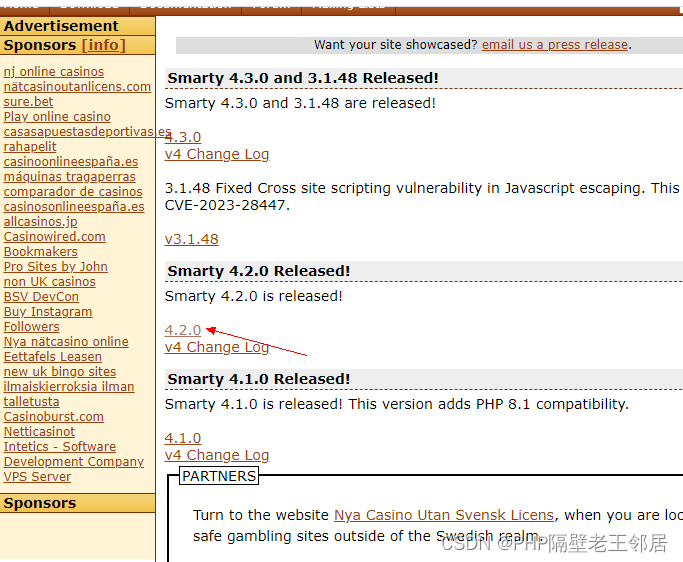
一、Smarty的下载
进入Smarty官网下载,复制目录libs目录即可http://www.smarty.net/![]() http://www.smarty.net/
http://www.smarty.net/

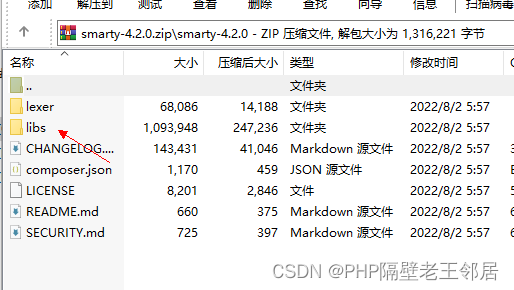
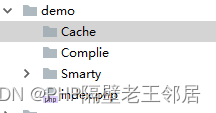
二、使用Smarty,创建目录demo,把libs放进去改名为Smarty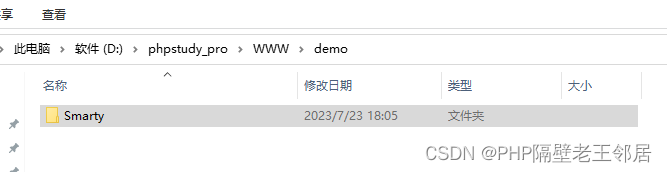
三、引入Smarty配置,创建目录,index.php文件配置
<?php
include './Smarty/Smarty.class.php';
$path=dirname(str_replace('\\','//',__FILE__));

//模板配置
$smarty=new Smarty();
$smarty->template_dir=$path;//模板文件路径
$smarty->compile_dir=$path.'/Compile';//编译目录
$smarty->cache_dir=$path.'/Cache';//缓存
$smarty->left_delimiter='{';//模板标签左
$smarty->right_delimiter='}';//模板标签右
$smarty->caching=true;//缓存开启
$smarty->cache_lifetime=60;//缓存时间
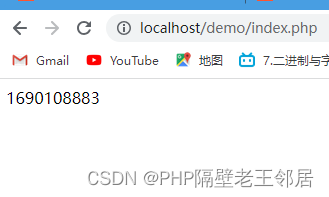
四、display和assign原理实现
创建index.html

$tpl=$path.'/index.html';
$smarty->assign('a',time());//赋值
$smarty->display($tpl);//显示对应模板
<!DOCTYPE html>
<html lang="en">
<head>
<meta charset="UTF-8">
<title>Title</title>
</head>
<body>
{$a}
</body>
</html>