1、什么是数据库读写分离?
数据库读写分离就是将数据库分成主从库,主库用来写入数据并对数据进行增删改的维护。从库通过某种同步机制从主库同步数据,即主库的完全镜像备份。读写分离一般是配置一个主库多个从库,它是一种常见的数据库架构设计。
2、数据库读写分离解决什么问题?
数据库读写分离主要是解决业务中对数据读性能的瓶颈。因为大多数系统一般情况下是读多写少,这个时候读操作会首先成为数据库服务的瓶颈,间接也会导致数据库的写入出现问题。一般互联网系统最开始采用的是单数据库的设计架构,也就是读写公用一个数据库,但是随着业务的扩展以及系统用户的增多,单数据库就会出现读写卡顿,甚至业务操作失败的情况。此时读写分离的设计思路就能在一定程度上满足系统的需求。正确使用读写分离的数据库架构,可以线性的提升数据库读操作的性能瓶颈,同时也能解决读写锁冲突对写入操作的影响而提升写操作的性能。
注:读写分离只是在一定程度上解决系统因业务以及用户体量的增加而暂时解决数据库性能冲突的一种设计思路,但它并不能彻底解决这个问题。当系统体量足够大的时候,读写分离也将无法应对系统的性能问题。而此时就需要其他的设计思路解决,比如数据库的分库,分区,分表等。
3、读写分离代码实现(springboot+mybatis+mysql)
一、首先需要先配置myslql的主从库,此配置可参见之前写过的这一篇文章
二、代码实现
1、在idea中新建一个springboot工程
2、在pom.xml中加入以下依赖注入的配置信息
<dependency>
    <groupId>org.springframework.boot</groupId>
    <artifactId>spring-boot-starter-aop</artifactId>
</dependency>
<dependency>
    <groupId>org.springframework.boot</groupId>
    <artifactId>spring-boot-starter-jdbc</artifactId>
</dependency>
<dependency>
    <groupId>org.springframework.boot</groupId>
    <artifactId>spring-boot-starter-web</artifactId>
</dependency>
<!-- 使用TkMybatis可以无xml文件实现数据库操作,只需要继承tkMybatis的Mapper接口即可-->
<dependency>
    <groupId>tk.mybatis</groupId>
    <artifactId>mapper-spring-boot-starter</artifactId>
    <version>1.1.4</version>
</dependency>
<dependency>
    <groupId>com.alibaba</groupId>
    <artifactId>druid</artifactId>
    <version>1.0.9</version>
</dependency>
<dependency>
    <groupId>mysql</groupId>
    <artifactId>mysql-connector-java</artifactId>
    <scope>runtime</scope>
</dependency>
<dependency>
    <groupId>org.springframework.boot</groupId>
    <artifactId>spring-boot-starter-test</artifactId>
    <scope>test</scope>
</dependency>
3、在src/main/resources目录下新建application.yml文件,并配置如下信息
server:
  port: 8082
  servlet:
    context-path: /dxfl
spring:
  datasource:
    #读库数目
    maxReadCount: 1
    type-aliases-package: com.teamo.dxfl.mapper
    mapper-locations: classpath:/mapper/*.xml
    config-location: classpath:/mybatis-config.xml
    write:
      url: jdbc:mysql://localhost:3306/test?useUnicode=true&characterEncoding=utf-8&useSSL=true
      username: root
      password:
      driver-class-name: com.mysql.jdbc.Driver
      initialSize: 2           #初始化大小
      maxWait: 6000        #获取连接时最大等待时间,单位毫秒。
      min-idle: 5            # 数据库连接池的最小维持连接数
      maxActive: 20         # 最大的连接数
      initial-size: 5          # 初始化提供的连接数
      max-wait-millis: 200    # 等待连接获取的最大超时时间
    read1:
      url: jdbc:mysql://localhost:3307/test?useUnicode=true&characterEncoding=utf-8&useSSL=true
      username: root
      password:
      driver-class-name: com.mysql.jdbc.Driver
      initialSize: 2          #初始化大小
      maxWait: 6000       #获取连接时最大等待时间,单位毫秒。
      min-idle: 5           # 数据库连接池的最小维持连接数
      maxActive: 20        # 最大的连接数
      initial-size: 5         # 初始化提供的连接数
      max-wait-millis: 200   # 等待连接获取的最大超时时间
4、编写数据源的配置类(在config目录下)
DataSourceConfig.java
@Configuration
public class DataSourceConfig {
    @Value("${spring.datasource.type-aliases-package}")
    private String typeAliasesPackage;

    @Value("${spring.datasource.mapper-locations}")
    private String mapperLocation;

    @Value("${spring.datasource.config-location}")
    private String configLocation;
    /**
     * 写数据源
     * @Primary 标志这个 Bean 如果在多个同类 Bean 候选时,该 Bean 优先被考虑。
     * 多数据源配置的时候注意,必须要有一个主数据源,用 @Primary 标志该 Bean
     */
    @Primary
    @Bean
    @ConfigurationProperties(prefix = "spring.datasource.write")
    public DataSource writeDataSource() {
        return new DruidDataSource();
    }

    /**
     * 读数据源
     */
    @Bean
    @ConfigurationProperties(prefix = "spring.datasource.read1")
    public DataSource readDataSource1() {
        return new DruidDataSource();
    }

    /**
     * 多数据源需要自己设置sqlSessionFactory
     */
    @Bean
    public SqlSessionFactory sqlSessionFactory() throws Exception {
        SqlSessionFactoryBean bean = new SqlSessionFactoryBean();
        bean.setDataSource(routingDataSource());
        ResourcePatternResolver resolver = new PathMatchingResourcePatternResolver();
        // 实体类对应的位置
        bean.setTypeAliasesPackage(typeAliasesPackage);
        // mybatis的XML的配置
        bean.setMapperLocations(resolver.getResources(mapperLocation));
        bean.setConfigLocation(resolver.getResource(configLocation));
        return bean.getObject();
    }

    /**
     * 设置数据源路由,通过该类中的determineCurrentLookupKey决定使用哪个数据源
     */
    @Bean
    public AbstractRoutingDataSource routingDataSource() {
        RoutingDataSourceConfig proxy = new RoutingDataSourceConfig();

        DataSource writeDataSource = writeDataSource();

        //设置数据源Map对象
        Map<Object, Object> dataSource = new HashMap<Object, Object>(2);
        dataSource.put(DataBaseTypeEnum.WRITE.getCode(), writeDataSource);

        //如果配置了多个读数据源,就一次添加到datasource对象中
        dataSource.put(DataBaseTypeEnum.READ.getCode()+"1", readDataSource1());

        //写数据源设置为默认数据源
        proxy.setDefaultTargetDataSource(writeDataSource);
        proxy.setTargetDataSources(dataSource);
        return proxy;
    }

    /**
     * 设置事务,事务需要知道当前使用的是哪个数据源才能进行事务处理(配置mybatis时候用到)
    */
     @Bean
     public DataSourceTransactionManager dataSourceTransactionManager() {
        return new DataSourceTransactionManager(routingDataSource());
     }
}
5、编写数据源路由的配置类(在config目录下),该类继承AbstractRoutingDataSource并重写determineCurrentLookupKey()方法,该方法实现数据源选择的逻辑。同时该类持有一个ThreadLocal对象,该对象用于存储当前线程使用的数据源类型是读或者写。可以自己编写一定的算法实现读库的负载均衡(加入读库配置了多个),此处简单的通过获取随机数的方式来选择使用哪一个读库数据源。
DataSourceRouteConfig.java
public class RoutingDataSourceConfig extends AbstractRoutingDataSource {
    //使用ThreadLocal对象保存当前线程是否处于读模式
    private static ThreadLocal<String> DataBaseMap= new ThreadLocal<>();

    @Value("${spring.datasource.maxReadCount}")
    private int maxReadCount;

    private final Logger log = LoggerFactory.getLogger(this.getClass());

    @Override
    protected Object determineCurrentLookupKey() {
        String typeKey = getDataBaseType();
        if (typeKey == DataBaseTypeEnum.WRITE.getCode()) {
            log.info("使用了写库");
            return typeKey;
        }
        //使用随机数决定使用哪个读库
        int index = (int) Math.floor(Math.random() * (maxReadCount - 1 + 1)) + 1;;
        log.info("使用了读库{}", index);
        return DataBaseTypeEnum.READ.getCode() + index;
    }

    public static void setDataBaseType(String dataBaseType) {
        DataBaseMap.set(dataBaseType);
    }

    public static String getDataBaseType() {
        return DataBaseMap.get() == null ? DataBaseTypeEnum.WRITE.getCode() : DataBaseMap.get();
    }

    public static void clearDataBaseType() {
        DataBaseMap.remove();
    }
}
6、我们需要编写一个Annotation类,专门用于标注Service类哪些方法使用读数据源,哪些方法使用写数据源。(除此种方法外,还可以在aop类中通过配置匹配方法名的方式,例如通配save*,update*,delete*的方法匹配写数据源,其它方法为读数据源,此处只考虑Annotation注解的方式)。
ReadDB.java
@Target({ElementType.METHOD, ElementType.TYPE})
@Retention(RetentionPolicy.RUNTIME)
public @interface ReadDB {
    //String value() default "";
}
7、编写aop类,在请求开启事务之前,使用spring的aop(面向切面编程)先判断Service方法上是否注解ReadDB,如果方法上进行了ReadDB注解,则选择读数据源。此类实现了Ordered接口并重写getOrder()方法,该接口是通知Spring调用类执行方法顺序,getOrder()方法返回的值越小,优先级越高。此处需要注意getOrder()方法返回的值一定要小于在工程启动类中对@EnableTransactionManagement(order=)对设置的值,以确保选择数据源的操作在开启事务之前执行。
DxflApplication.java
@SpringBootApplication
@EnableTransactionManagement(order = 5)
public class DxflApplication {
    public static void main(String[] args) {
        SpringApplication.run(DxflApplication.class, args);
    }
}
ReadDBAspect.java
@Aspect
@Component
public class ReadDBAspect implements Ordered {
    private static final Logger log= LoggerFactory.getLogger(ReadDBAspect.class);
    @Around("@annotation(readDB)")
    public Object setRead(ProceedingJoinPoint joinPoint, ReadDB readDB) throws Throwable {
        try{
            //设置读数据源
            RoutingDataSourceConfig.setDataBaseType(DataBaseTypeEnum.READ.getCode());
            return joinPoint.proceed();
        }finally {
            log.info("清除dataSource类型选中值:"+DataBaseTypeEnum.READ.getData());
            RoutingDataSourceConfig.clearDataBaseType();
        }
    }
    @Override
    public int getOrder() {
        return 0;
    }
}
8、编写Service方法,在读数据的方法上添加@ReadDB注解,标注方法为读库方法。
UserServiceImpl.java
@Service
public class UserviceServiceImpl implements UserService {
    @Autowired
    private UserMapper userMapper;

    @Override
    @ReadDB
    public List<User> getAllUser() {
        return userMapper.selectAll();
    }

    @Override
    @Transactional(rollbackFor = RuntimeException.class)
    public boolean save(User user){
        if(userMapper.insert(user)>0){
            return true;
        }else{
            return false;
        }
        //throw new RuntimeException("测试事务");
    }
}
9、编写Controller类调用Service方法,实现读写方法的测试。
UserController.java
@RestController
@RequestMapping("/user")
public class UserController{
    @Autowired
    private UserService userService;

    @GetMapping("getAllUser")
    public List<User> getAllUser() {
        List resList = userService.getAllUser();
        return resList;
    }

    @PostMapping("save")
    public Result save(@RequestBody User user){
        Result result = new Result();
        if(null != user){
            try{
                userService.save(user);
                result.setCode(ResultEnum.SUCCESS.getCode());
                result.setMsg("保存用户成功!");
            }catch(Exception e) {
                e.printStackTrace();
                result.setCode(ResultEnum.SUCCESS.getCode());
                result.setMsg("保存用户失败,原因:"+ e.getMessage() +"!");
            }
        }else{
            result.setCode(ResultEnum.SUCCESS.getCode());
            result.setMsg("保存用户失败,原因:用户数据为空!");
        }
        return result;
    }
}
10、测试
成功启动服务后,测试读库:在浏览器输入地址,http://localhost:8089/dxfl/user/getAllUser,显示如下:
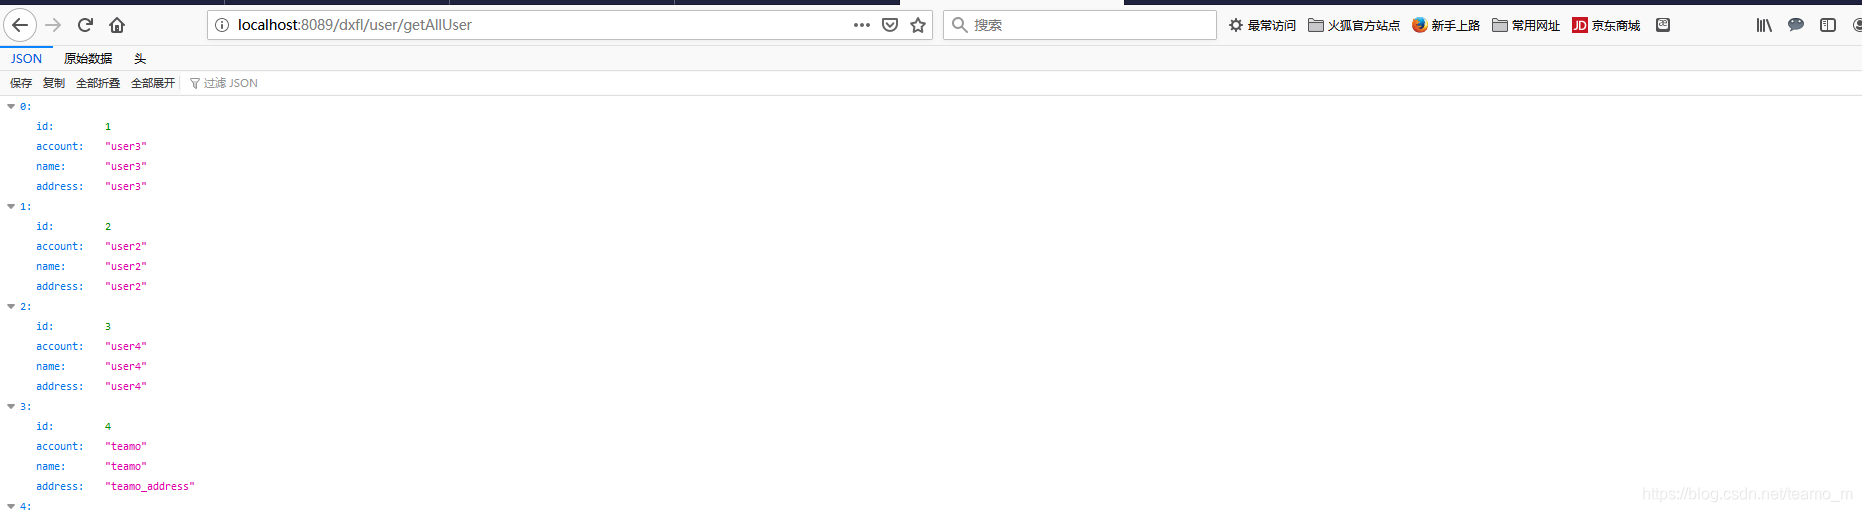 查看后台打印:显示使用了读库
 测试写库
测试写库
测试写库需要进行form提交,此时需要一个测试工具,此处使用的是ApiPost。打开测试工具,在测试栏里输入保存用户的接口,提交方式选择application/json,然后点击发送按钮,带响应出成功返回信息,并提示保存用户成功则代表写入测试成功。
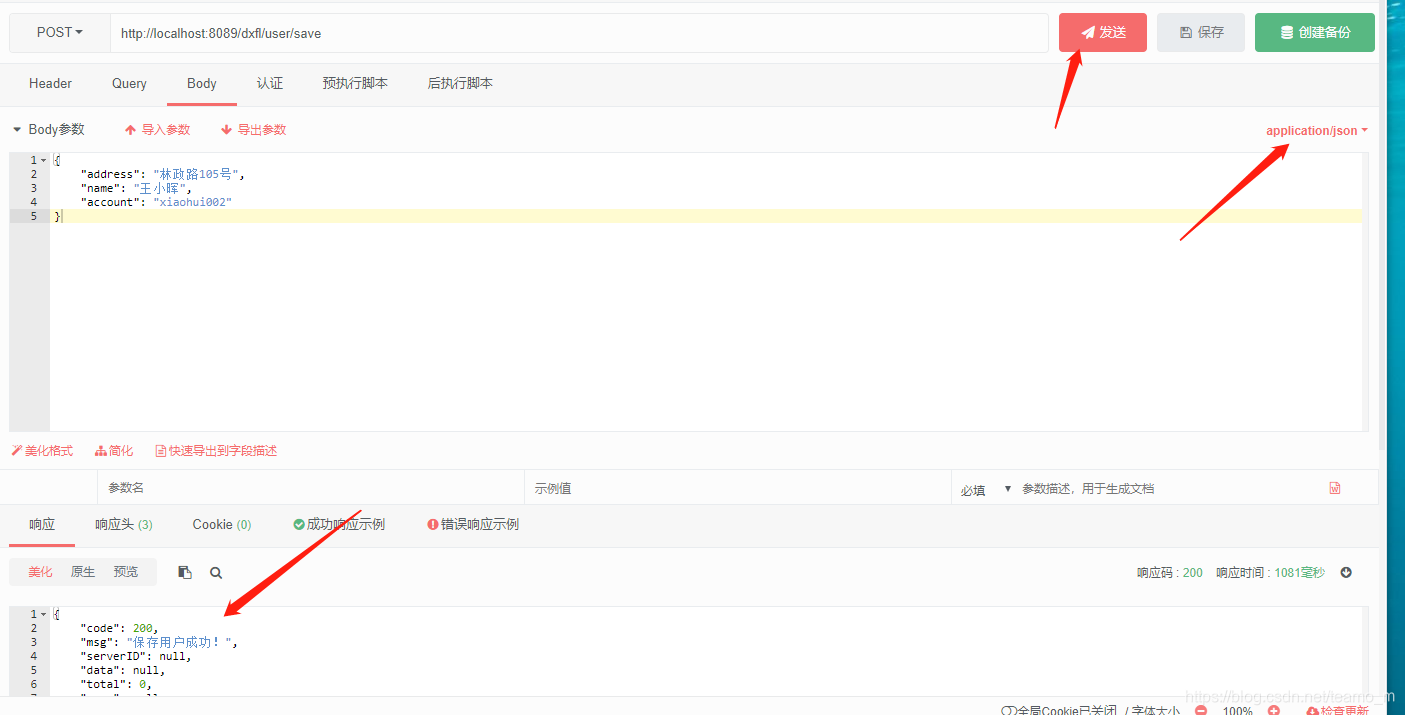 后端日志打印信息为:使用了写库,则表名测试写库成功。
 为了成功验证读写分离是否真正成功,在测试写库的时候可以先关闭总从库的功能(stop slave),待确保写入的是指定的写库后再开启主从库功能(start slave)。