首先区分CV与MV:OpenCV是一个开源视觉库,不包括硬件;而OpenMV则是一个硬件和软件搭配的摄像头小型模块。
配置opencv环境(可分为C++和python)
python配置:
- 下载好适合的python版本:https://www.python.org/doc/versions/zh-cn/
- 下载PyCharm:https://www.jetbrains.com/pycharm/promo/anaconda/
- 在PyCharm中安装“opencv-python”与“opencv-contrib-python”步骤如下:
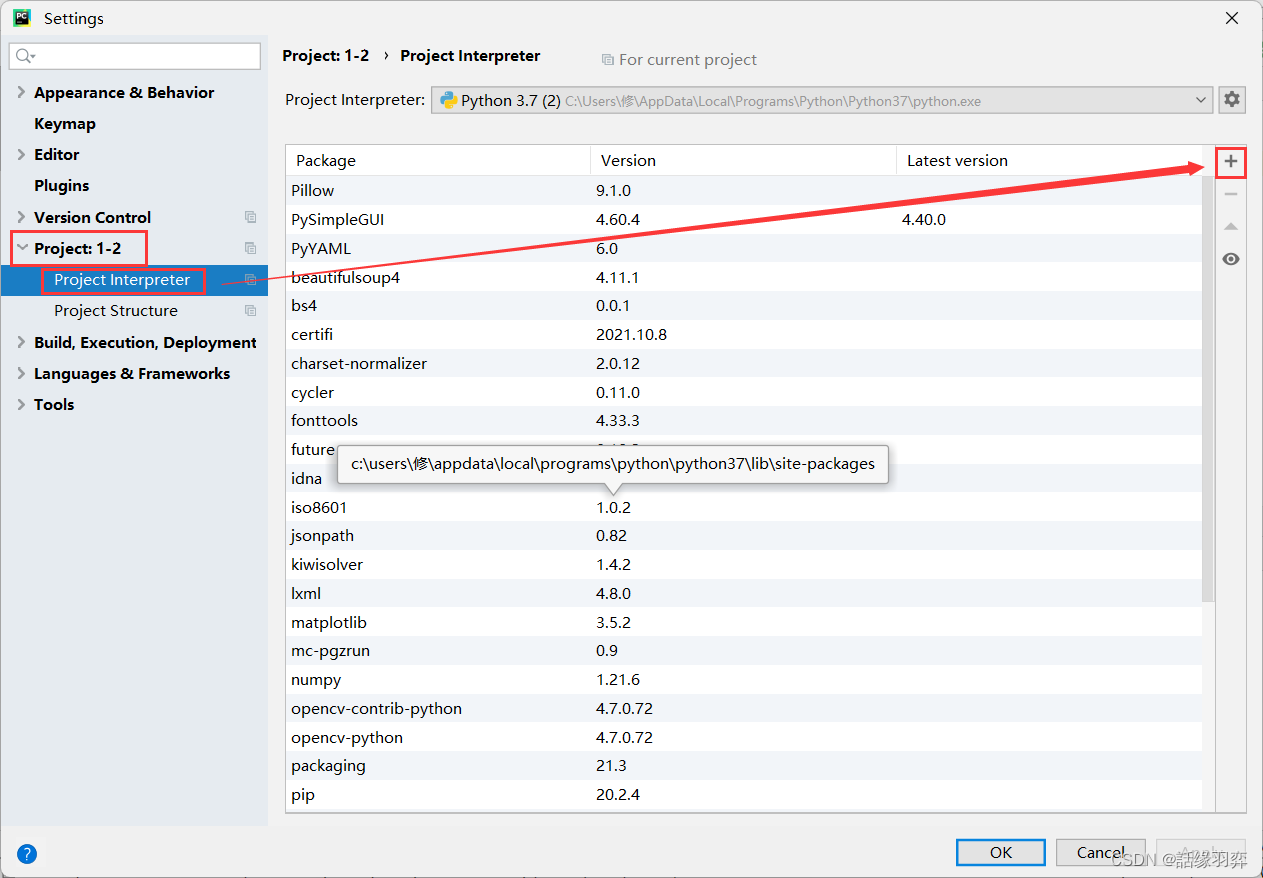
进入PyCharm,点击菜单栏“File”→“Settings”,

进入Settings后,选择“Project:xx”→“Project Interpreter”中点击“+”号键,
弹出该界面, 点击“Manage Repositories”加入镜像源,
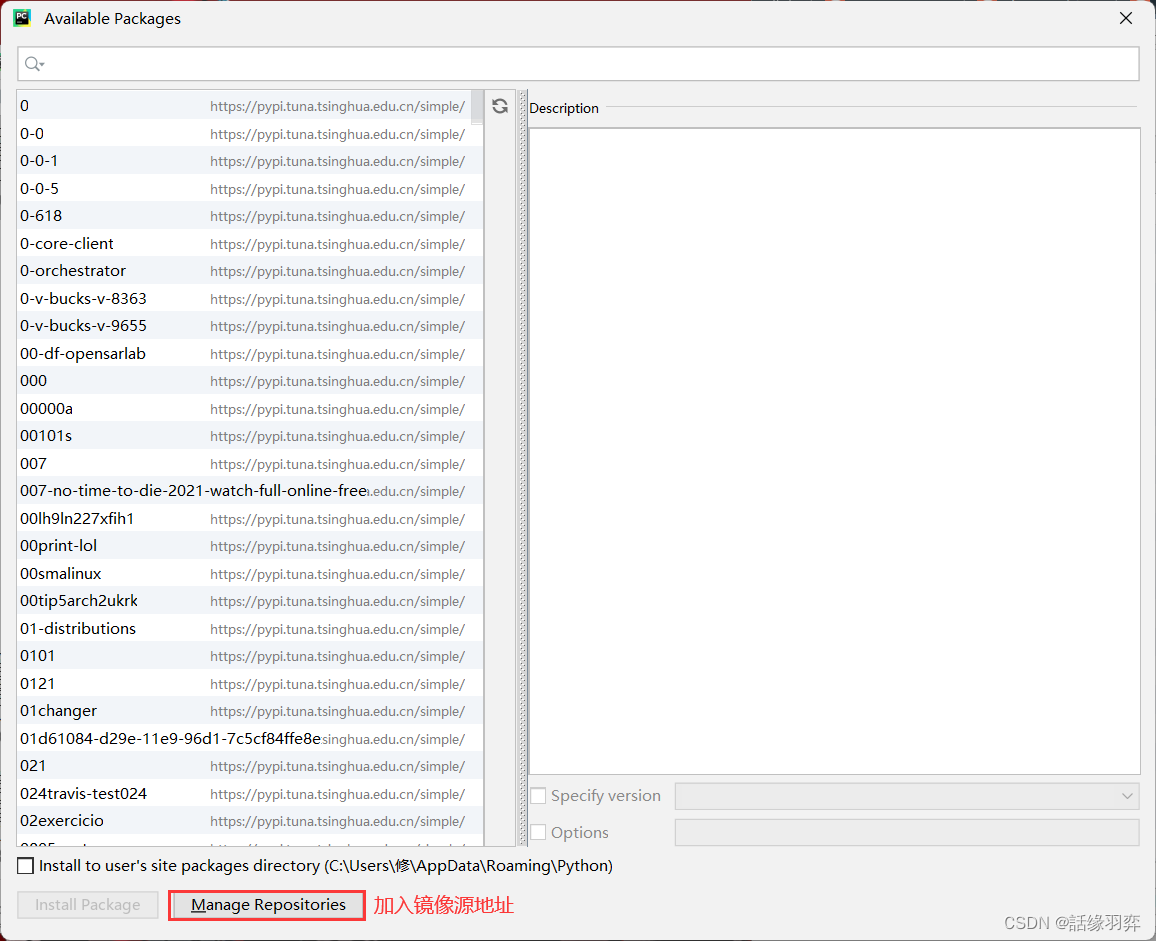
以下是常用的 Python 镜像源:
- 清华大学开源软件镜像站:https://mirrors.tuna.tsinghua.edu.cn/help/pypi/
- 阿里云镜像:https://mirrors.aliyun.com/pypi/simple/
- 豆瓣镜像:https://pypi.doubanio.com/simple/
- 中科大镜像:https://pypi.mirrors.ustc.edu.cn/simple/
输入“opencv-python”与“opencv-contrib-python”下载即可。
C++配置:
推荐一位UP主讲的视频,挺全的https://www.bilibili.com//...