简介
- pytest 可以支持自定义标记,自定义标记可以把一个 web 项目划分为多个模块,然后指定模块名称执行
Pytest 里面自定义标记
用法:将@pytest.mark.标记名称 放到测试函数或者类上面
使用:
- 执行时加上 -m 标记名 进行用例筛选,例如加上 -m app ,就执行标记名为app的用例。
- 如果不运行app相关的用例,则加上 -m “not app”。
- 需要运行多个标记则加上-m “app or web”,代码运行标记为app或者web的用例。
- 需要运行多个标记的,则加上 -m “app and web”,代表用例需要同时包含app和web的标记。
小栗子
import pytest

@pytest.mark.weibo
def test_weibo():
    print("测试微博")

@pytest.mark.wx
def test_wx():
    print("测试微信")

@pytest.mark.xinlang
class TestStudy:
    def test_demo(self):
        print("测试新浪")

def test_noMark():
    print("没有测试标记")
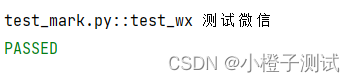
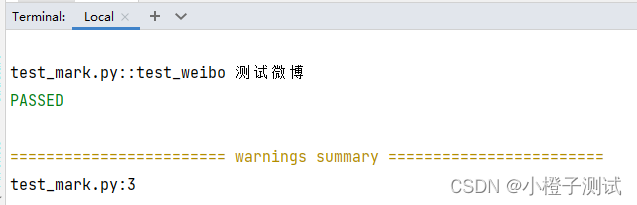
cmd命令窗口输入: pytest -v -m weibo test_mark.py 执行结果为:
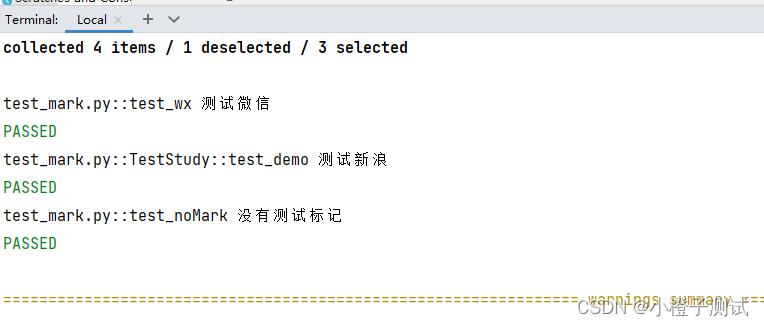
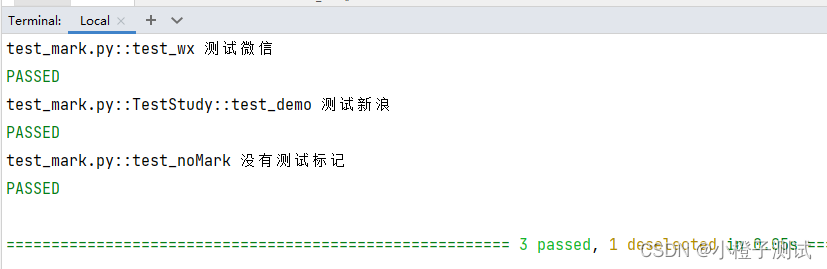
cmd命令窗口输入: pytest -v -m “not weibo” test_mark.py 执行结果为:
如何避免warnings
- 通过注册标记
- 通过框架配置文件pytest.ini
通过注册标记
在 conftest.py 添加如下的代码:
- 单个注册标记
def pytest_configure(config):
    config.addinivalue_line("markers", "web:web相关用例")
- 批量注册标记
def pytest_configure(config):
    marker_list = ["weibo", "wx" , "xinlang"] # 标签名集合
    for markers in marker_list:
        config.addinivalue_line("markers", markers)
注意:conftest.py 文件放到case目录,添加内容对应的内容
cmd命令窗口输入: pytest -v -m “not weibo” test_mark.py 执行结果为
通过文件pytest.ini标记
创建一个pytest.ini文件
- 加上自定义mark,如下图
- 注意:pytest.ini需要和运行的测试用例同一个目录,或在根目录下作用于全局
[pytest]

markers=
   weibo:this  is weibo page
cmd命令窗口输入: pytest -v -m wx test_mark.py 执行结果为