一、算法需求
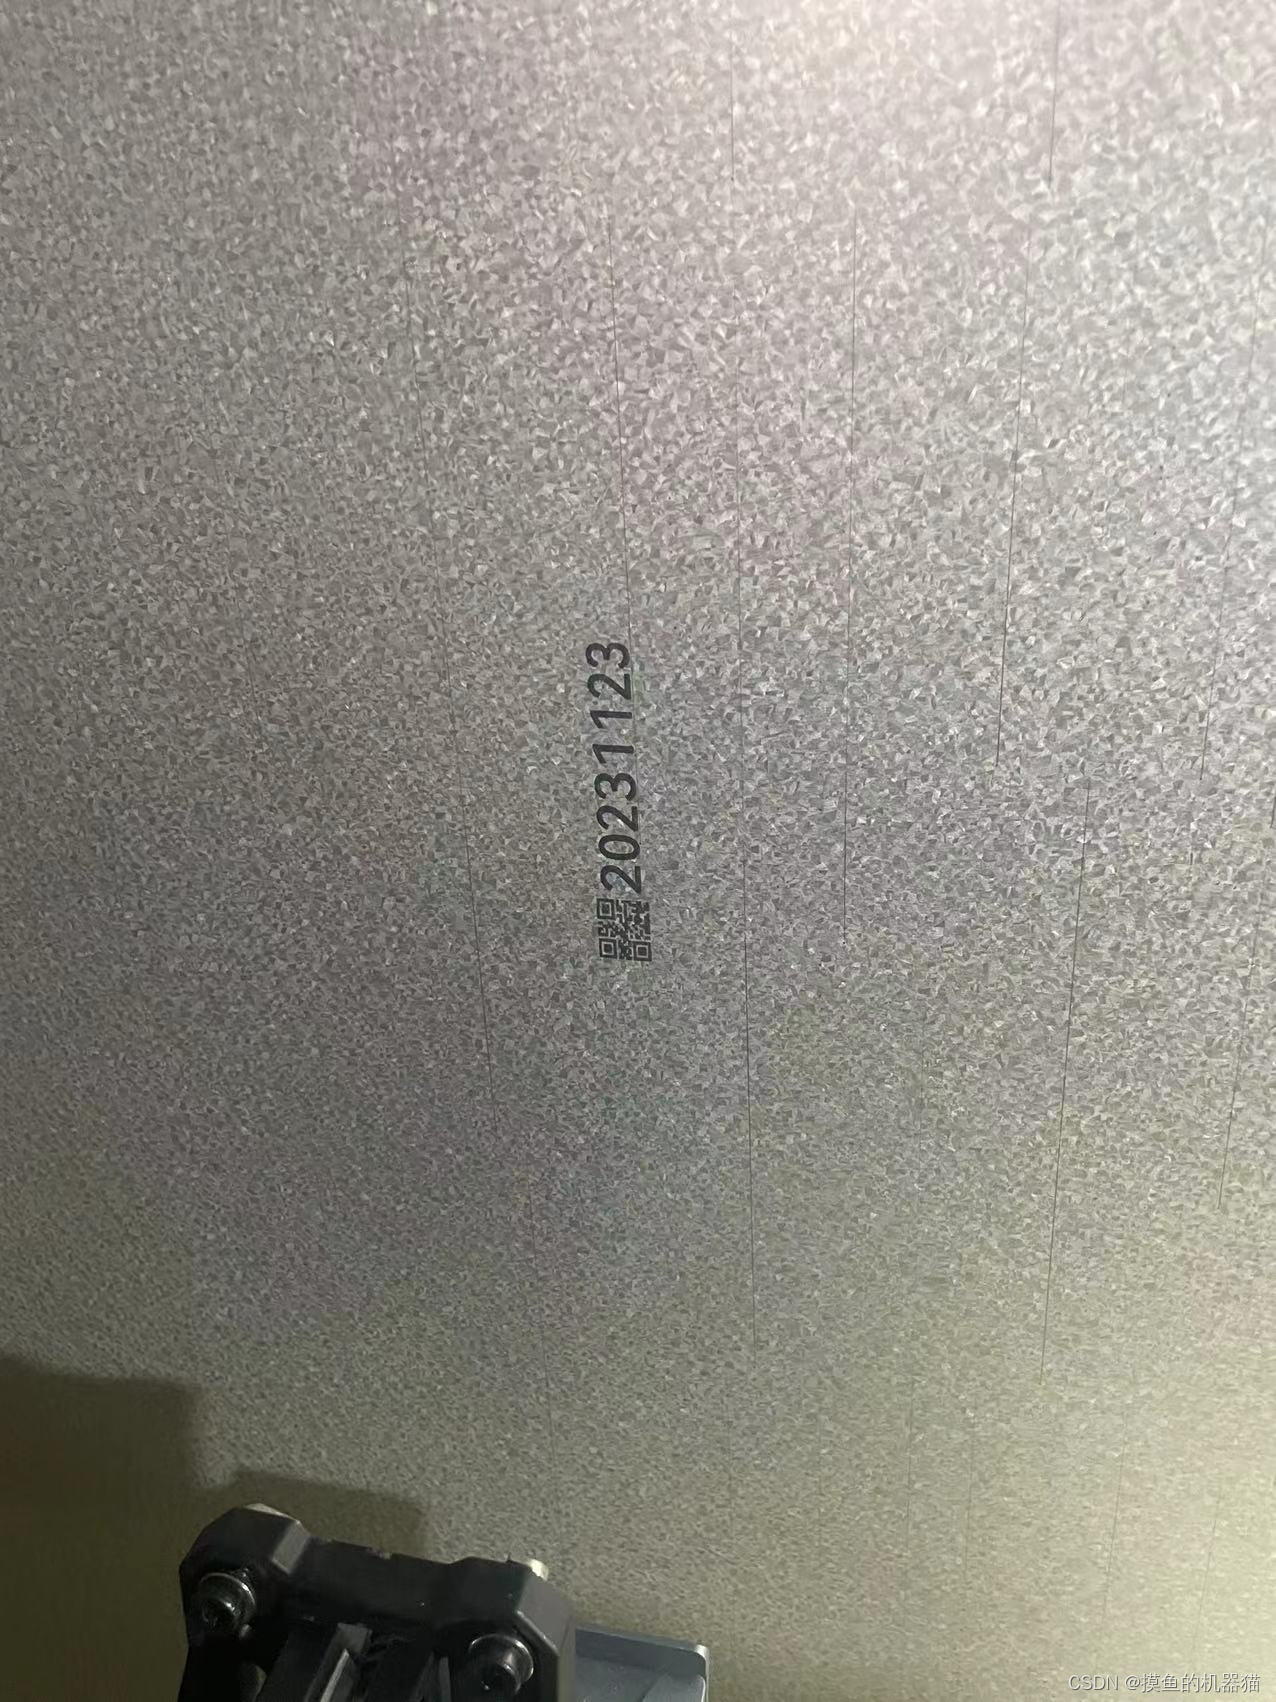
对原始图像进行优化,提取其中的二维码区域,以便于后续算法(如zbar库)进行识别。具体图片如下所示。
补充说明:在进行二维码识别时,二维码成像区域太小,很容易导致识别失败。手机软件(如微信或支付宝)在识别二维码时,发现二维码较小,会自动缩放摄像头。
二、问题分析
对上图进行分析发现,图像中的二维码有以下特点:
1、二维码成像区域较小,在全图中占比不大===》二维码提取难度大
2、图像光照环境较为复杂,有亮部、暗部、阴影、黑色物体===》较难进行合理的二值化
3、背景比较复杂,存在灰色和白色的斑点,而二维码是白色和黑色的斑点===》二维码的局部图形与背景图形高度类似
三、核心思路
1、读取图片为灰度图,并优化图像质量(使用滤波尽可能减少图像背景的复杂度)
2、对图像进行自适应二值化(其可以根据图像局部空间,计算每一个区域的二值化阈值)
3、图形显著化,使用大kernel进行均值滤波,使二维码图形在原二值化中变得十分显著【该操作可以提升二维码区域的显著度,弱化背景】
4、显著区域提取,根据均值滤波结果进行二值化,并找出最大面积连通域,然后得出其位置
四、具体实现
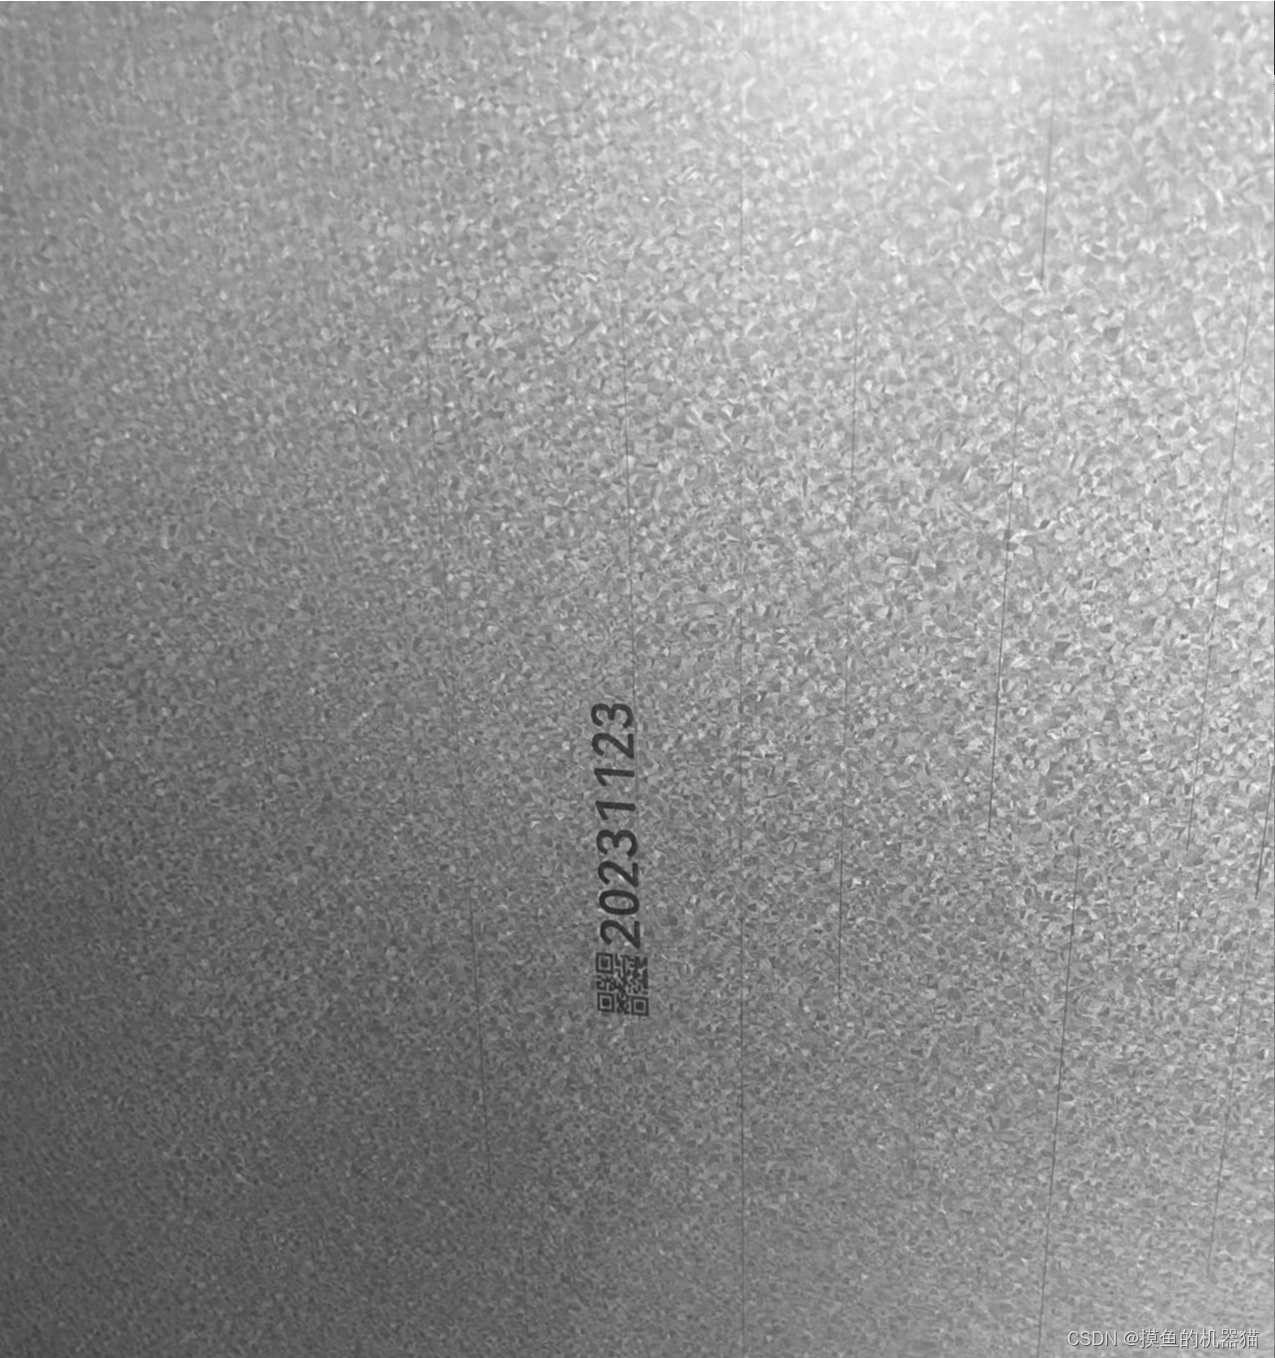
4.1 读取并优化图像
使用GaussianBlur可以降低图像中的噪声
	std::string path = "D:\\实战项目\\二维码识别\\img2.jpg";
	Mat imageSource = imread(path, 0);
	Mat img_blur, img_bin, img_boxfilter, img_boxfilter_bin, img_boxfilter_bin_erode;
	    imageSource.copyTo(img_blur);
    GaussianBlur(img_blur, img_blur, Size(3, 3), 0);  //滤波
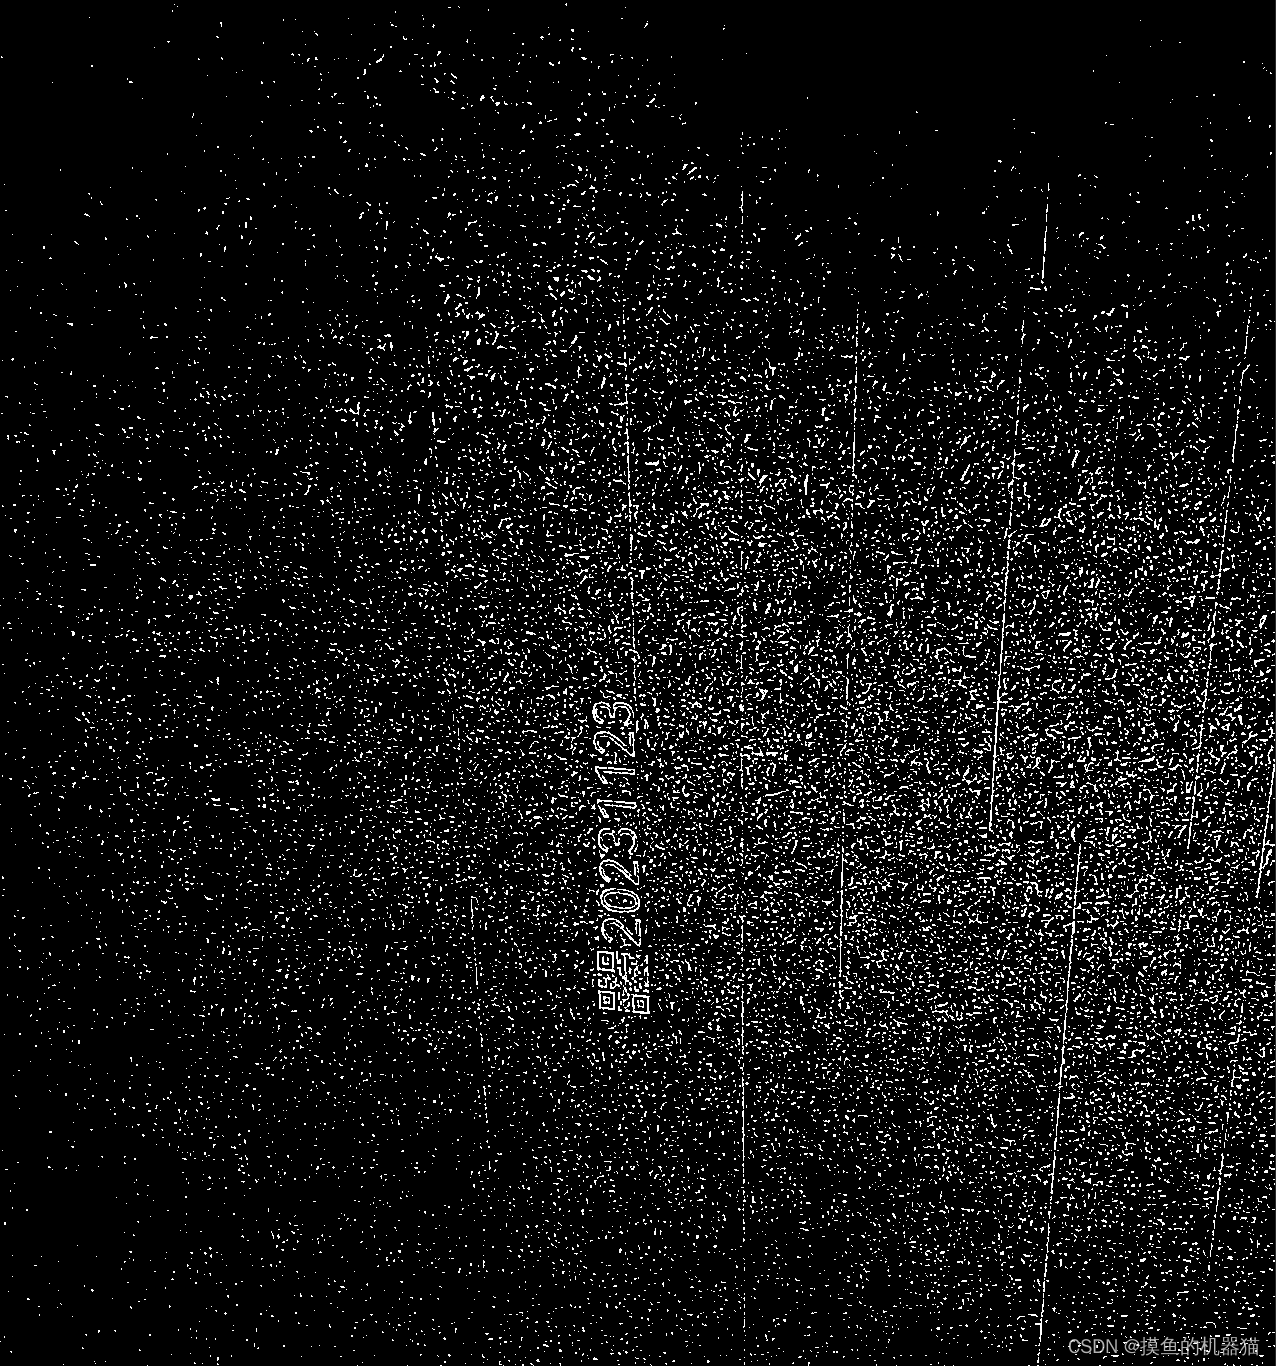
4.2 自适应二值化
自适应二值化是一种图像处理技术,它可以根据图像的局部特征自适应地设定阈值,做出二值化处理。这种技术有多种实现方式,其中一种是自适应阈值二值化。自适应阈值二值化是一种局部的方法,使用一个滑动窗口在图片上滑动,使用窗口内的值来计算阈值。
在使用过程中,针对不同尺度的目标需要调整blockSize的值,本文中值为7.
//自适应二值化
    cv::adaptiveThreshold(img_blur, img_bin, 255, cv::THRESH_BINARY_INV, cv::ADAPTIVE_THRESH_GAUSSIAN_C, 7, 8);
自适应二值化的参数列表及其含义如下:
void adaptiveThreshold(InputArray src, OutputArray dst, double maxValue, int adaptiveMethod, int thresholdType, int blockSize, double C)
src参数 表示输入图像(8位单通道图像);
maxValue参数 表示使用 THRESH_BINARY 和 THRESH_BINARY_INV 的最大值;
adaptiveMethod参数 表示自适应阈值算法,平均 (ADAPTIVE_THRESH_MEAN_C)或高斯(ADAPTIVE_THRESH_GAUSSIAN_C);
thresholdType参数表示阈值类型,必须为THRESH_BINARY或THRESH_BINARY_INV的阈值类型;
blockSize参数 表示块大小(奇数且大于1,比如3,5,7........ );
C参数是常数,表示从平均值或加权平均值中减去的数。通常情况下,这是正值,但也可能为零或负值。
在进行自适应二值化后,可以发现二维码区域已经比较显著,但是无法将其与背景噪音移除开。(曾尝试过低通滤波【无法完全消除噪点】、选最大面积连通域【图形中的白线或数字才是最大面积连通域】、选topk连通域【k值不确定,不同的图片需要修改k值才能确保二维码被保留】)
4.3 图形显著化
大kernel均值滤波是一种图像平滑处理方法,它可以通过对图像进行卷积操作,将每个像素的值替换为其周围像素的平均值。这种方法的优点是简单易懂,计算速度快,而且可以有效地去除噪声。然而,大kernel均值滤波也有一些缺点,例如它可能会导致图像模糊,而且在处理边缘时可能会产生不良效果。但是,在很多背景噪声较多的图片中,大kernel均值滤波,使噪声变得更加平滑,同时使目标图像变得显著的亮、或者显著性的暗。
boxFilter(img_bin, img_boxfilter, -1, Size(50, 50), Point(-1, -1), true);
cv::threshold(img_boxfilter, img_boxfilter_bin, 60, 255, cv::THRESH_BINARY);
通过大kernel均值均值滤波后,只有二维码区域和数字区域比较显著。

在进行二值化后,就只有二维码区域和数字区域了
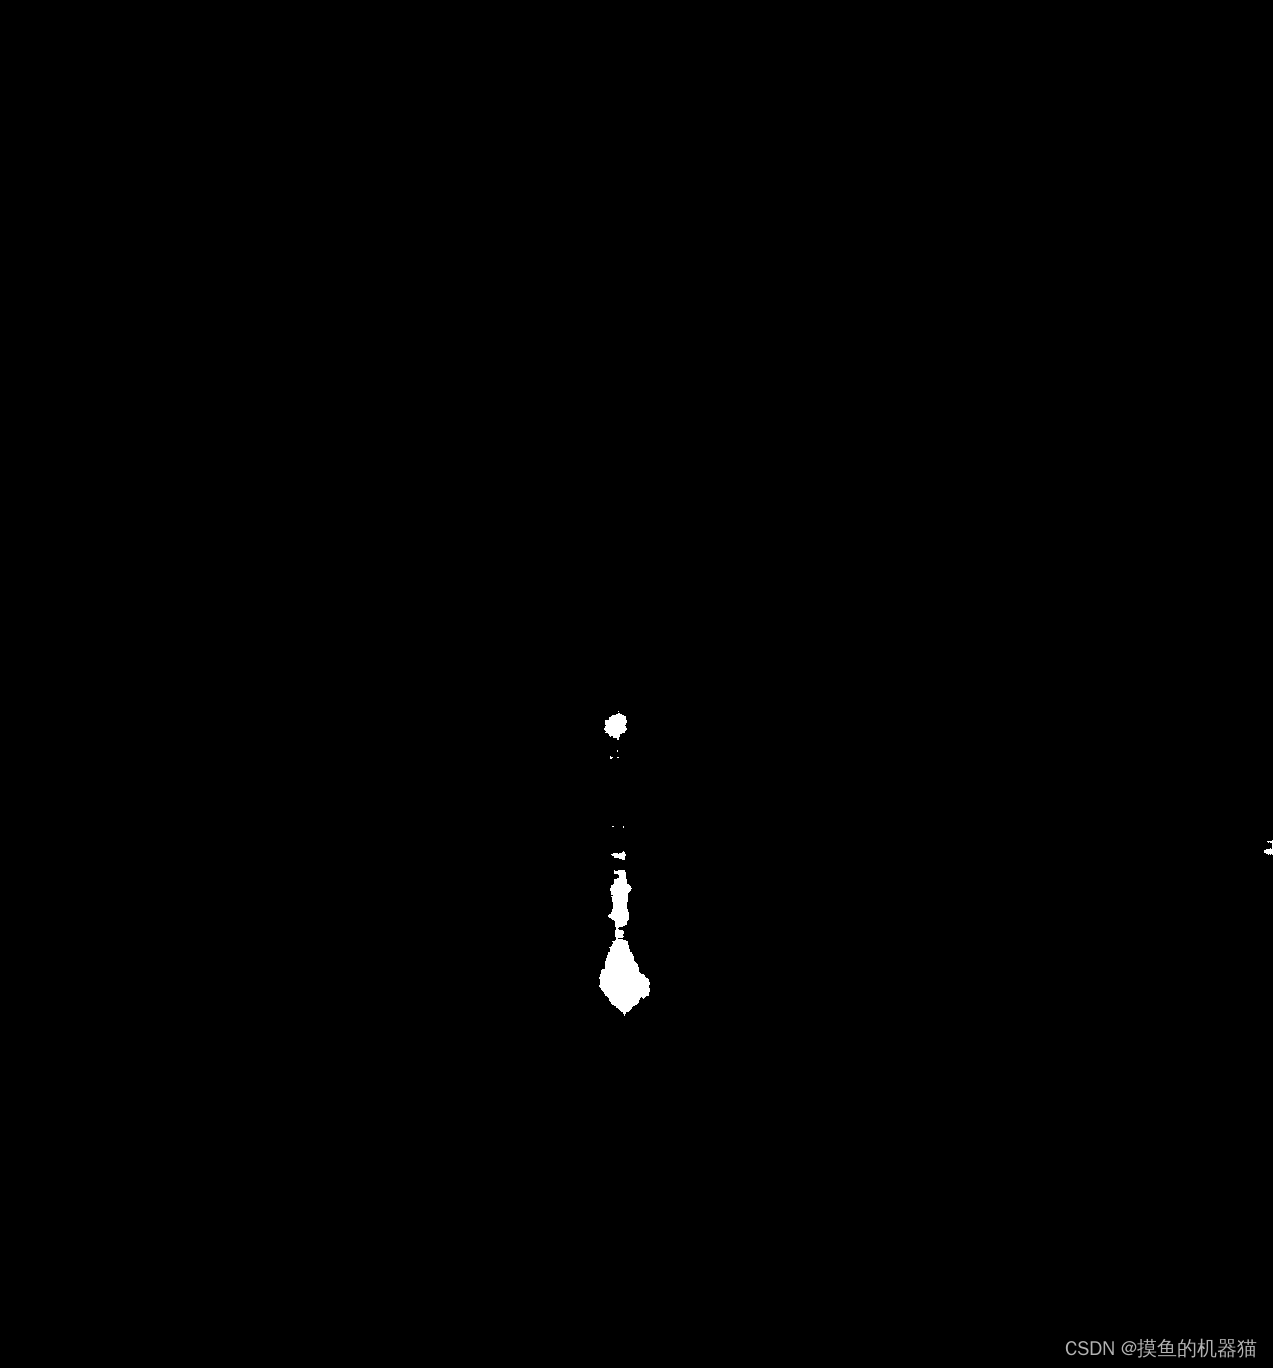
4.4 显著区域提取
先对二值图进行进行腐蚀,使一些错误的显著区域(数字区域)与目标显著区域断开连接,然后找到最大面积连通域,再对其进行膨胀,使其能完整的覆盖原图二维码区域。最后,获取图形的外接矩形,并基于此将其从原图中截取出来。

以下代码中的findTopKArea函数源自https://hpg123.blog.csdn.net/article/details/126864086
	morphologyEx(img_boxfilter_bin, img_boxfilter_bin_erode, MORPH_ERODE,
        getStructuringElement(MORPH_RECT, Size(7, 7)));
 Mat img_max_area, img_area_dilate, img_qr_area;
    // 找到最大面积连通域(二维码区域)
    img_max_area = findTopKArea(img_boxfilter_bin_erode, 1);

    //使二维码的连通域能覆盖原图区域
    morphologyEx(img_max_area, img_area_dilate, MORPH_DILATE,
        getStructuringElement(MORPH_RECT, Size(31, 31)));
    bitwise_and(img_area_dilate, imageSource, img_qr_area);

    //获取轮廓的外接矩形,并裁剪出来
    vector<vector<Point>> contours;
    vector<Vec4i> hierarchy;
    findContours(img_area_dilate, contours, hierarchy, RETR_EXTERNAL, CHAIN_APPROX_SIMPLE, Point(0, 0));
    vector<Rect> boundRect(contours.size());
    for (int i = 0; i < contours.size(); i++)
    {


        boundRect[i] = boundingRect(Mat(contours[i]));
        rectangle(imageSource, boundRect[i].tl(), boundRect[i].br(), (0, 0, 255), 2, 8, 0);
    }
    Mat ROI = imageSource(boundRect[0]);
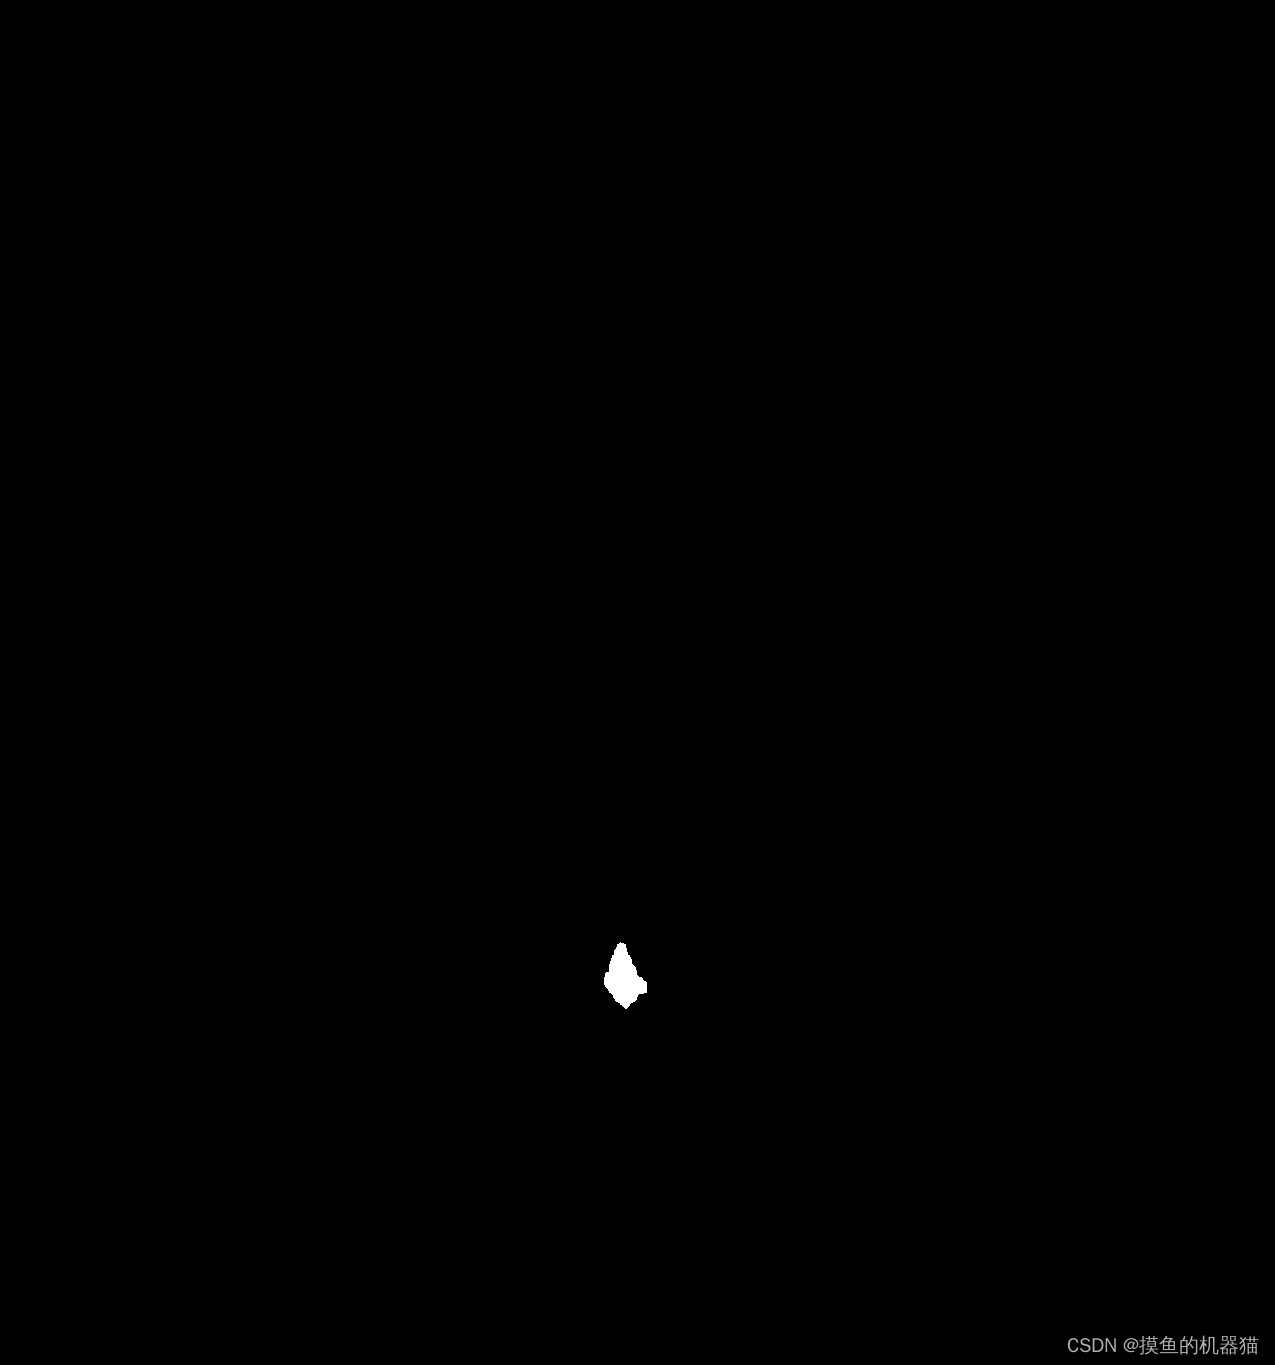
对图形进行腐蚀,使二维码区域与数字区域断开

选择最大面积连通域,保留二维码区域
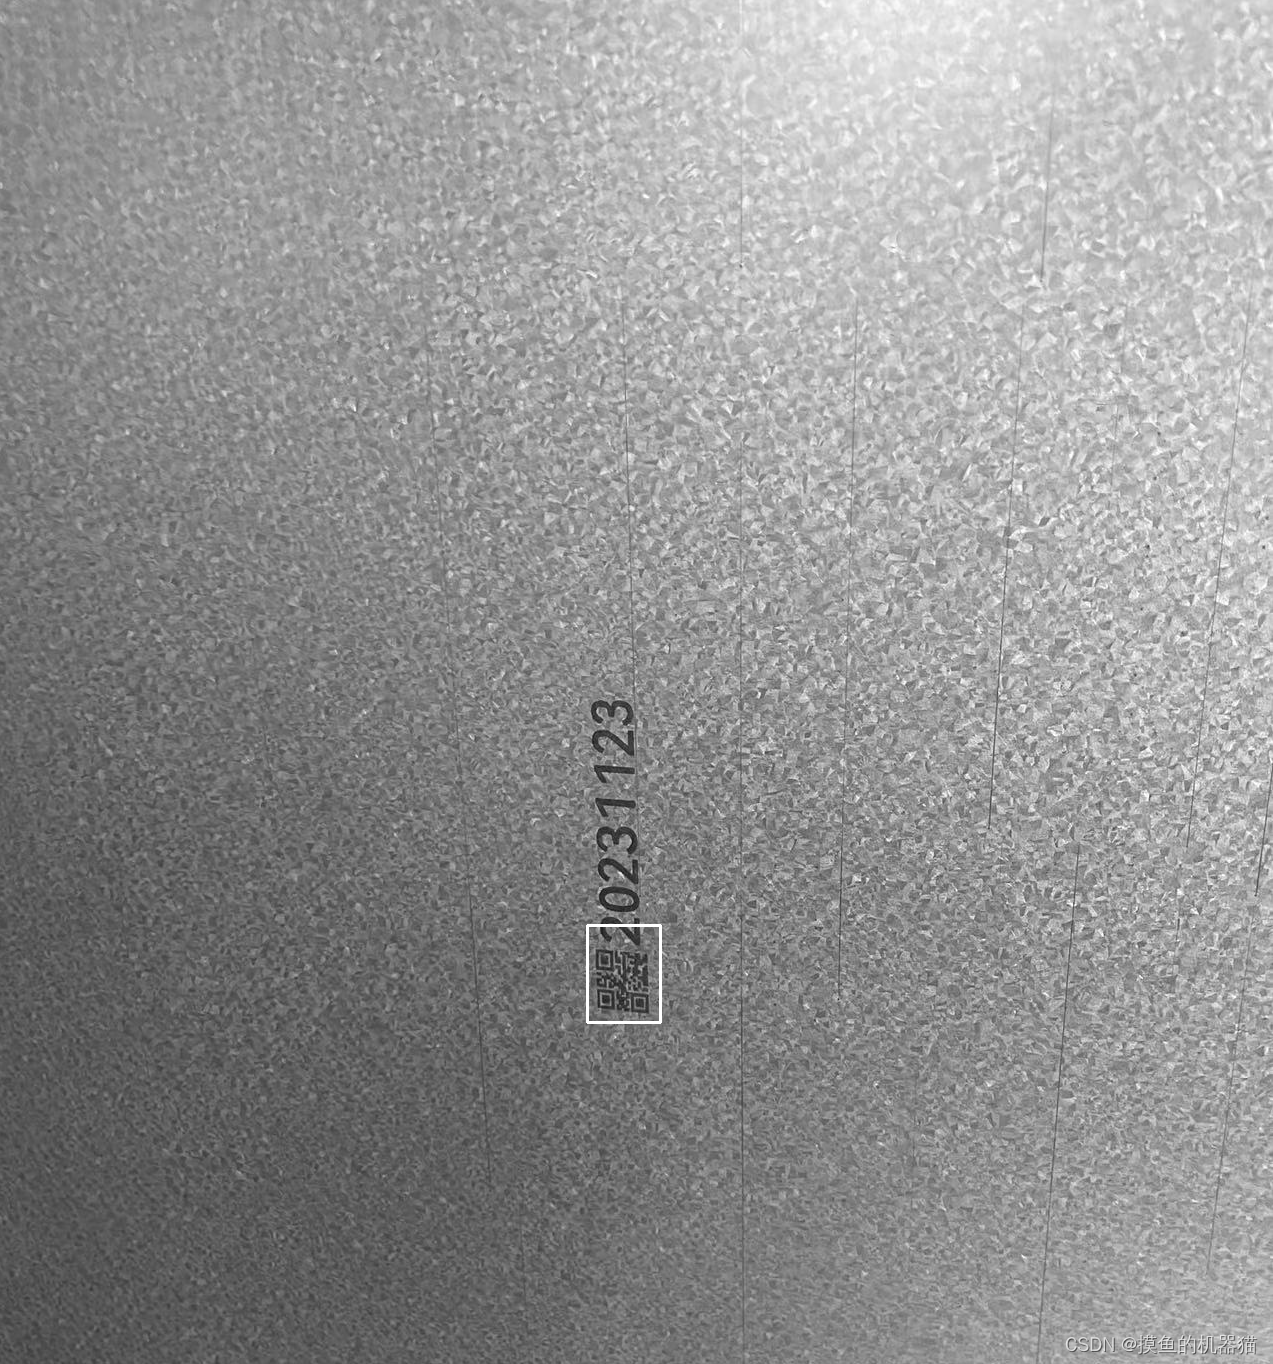
对二维码区域进行膨胀后,获取其连通域位置并绘制在原图上。
五、完整代码
以下代码中,opencv的配置请参考https://blog.csdn.net/m0_74259636/article/details/128525031
#include <iostream>
#include "string.h"
#include <opencv2/opencv.hpp>
using namespace std;
using namespace cv;

//https://hpg123.blog.csdn.net/article/details/126864086
bool mypairsort(pair<int, int> i, pair<int, int> j) {

     return (i.second > j.second); }
//找图中topk个连通域
Mat findTopKArea(Mat srcImage, int topk)
{


    Mat temp;
    Mat labels;
    srcImage.copyTo(temp);

    //1. 标记连通域
    int n_comps = connectedComponents(temp, labels, 4, CV_16U);
    vector<pair<int, int>> histogram_of_labels;
    for (int i = 0; i < n_comps; i++)//初始化labels的个数为0
    {


        histogram_of_labels.push_back({

     i,0 });
    }

    int rows = labels.rows;
    int cols = labels.cols;
    for (int row = 0; row < rows; row++) //计算每个labels的个数--即连通域的面积
    {


        for (int col = 0; col < cols; col++)
        {


            histogram_of_labels.at(labels.at<unsigned short>(row, col)).second += 1;
        }
    }
    //histogram_of_labels.at(0).second = 0; //将背景的labels个数设置为0

    //2.对连通域进行排序
    std::sort(histogram_of_labels.begin(), histogram_of_labels.end(), mypairsort);
    //3. 取前k个连通域的labels id
    vector<int> select_labels;
    for (int i = 0; i < topk; i++)
    {


        if (histogram_of_labels[i].first == 0) {


            topk += 1;
            //如果碰到背景,则跳过,且topk+1
        }
        else {


            select_labels.push_back(histogram_of_labels[i].first);
        }
    }

    //3. 将label id在select_labels的连通域标记为255,并将其他连通域置0
    for (int row = 0; row < rows; row++)
    {


        for (int col = 0; col < cols; col++)
        {


            int now_label_id = labels.at<unsigned short>(row, col);
            if (std::count(select_labels.begin(), select_labels.end(), now_label_id)) {


                labels.at<unsigned short>(row, col) = 255;
            }
            else {


                labels.at<unsigned short>(row, col) = 0;
            }
        }
    }

    //4. 将图像更改为CV_8U格式
    labels.convertTo(labels, CV_8U);
    return labels;
}

//截取出图像中的二维码
Mat get_qr_code(Mat imageSource) {


    Mat img_blur, img_bin, img_boxfilter, img_boxfilter_bin, img_boxfilter_bin_erode;
    imageSource.copyTo(img_blur);
    GaussianBlur(img_blur, img_blur, Size(3, 3), 0);  //滤波
    //自适应二值化
    cv::adaptiveThreshold(img_blur, img_bin, 255, cv::THRESH_BINARY_INV, cv::ADAPTIVE_THRESH_GAUSSIAN_C, 7, 8);

    // true表示为 均值滤波
    boxFilter(img_bin, img_boxfilter, -1, Size(50, 50), Point(-1, -1), true);

    cv::threshold(img_boxfilter, img_boxfilter_bin, 60, 255, cv::THRESH_BINARY);

    //imshow("img_bin", img_bin);
    //imshow("img_boxfilter", img_boxfilter);

    //-------------进行形态学操作,提取二维码区域切片--------
    // 使连通域断开,将二维码主体与数字进行分离
    morphologyEx(img_boxfilter_bin, img_boxfilter_bin_erode, MORPH_ERODE,
        getStructuringElement(MORPH_RECT, Size(7, 7)));

    Mat img_max_area, img_area_dilate, img_qr_area;
    // 找到最大面积连通域(二维码区域)
    img_max_area = findTopKArea(img_boxfilter_bin_erode, 1);

    //使二维码的连通域能覆盖原图区域
    morphologyEx(img_max_area, img_area_dilate, MORPH_DILATE,
        getStructuringElement(MORPH_RECT, Size(31, 31)));
    bitwise_and(img_area_dilate, imageSource, img_qr_area);

    //获取轮廓的外接矩形,并裁剪出来
    vector<vector<Point>> contours;
    vector<Vec4i> hierarchy;
    findContours(img_area_dilate, contours, hierarchy, RETR_EXTERNAL, CHAIN_APPROX_SIMPLE, Point(0, 0));
    vector<Rect> boundRect(contours.size());
    for (int i = 0; i < contours.size(); i++)
    {


        boundRect[i] = boundingRect(Mat(contours[i]));
        rectangle(imageSource, boundRect[i].tl(), boundRect[i].br(), (0, 0, 255), 2, 8, 0);
    }
    Mat ROI = imageSource(boundRect[0]);

    //
    imshow("imageSource", imageSource);
    imshow("img_blur", img_blur);
    imshow("img_bin", img_bin);
    imshow("img_boxfilter", img_boxfilter);
    imshow("img_boxfilter_bin", img_boxfilter_bin);
    imshow("img_boxfilter_bin_erode", img_boxfilter_bin_erode);
    imshow("img_max_area", img_max_area);;
    imshow("ROI", ROI);
    return ROI;
}
int main(int argc, char* argv[]) {


    std::string path = "img2.jpg";
    Mat imageSource = imread(path, 0);
    Mat qrcode = get_qr_code(imageSource);
}