在IntelliJ IDEA中创建Spring项目
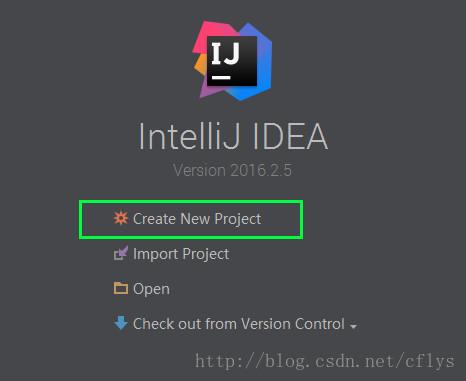
在首先点击Create New Project
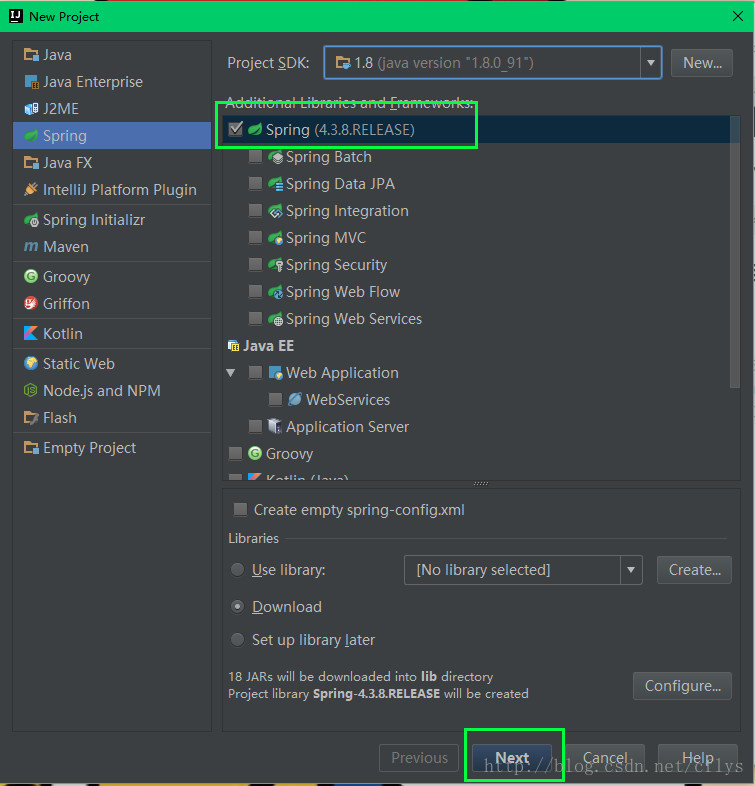
勾选Spring然后next
设置你项目所想要存放的路径以及名字
注:IntelliJ IDEA中的project相当于eclipse中的workspace,而module才相当于一个project,所以我们不需要创建workspace,IntelliJ IDEA默认也会给你创建一个module。
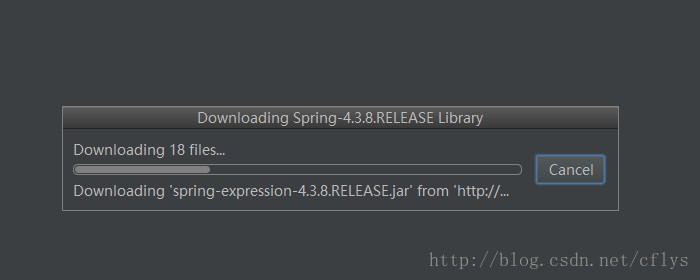
这时候IntelliJ IDEA就会自动下载Spring所需要的jars,只需要等待就好。
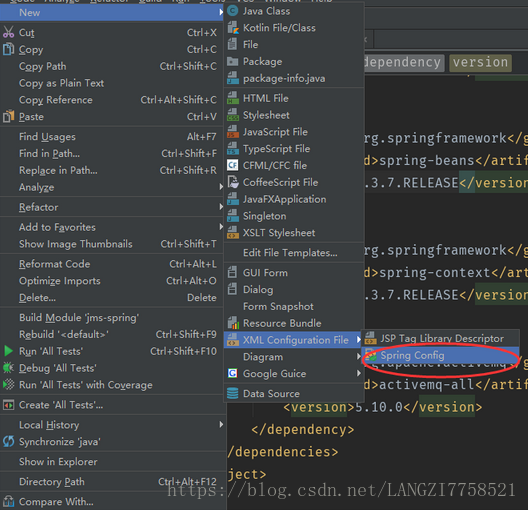
下载好后,创建Spring配置文件。

一个简单的例子介绍框架的作用
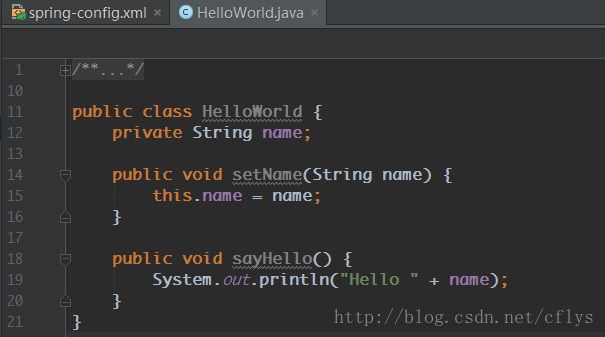
首先创建一个HelloWorld类,有一个name属性,还有一个sayHello的方法,还有一个setter方法用来设置name属性。
在我们不使用框架的时候,也就是平常的编程中,我们要调用sayHello这个方法,可以分为3步。
1. 创建一个HelloWorld的实例对象
2. 设置实例对象的name属性
3. 调用对象的sayHello()方法
package com.apanda.test;

public class Main {
    public static void main(String[] args) {
        // 不适用框架之前的步骤
        // 1. 创建一个HelloWorld对象
        HelloWorld helloWord = new HelloWorld();
        // 2. 为实例对象的属性赋值
        helloWord.setName("Spring");
        // 3. 调用对象的方法
        helloWord.sayHello();
    }
}
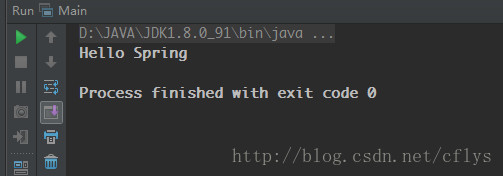
接着我们运行一下这个程序,成功输出了Hello Spring。
接下来我们就要使用Spring了,首先在Spring的配置文件中加入如下内容。
<?xml version="1.0" encoding="UTF-8"?>
<beans xmlns="http://www.springframework.org/schema/beans"
       xmlns:xsi="http://www.w3.org/2001/XMLSchema-instance"
       xsi:schemaLocation="http://www.springframework.org/schema/beans http://www.springframework.org/schema/beans/spring-beans.xsd">

    <bean id="helloWorld" class="com.apanda.test.HelloWorld">
        <property name="name" value="Spring"></property>
    </bean>
</beans>
这时候我们就配置好了HelloWorld Bean的信息,我们再调用sayHello()方法的时候就不向之前一样了,也需要3个步骤。
1. 创建一个Spring的IOC容器对象
2. 从IOC容器中获取Bean实例
3. 调用sayHello()方法
package com.apanda.test;

import org.springframework.context.ApplicationContext;
import org.springframework.context.support.ClassPathXmlApplicationContext;

public class SpringMain {
    public static void main(String[] args) {

        //1.创建一个Spring的IOC容器对象
        ApplicationContext context = new ClassPathXmlApplicationContext("spring-config.xml");
        //2.从IOC容器中获取Bean实例
        HelloWorld helloWord = (HelloWorld) context.getBean("helloWorld");
        //3.调用SayHello方法
        helloWord.sayHello();
    }
}
这么写好像和自己之前编程的时候不一样啊,可以运行结果吗,我们直接试一下就好。

好像不太一样啊,输出了我们想要的Hello Spring ,但是好像多了许多其他的东西啊。这些其实是Spring输出的日志而已。
第一次使用Spring,我们明明没有创建HelloWorld的实例对象,只是配置了下Spring的配置文件,怎么就能得出正确的结果呢,这是因为我们使用了Spring的IOC功能,把对象的创建和管理的功能都交给了Spring去管理,我们需要对象的时候再和Spring去要就行。
那么什么时候new的对象呢
我也不知道,哈哈,所以首先修改一下HelloWorld类的构造方法和setter方法。
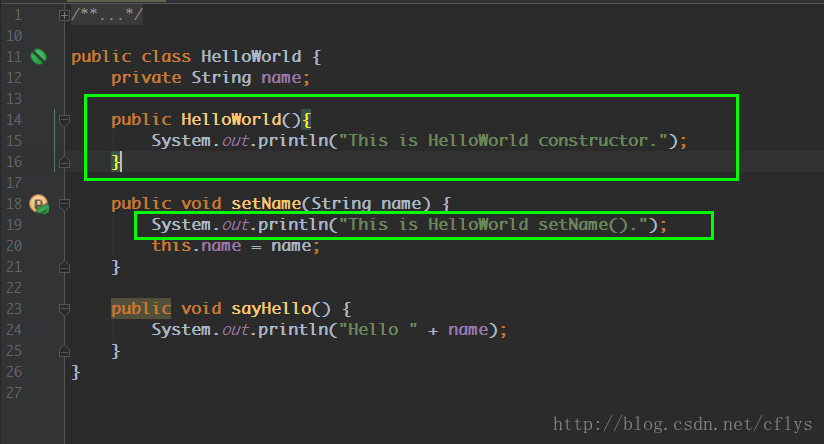
然后直接添加断点进入Debug模式。
我们可以看到,当执行到第一步创建IOC容器对象的时候就调用了HelloWorld类的构造方法和setter方法。
对Spring的作用的初步了解
从上面的例子可以得出结论,Spring到底帮我们做了什么,当我们没有使用Spring的时候,调用sayHello()方法需要3步:
1. 创建一个HelloWorld的实例对象
2. 设置实例对象的name属性
3. 调用对象的sayHello()方法
后来也需要3步:
1. 创建一个Spring的IOC容器对象
2. 从IOC容器中获取Bean实例
3. 调用sayHello()方法
然后我们探究了什么时候new的helloWorld对象,我们可以看出,Spring帮我们完成了前2步,也就是创建实例对象以及设置对象的属性,也就是说我们可以把对象的创建和管理工作交给Spring去完成,不需要自己去new对象,也不要去设置对象的属性,只要写好Spring的配置文件,Spring就可以帮我们去做,当我们需要对象的时候,直接去找Spring去要就行。