原文:https://blog.csdn.net/uuq/article/details/53150841
备注:icon.button
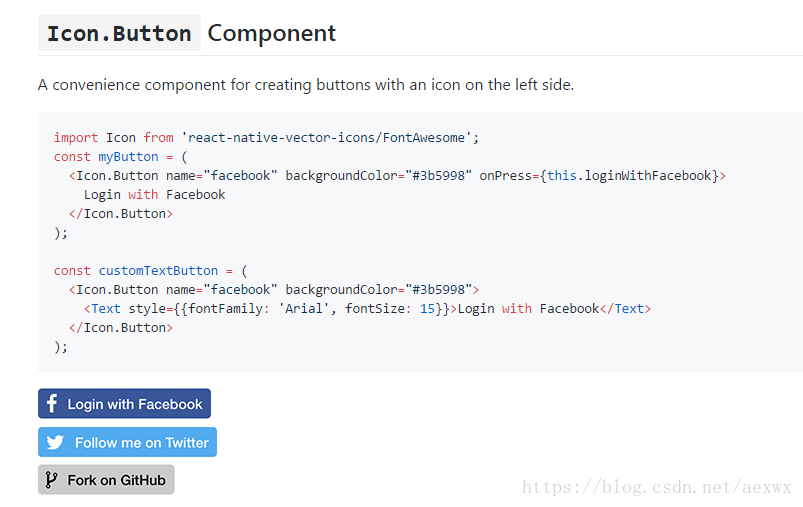
import Icon from 'react-native-vector-icons/FontAwesome';
const myButton = (
  <Icon.Button name="facebook" backgroundColor="#3b5998" onPress={this.loginWithFacebook}>
    Login with Facebook
  </Icon.Button>
);

const customTextButton = (
  <Icon.Button name="facebook" backgroundColor="#3b5998">
    <Text style={{fontFamily: 'Arial', fontSize: 15}}>Login with Facebook</Text>
  </Icon.Button>
);
网页可以使用很多小图标,React Native 怎么使用图标呢,网上也有人使用过,总结下
http://www.cnblogs.com/moxiaoyan33/p/5482024.html
参考这个基本上会成功
ICONS是可以直接使用图片名, 就能加载图片的三方,使用很方便, 你不需要在工程文件夹里塞各种图片, 节省很多空间,下面就来看看怎么使用吧!
- 首先打开terminal进入到我们的工程文件夹下, (不会创建工程的请参考:http://blog.csdn.net/margaret_mo/article/details/51304062)
输入: npm install react-native-vector-icons –save (回车)
输入: npm install rnpm -g
输入: rnpm link (回车)
- 在Finder中用Xcode打开工程: …/Demo/ios/Demo.xcodeproj
(1).右键工程文件Add Files to “(你工程名)”
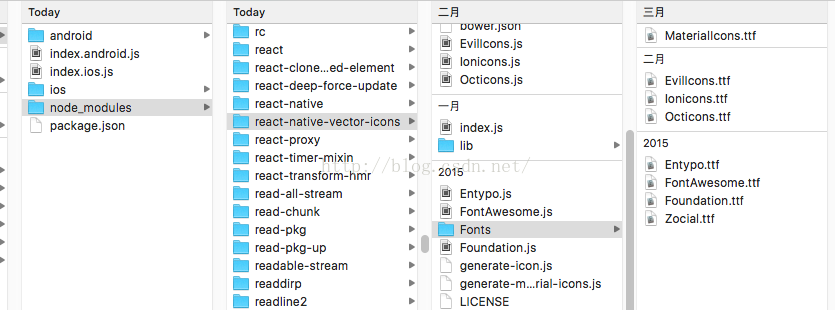
(2).选择node_modules/react-native-vector-icons/Fonts文件 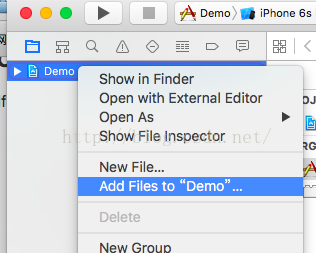
(3).点击”完成”.
info.plist 文件会在第一层dict添加如下代码
    <key>UIAppFonts</key>
    <array>
      <string>Entypo.ttf</string>
      <string>EvilIcons.ttf</string>
      <string>FontAwesome.ttf</string>
      <string>Foundation.ttf</string>
      <string>Ionicons.ttf</string>
      <string>MaterialIcons.ttf</string>
      <string>Octicons.ttf</string>
      <string>SimpleLineIcons.ttf</string>
      <string>Zocial.ttf</string>
    </array>
  </dict>
</plist>- 看到有没有9个字体,如果使用那个字体就引入那个字体文件
这个文件是在 node_modules/react-native-vector-icons/目录下
如果你前面npm install react-native-vector-icons –save (回车)
这个安装正确一定可以看到
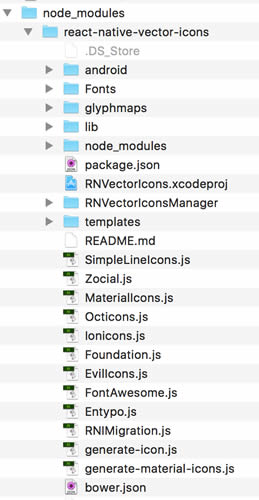
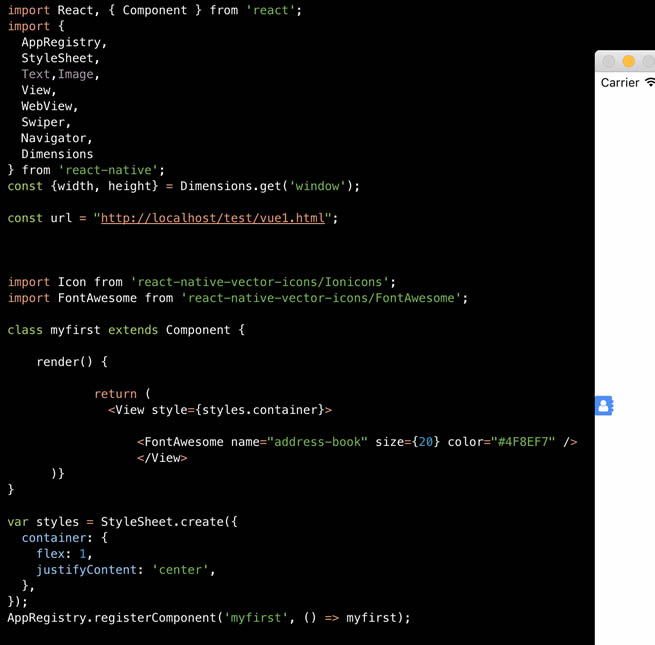
比如我要使用FontAwesome.js
//此处引入 叫FontAwesome
//显示
//如果你用别的字体 import 时候要换成相应的字体,但是我怎么知道什么name可以显示图标,当你name=”address-book” 写错了,模拟器下面会显示所有图片名字。
import FontAwesome from 'react-native-vector-icons/FontAwesome';


class myfirst extends Component {

    render() {

            return (
              <View style={styles.container}>

                  <FontAwesome name="address-book" size={20} color="#4F8EF7" />
                  </View>
      )}
}

var styles = StyleSheet.create({
  container: {
    flex: 1,
    justifyContent: 'center',
  },
});
AppRegistry.registerComponent('myfirst', () => myfirst);
android 版使用更简单
把node_modules/react-native-vector-icons/Fonts目录下字体文件全部拷到 android/app/src/main/assets/Fonts目录 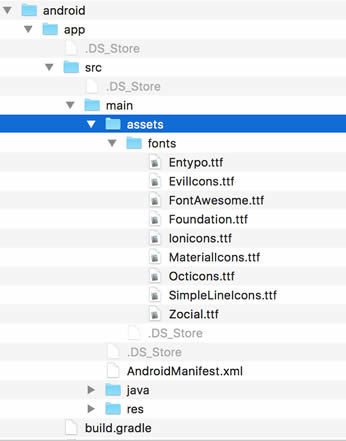
然后在命令行进入你的工程 react-native run-android就可以自动下载依赖包然后就可以成功显示