1、必要软件准备
yum install -y pcre*
yum install -y openssl*
yum install -y zlib*
nginx自行下载
http://nginx.org/en/download.html
2、安装nginx
执行如下命令:
# ./configure --prefix=/usr/local/nginx-1.14.0 \
--with-http_ssl_module --with-http_spdy_module \
--with-http_stub_status_module --with-pcre
--with-http_stub_status_module:支持nginx状态查询
--with-http_ssl_module:支持https
--with-http_spdy_module:支持google的spdy,想了解请百度spdy,这个必须有ssl的支持
注:nginx 1.9.5 已经没有了 –with-http_spdy_module ,取代的是 –with-http_v2_module
--with-pcre:为了支持rewrite重写功能,必须制定pcre
最后输出如下内容,表示configure OK了。
Configuration summary
+ using system PCRE library
+ using system OpenSSL library
+ using system zlib library
nginx path prefix: "/usr/local/nginx-1.14.0"
nginx binary file: "/usr/local/nginx-1.14.0/sbin/nginx"
nginx modules path: "/usr/local/nginx-1.14.0/modules"
nginx configuration prefix: "/usr/local/nginx-1.14.0/conf"
nginx configuration file: "/usr/local/nginx-1.14.0/conf/nginx.conf"
nginx pid file: "/usr/local/nginx-1.14.0/logs/nginx.pid"
nginx error log file: "/usr/local/nginx-1.14.0/logs/error.log"
nginx http access log file: "/usr/local/nginx-1.14.0/logs/access.log"
nginx http client request body temporary files: "client_body_temp"
nginx http proxy temporary files: "proxy_temp"
nginx http fastcgi temporary files: "fastcgi_temp"
nginx http uwsgi temporary files: "uwsgi_temp"
nginx http scgi temporary files: "scgi_temp"
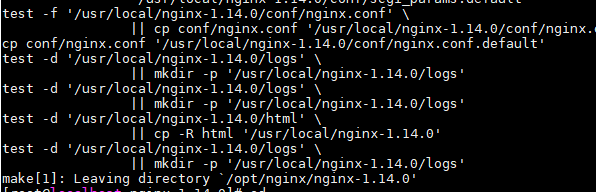
安装
make && make install
3、启动、关闭、重置nginx
启动:直接执行以下命令,nginx就启动了,不需要改任何配置文件,nginx配置多域名虚拟主机请参考后续文章.
|
1
|
/usr/local/nginx-1.5.1/sbin/nginx
|
试试访问:我这边不贴图,直接使用curl命令来读取web信息
|
1
2
|
[root@ns conf]# curl -s http://localhost | grep nginx.com
nginx.com.
|
关闭:
|
1
|
/usr/local/nginx-1.5.1/sbin/nginx -s stop
|
重置:当你有修改配置文件的时候,只需要reload以下即可
|
1
|
/usr/local/nginx-1.5.1/sbin/nginx -s reload
|
整个nginx的安装就到这里结束了。