今天我们来做一个有趣的事情,识别“社会人”,我们现在就准备用tensorflow object detect api来检测它
代码仓库:https://github.com/sanfooh/tensorflow_object_detection_api_demo
标注工具:https://github.com/sanfooh/quick_yolo2_label_tool
视频教程:https://edu.csdn.net/course/detail/8274
1,标注
首先我们使用工具(
https://github.com/sanfooh/tensorflow_label_tool)抓取下图片:

此工具是C#写的,只能用在windows环境下,抓取成功以后,按“导入到标注文件”
好了,我们可以标注它了

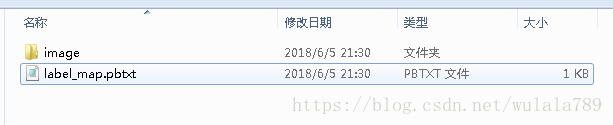
把社会人全部标注完。其产生的的“label_map.pbtxt”和“image”就是我们需要的:
2.安装tensorflow object detec api(ubuntu)
基于我们已经安装好了tensorflow:
#在根目录下创建一个output目录
mkdir /output
cd /output/


#下载tensorflow object detec api 代码
git clone https://github.com/tensorflow/models.git

#安装依赖项
pip install Cython
pip install pillow
pip install lxml
pip install jupyter
pip install matplotlib
pip install opencv-python
pip install pycocotools


cd /output/models/research/
#编译
protoc object_detection/protos/*.proto --python_out=.
#安装
export PYTHONPATH=$PYTHONPATH:`pwd`:`pwd`/slim
#验证
python object_detection/builders/model_builder_test.py
最后打印出“OK”即说明安装API成功
(代码来自
https://github.com/sanfooh/tensorflow_object_detection_api_demo)
3.准备好项目
#下载图片及标注文件
cd /output
git clone https://github.com/sanfooh/tensorflow_object_detection_api_demo.git
下载这个项目之后,将项目中的“label_map.pbtxt”和“image”文件夹删掉,然后把第一步产生的“label_map.pbtxt”和“image”放进去。
我们还在下载一个预训练文件
#下载预训练文件
cd /output/tensorflow_object_detection_api_demo
wget  http://download.tensorflow.org/models/object_detection/ssd_mobilenet_v1_coco_2017_11_17.tar.gz
tar -xzvf ssd_mobilenet_v1_coco_2017_11_17.tar.gz
rm -r ssd_mobilenet_v1_coco_2017_11_17.tar.gz
生成tfrecord
#生成tfrecord数据集
python create_tf_record.py 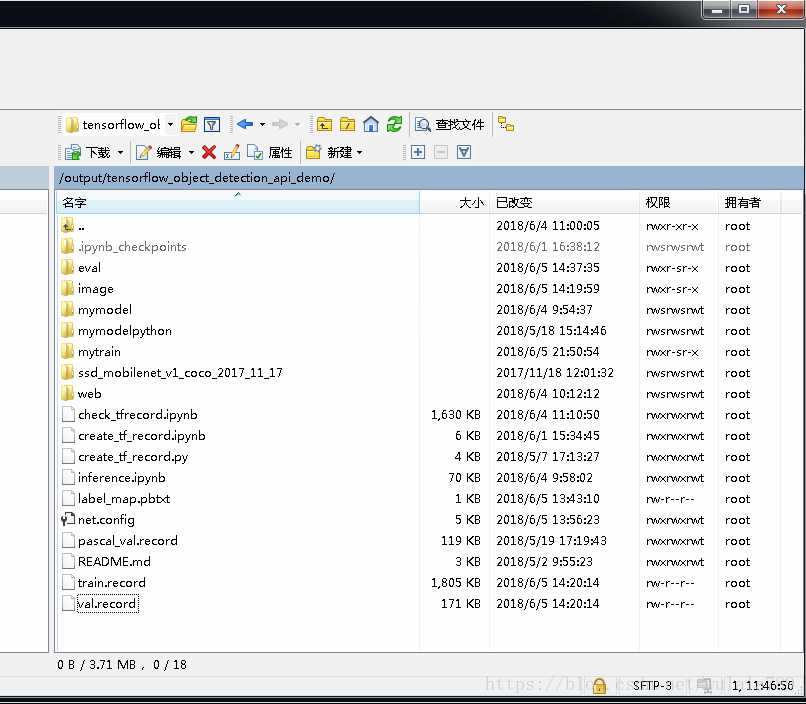
4.训练
mkdir mytrain
python /output/models/research/object_detection/train.py --train_dir=mytrain/ --pipeline_config_path=net.config --logtostderr
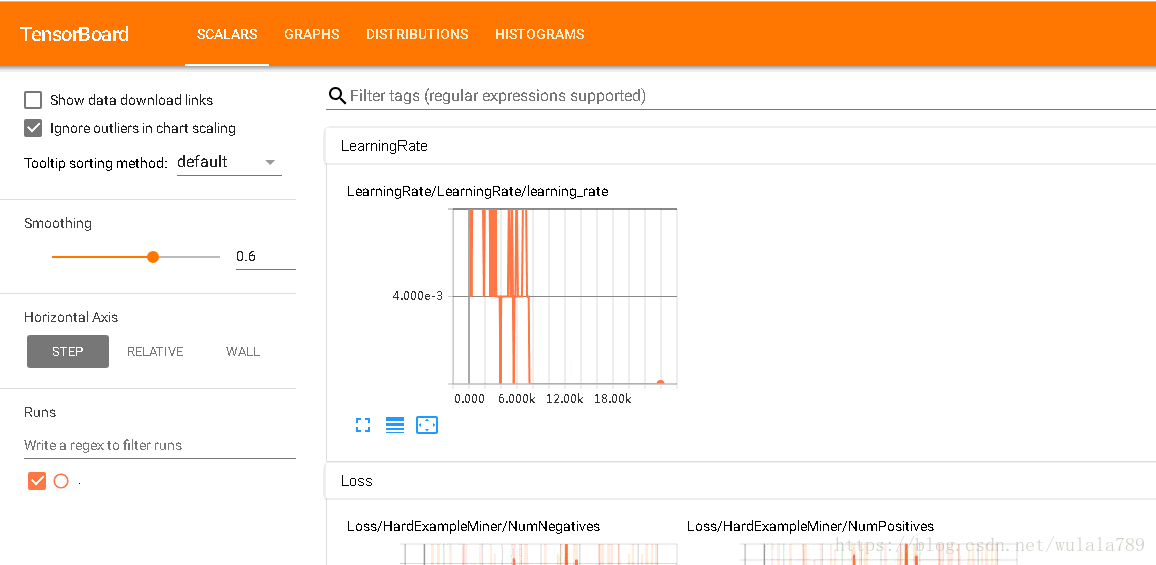
查看训练情况
cd /output/tensorflow_object_detection_api_demo
tensorboard --logdir=mytrain
打开浏览器http:/xxxx:6006就可查看训练情况
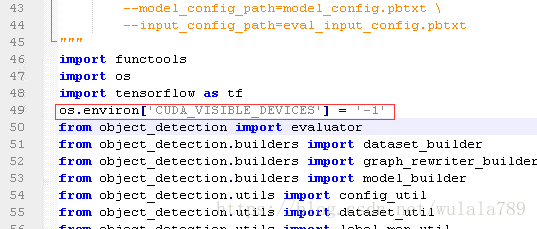
在训练的过程中(训练不要停),使用eval.py来评估验证集
首先,为了避免评估争抢gpu的资源,让eval只在cpu运行就好了,找到/output/models/research/object_detection/eval.py文件在开始的地方添加 os.environ['CUDA_VISIBLE_DEVICES'] = '-1':
运行如下代码开始评估
cd /output/tensorflow_object_detection_api_demo
mkdir evalpython /output/models/research/object_detection/eval.py \
   --logtostderr \
   --pipeline_config_path=net.config \
   --checkpoint_dir=mytrain/ \
   --eval_dir=eval/
运行后它不会退出,当有新的检查点文件产生时,它会重新评估,也就是说它是在训练的同时运行,需要注意pipeline文件中eval部分是这样设置的:

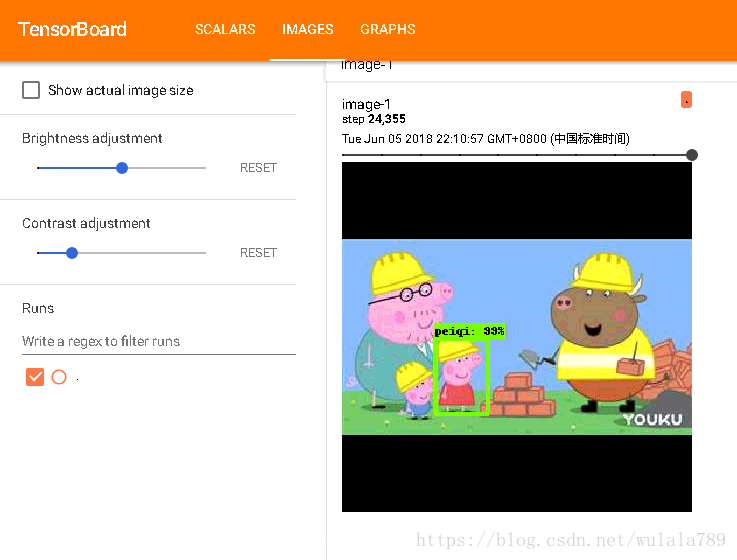
评估时,会在eval目录下生成形如events.out.tfevents.XXX的文件
这时我们需要再使用tensorboard来查看图片情况:
cd /output/tensorflow_object_detection_api_demo
tensorboard --logdir=eval
5.发布
当训练完以后,我们可以发布模型了(注意修改
35187):
cd /output/tensorflow_object_detection_api_demo
python /output/models/research/object_detection/export_inference_graph.py \
--input_type image_tensor \
--pipeline_config_path /output/tensorflow_object_detection_api_demo/net.config \
--trained_checkpoint_prefix /output/tensorflow_object_detection_api_demo/mytrain/model.ckpt-35187 \
--output_directory /output/tensorflow_object_detection_api_demo/mymodel
在mymodel下生成如下文件,其中frozen_inference_graph.pb就是我们要的文件

有了pb文件以后,我们就可以发布模型了:
#利用Flask来发布模型
pip install flask
pip install flask_wtf
#启动服务
python /output/tensorflow_object_detection_api_demo/web/app.py
最后用浏览器打开8000端口可以看到如下效果:

本文相关:
代码仓库:https://github.com/sanfooh/tensorflow_object_detection_api_demo
标注工具:https://github.com/sanfooh/quick_yolo2_label_tool
视频教程:https://edu.csdn.net/course/detail/8274