Tensorflow之目标检测Object Detection探索学习
1. tf两个版本的链接
https://github.com/tensorflow/models/tree/master/research/object_detection
此github说明中,有TF1和TF2的各自model使用的说明。
但是,官网建议开发者还是使用TF2版本。因为有如下优势:
- We provide new architectures supported in TF2 only and we will continue to develop in TF2 going forward.
- The popular models we ported from TF1 to TF2 achieve the same performance.
- A single training and evaluation binary now supports both GPU and TPU distribution strategies making it possible to train models with synchronous SGD by default.
- Eager execution with new binaries makes debugging easy!
1.1 Tensorflow 2.x
Object Detection API TensorFlow 2
TensorFlow 2 Model Zoo
1.2 Tensorflow 1.x
Object Detection API TensorFlow 1
TensorFlow 1 Model Zoo
2. tensorflow 1.x 的object detection
2.1 下载最新models
git clone https://github.com/tensorflow/models.git
或者网址下载zip压缩包。
2.2 Python Package Installation
2.2.1 整体步骤
cd models/research
# Compile protos.
protoc object_detection/protos/*.proto --python_out=.
# Install TensorFlow Object Detection API.
# if this way is invalid,maybe python setup.py build and python setup.py install
cp object_detection/packages/tf1/setup.py .
python -m pip install --use-feature=2020-resolver .
官方这里只提供linux下的操作。windows系统下,细节如下:
1)protoc命令的准备
在https://github.com/google/protobuf/releases(选择官网要求的版本)里下载,解压后将bin文件夹中的protoc.exe放到C:\Windows下。这样protoc命令就可使用了。
*.proto windows命令不认识的话。可以一个一个的转换,或者用批处理bat脚本。
老铁们,我在这儿栽跟头了。这protoc没执行准确,导致如下错误:
TypeError: Couldn't build proto file into descriptor pool!
Invalid proto descriptor for file "object_detection/protos/anchor_generator.proto":
  object_detection/protos/flexible_grid_anchor_generator.proto: Import "object_detection/protos/flexible_grid_anchor_generator.proto" has not been loaded.
  .................
- 具体原因:
windows的cmd下,直接不能这样执行。
protoc object_detection/protos/*.proto --python_out=.
我就用bat批处理,执行,有个别遗漏没有执行到,就单个执行把剩下的转换完成。最终形成上面的错误。
- 正确操作:
在anaconda的cmd下,一次执行*.proto成功。没有anaconda的,想办法或者单个执行。
2)python setup.py install
从setup.py中,可以看到,需要安装的package,执行的时候pycocotools需要微软C++ 14.0的依赖。
网上给的方案:
- 直接安装C++ 14.0;---- 最后用的这个
Microsoft Visual C++ Build Tools
提取码:c4a7 - 或者简单安装pycocotools whl包。---- 不行
"""Setup script for object_detection with TF1.0."""
import os
from setuptools import find_packages
from setuptools import setup

REQUIRED_PACKAGES = ['pillow', 'lxml', 'matplotlib', 'Cython',
                     'contextlib2', 'tf-slim', 'six', 'pycocotools', 'lvis',
                     'scipy', 'pandas']

setup(
    name='object_detection',
    version='0.1',
    install_requires=REQUIRED_PACKAGES,
    include_package_data=True,
    packages=(
        [p for p in find_packages() if p.startswith('object_detection')] +
        find_packages(where=os.path.join('.', 'slim'))),
    package_dir={
        'datasets': os.path.join('slim', 'datasets'),
        'nets': os.path.join('slim', 'nets'),
        'preprocessing': os.path.join('slim', 'preprocessing'),
        'deployment': os.path.join('slim', 'deployment'),
        'scripts': os.path.join('slim', 'scripts'),
    },
    description='Tensorflow Object Detection Library with TF1.0',
    python_requires='>3.6',
)
2.2.2 测试package是否安装成功
# Test the installation.
python object_detection/builders/model_builder_tf1_test.py
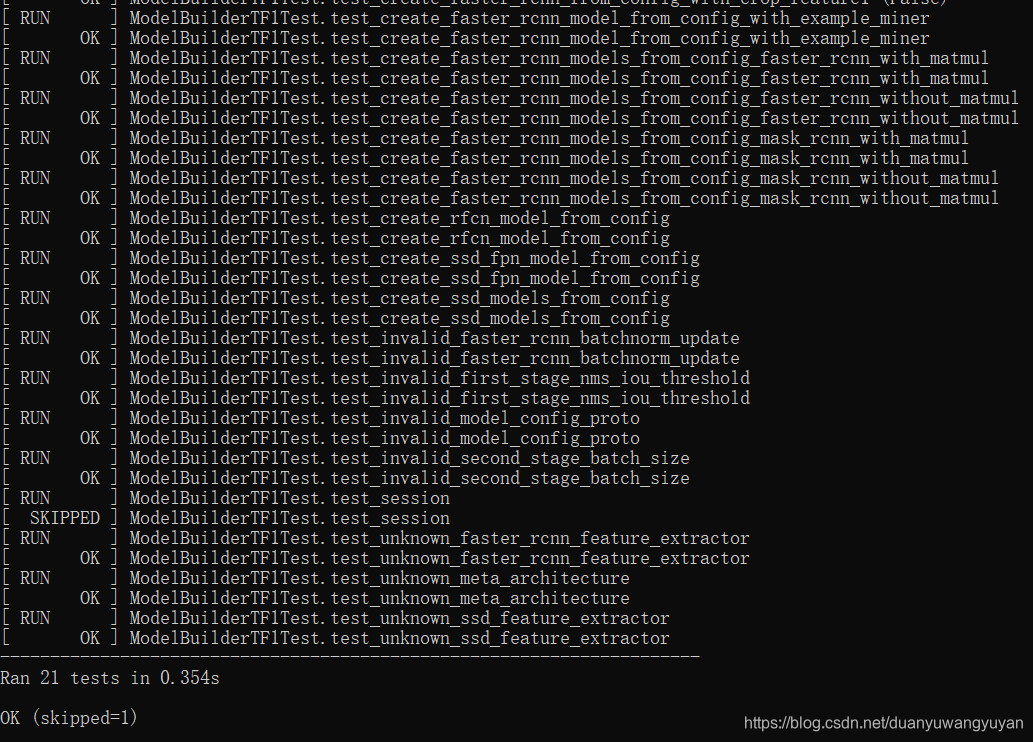
备注:
- 问题1
在运行tf1版本的测试时,发生如下错误:
ModuleNotFoundError: No module named 'nets'
解决办法:
删除research/slim下的build文件夹;执行命令在slim目录下:
python setup.py build
python setup.py install
2.3 运行样例
先从tensorflow1.x models找的样例。链接地址:
object_detection_tf1.py
提取码:5qih
将文件放在research\object_detection\colab_tutorials目录下。
2.3.1 问题:Matplotlib is currently using agg, which is a non-GUI backend, so cannot show the figure
运行时,不能显示目标检测结果图。各种资料显示需要在代码中添加如下代码:
import matplotlib; matplotlib.use('Qt5Agg')
但是,还是不能显示。后来查看,在代码运行过程中,有的导入接口又改了回去:matplotlib.use(‘Agg’)。
所以,在所有导入接口后,加如上代码。就OK了。(当然有的人将其添加到了导入的接口中,也可以。)
2.3.2 检测结果图

后续:训练自己的数据,完成目标检测。
3. 水果类object detection
3.1 准备数据
3.1.1 数据标注
- 安装python package labelImg
使用python package labelImg 来手动标注图片 ,图片需要是png或者jpg格式。github上已经详细说明各种平台下的安装方式。
我用的anaconda的环境。
conda install pyqt=5
conda install -c anaconda lxml
pip install labelImg
labelImg
弹出,标注软件:
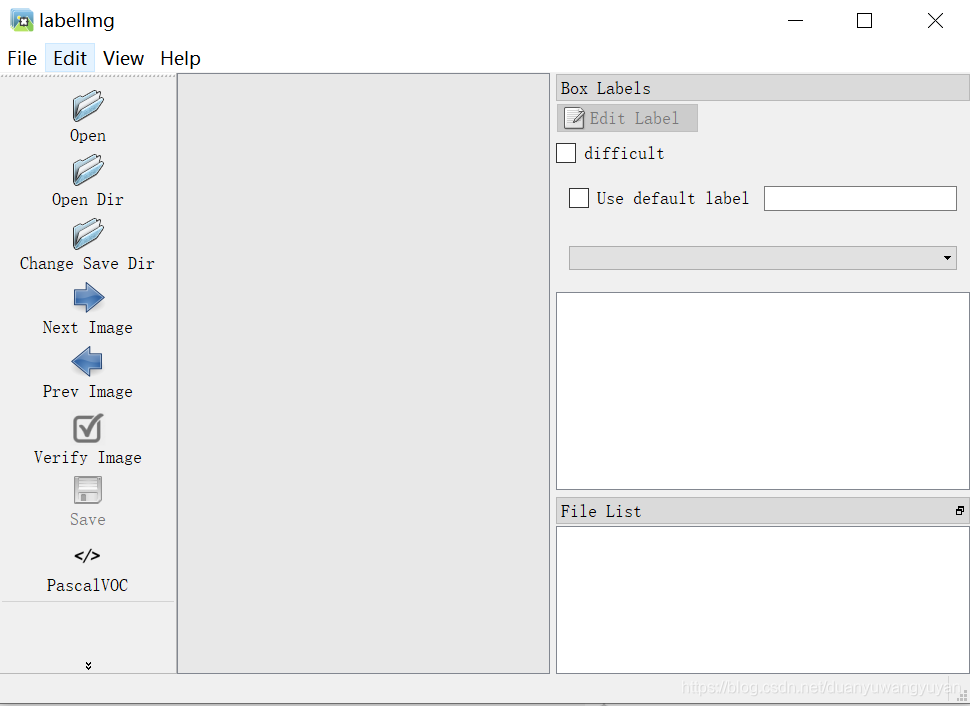
将标注的数据,保存在Annotations目录下。
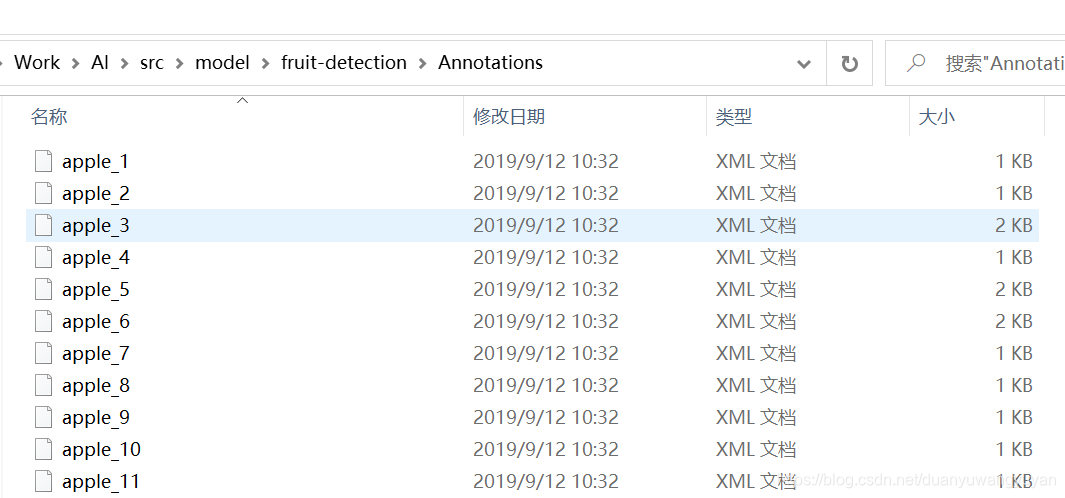
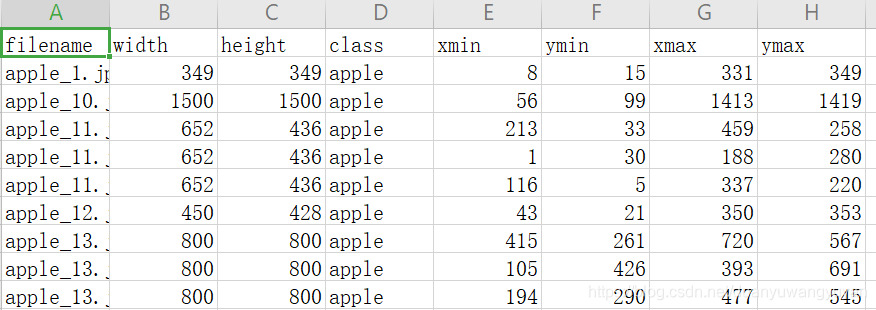
3.1.2 将标注的xml文件重要信息提炼到csv中
使用xml_to_csv脚本,转换xml文件内容到csv中。脚本里,有些路径根据实际情况,进行适配修改。
3.1.3 将测试和训练数据转为TFRecord格式文件
使用此文件 generate_tfrecord.py 。
执行命令:
python generate_tfrecord.py --csv_input=fruit_labels_test.csv  --image_dir=JPEGImages/ --output_path=test.record
python generate_tfrecord.py --csv_input=fruit_labels_train.csv  --image_dir=JPEGImages/ --output_path=train.record
另外,需要将class转为int的接口,稍微修改一下。改成自己的数据:
def class_text_to_int(row_label):
    if row_label == 'apple':
        return 0
    elif row_label == 'banana':
        return 1
    elif row_label == 'orange':
        return 2
    else:
        None
3.1.4 创建label标签文件
参考tensorflow model原生label标签文件(\research\object_detection\data下),根据自己的数据label,创建自己数据的label标签文件。如下:
fruit_label_map.pbtxt
item {
    id: 1
    name: 'apple'
}

item {
    id: 2
    name: 'banana'
}

item {
    id: 3
    name: 'orange'
}
3.2 训练模型
3.2.1 模型配置
- 下载模型
从github上下载 object detection训练模型。TensorFlow 1 Detection Model Zoo。tensorflow open了很多训练好的模型,这里的水果object detection使用ssd_mobilenet_v1_coco模型。
将下载的模型,解压到新创建的research/object_detection/pretrained_model目录下。
将前面生成的训练数据train.record和测试数据test.record以及label标签文件fruit_label_map.pbtxt,copy到research/object_detection/data下 - 修改配置文件
copy 目录research/object_detection/samples/configs下的ssd_mobilenet_v1_coco.config配置文件 到 新创建的research/object_detection/training目录下,并且修改文件内容如下:
num_classes: 3 #分类数改成自己实际情况的数。

batch_size: 24 #可选项,根据训练硬件设备性能改。

# fine_tune_checkpoint 是下载模型的ckpt文件路径。
fine_tune_checkpoint: "pretrained_model/ssd_mobilenet_v1_coco_2018_01_28/model.ckpt"

# 训练数据集的路径(同理后面的测试数据集的路径eval_input_reader)
train_input_reader: {
  tf_record_input_reader {
    input_path: "data/train.record"
  }
  label_map_path: "data/fruit_label_map.pbtxt"
}

eval_config: {
  num_examples: 78 #验证数据集需要和实际情况一致。
3.2.2 开始训练
python model_main.py --model_dir=training --pipeline_config_path=training/ssd_mobilenet_v1_coco.config --num_train_steps=60000 --num_eval_steps=20 --alsologtostderr
或者(这个是老版本可以使用的)
python train.py --logtostderr --train_dir=training/ --pipeline_config_path=training/ssd_mobilenet_v1_coco.config
3.3 测试
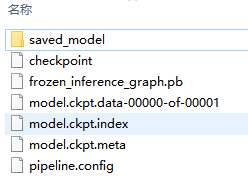
3.3.1 转化模型文件
自己从中选择一个model.ckpt
python export_inference_graph.py --input_type image_tensor --pipeline_config_path training/ssd_mobilenet_v1_coco.config --trained_checkpoint_prefix training/model.ckpt-5530 --output_directory fruit_inference_graph
运行完毕后,会将pb等文件存放到fruit_inference_graph目录下。
3.3.2 修改测试程序文件
修改官方测试程序object_detection_tutorial.ipynb。这里我将jupyter notebook改成py文件。先上代码:
import numpy as np
import os
import six.moves.urllib as urllib
import sys
import tarfile
import tensorflow as tf
import zipfile

from collections import defaultdict
from io import StringIO
from matplotlib import pyplot as plt
import pylab
from PIL import Image

# This is needed since the notebook is stored in the object_detection folder.
sys.path.append("..")
from object_detection.utils import ops as utils_ops

if tf.__version__ < '1.04.0':
  raise ImportError('Please upgrade your tensorflow installation to v1.4.* or later!')

# This is needed to display the images.
# %matplotlib inline
# Here are the imports from the object detection module.
import matplotlib
print(matplotlib.get_backend())
from object_detection.utils import label_map_util
from object_detection.utils import visualization_utils as vis_util
print(matplotlib.get_backend())
import matplotlib; matplotlib.use('TKAgg')
print(matplotlib.get_backend())
# 2. model preparation
# 2.1 Variables
# What model to download.
MODEL_NAME = 'fruit_detection'
# MODEL_FILE = MODEL_NAME + '.tar.gz'
# DOWNLOAD_BASE = 'http://download.tensorflow.org/models/object_detection/'

# Path to frozen detection graph. This is the actual model that is used for the object detection.
PATH_TO_CKPT = MODEL_NAME + '/frozen_inference_graph.pb'

# List of the strings that is used to add correct label for each box.
PATH_TO_LABELS = os.path.join('images/fruit', 'fruit_label_map.pbtxt')

NUM_CLASSES = 3

# 2.2 Download model. have finished
# if False:
#   print("ssss")
#   opener = urllib.request.URLopener()
#   opener.retrieve(DOWNLOAD_BASE + MODEL_FILE, MODEL_FILE)
#   tar_file = tarfile.open(MODEL_FILE)
#   for file in tar_file.getmembers():
#       file_name = os.path.basename(file.name)
#       if 'frozen_inference_graph.pb' in file_name:
#           tar_file.extract(file, os.getcwd())

# Load a (frozen) Tensorflow model into memory.
detection_graph = tf.Graph()
with detection_graph.as_default():
  od_graph_def = tf.GraphDef()
  print(PATH_TO_CKPT)
  with tf.gfile.GFile(PATH_TO_CKPT, 'rb') as fid:
    serialized_graph = fid.read()
    od_graph_def.ParseFromString(serialized_graph)
    tf.import_graph_def(od_graph_def, name='')


# Loading label map. this package depend of object detection model
print(PATH_TO_LABELS)
label_map = label_map_util.load_labelmap(PATH_TO_LABELS)
categories = label_map_util.convert_label_map_to_categories(label_map, max_num_classes=NUM_CLASSES, use_display_name=True)
category_index = label_map_util.create_category_index(categories)

# 3. Helper code. image data reshape
def load_image_into_numpy_array(image):
  (im_width, im_height) = image.size
  return np.array(image.getdata()).reshape(
      (im_height, im_width, 3)).astype(np.uint8)


# 4. Detection
# For the sake of simplicity we will use only 2 images:
# image1.jpg
# image2.jpg
# If you want to test the code with your images, just add path to the images to the TEST_IMAGE_PATHS.
PATH_TO_TEST_IMAGES_DIR = 'test_images'
TEST_IMAGE_PATHS = [ os.path.join(PATH_TO_TEST_IMAGES_DIR, 'fruit_{}.jpg'.format(i)) for i in range(1, 5) ]
# Size, in inches, of the output images.
IMAGE_SIZE = (12, 8)

def run_inference_for_single_image(image, graph):
  with graph.as_default():
    with tf.compat.v1.Session() as sess:
      # Get handles to input and output tensors
      ops = tf.compat.v1.get_default_graph().get_operations()
      all_tensor_names = {output.name for op in ops for output in op.outputs}
      tensor_dict = {}
      for key in [
          'num_detections', 'detection_boxes', 'detection_scores',
          'detection_classes', 'detection_masks'
      ]:
        tensor_name = key + ':0'
        if tensor_name in all_tensor_names:
          tensor_dict[key] = tf.compat.v1.get_default_graph().get_tensor_by_name(
              tensor_name)
      if 'detection_masks' in tensor_dict:
        # The following processing is only for single image
        detection_boxes = tf.squeeze(tensor_dict['detection_boxes'], [0])
        detection_masks = tf.squeeze(tensor_dict['detection_masks'], [0])
        # Reframe is required to translate mask from box coordinates to image coordinates and fit the image size.
        real_num_detection = tf.cast(tensor_dict['num_detections'][0], tf.int32)
        detection_boxes = tf.slice(detection_boxes, [0, 0], [real_num_detection, -1])
        detection_masks = tf.slice(detection_masks, [0, 0, 0], [real_num_detection, -1, -1])
        detection_masks_reframed = utils_ops.reframe_box_masks_to_image_masks(
            detection_masks, detection_boxes, image.shape[0], image.shape[1])
        detection_masks_reframed = tf.cast(
            tf.greater(detection_masks_reframed, 0.5), tf.uint8)
        # Follow the convention by adding back the batch dimension
        tensor_dict['detection_masks'] = tf.expand_dims(
            detection_masks_reframed, 0)
      image_tensor = tf.compat.v1.get_default_graph().get_tensor_by_name('image_tensor:0')

      # Run inference
      output_dict = sess.run(tensor_dict,
                             feed_dict={image_tensor: np.expand_dims(image, 0)})

      # all outputs are float32 numpy arrays, so convert types as appropriate
      output_dict['num_detections'] = int(output_dict['num_detections'][0])
      output_dict['detection_classes'] = output_dict[
          'detection_classes'][0].astype(np.uint8)
      output_dict['detection_boxes'] = output_dict['detection_boxes'][0]
      output_dict['detection_scores'] = output_dict['detection_scores'][0]
      if 'detection_masks' in output_dict:
        output_dict['detection_masks'] = output_dict['detection_masks'][0]
  return output_dict

print(TEST_IMAGE_PATHS)
for image_path in TEST_IMAGE_PATHS:
  image = Image.open(image_path)
  # the array based representation of the image will be used later in order to prepare the
  # result image with boxes and labels on it.
  image_np = load_image_into_numpy_array(image)
  # Expand dimensions since the model expects images to have shape: [1, None, None, 3]
  image_np_expanded = np.expand_dims(image_np, axis=0)
  # Actual detection.
  output_dict = run_inference_for_single_image(image_np, detection_graph)
  # Visualization of the results of a detection.
  vis_util.visualize_boxes_and_labels_on_image_array(
      image_np,
      output_dict['detection_boxes'],
      output_dict['detection_classes'],
      output_dict['detection_scores'],
      category_index,
      instance_masks=output_dict.get('detection_masks'),
      use_normalized_coordinates=True,
      line_thickness=8)
  plt.figure(figsize=IMAGE_SIZE)
  plt.imshow(image_np)
  plt.show()
# matplotlib.pyplot.show()
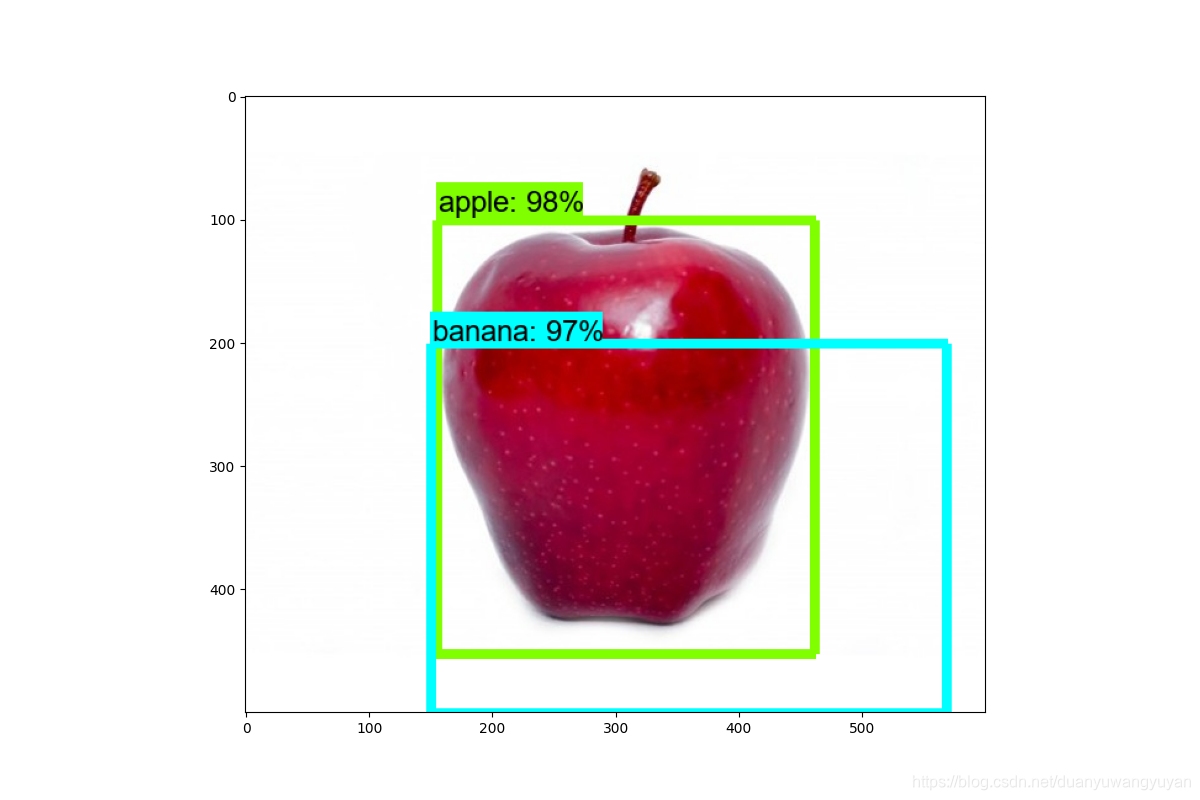
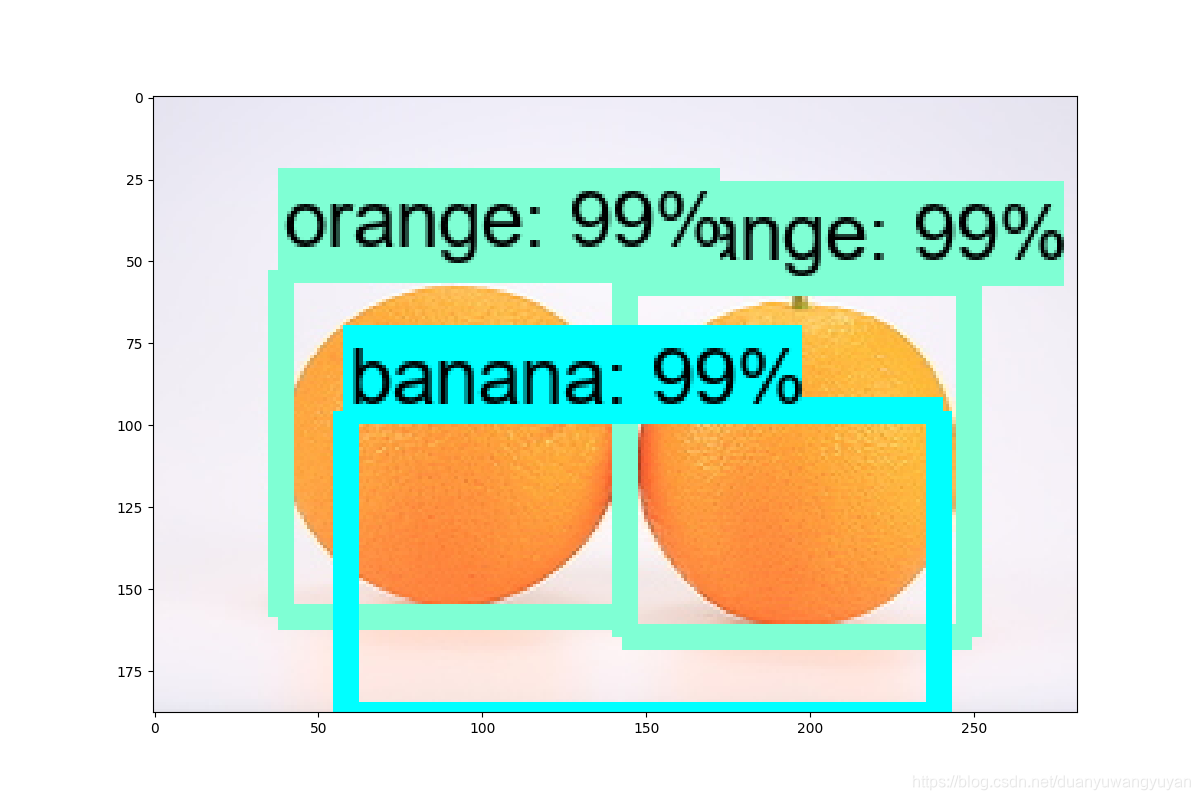
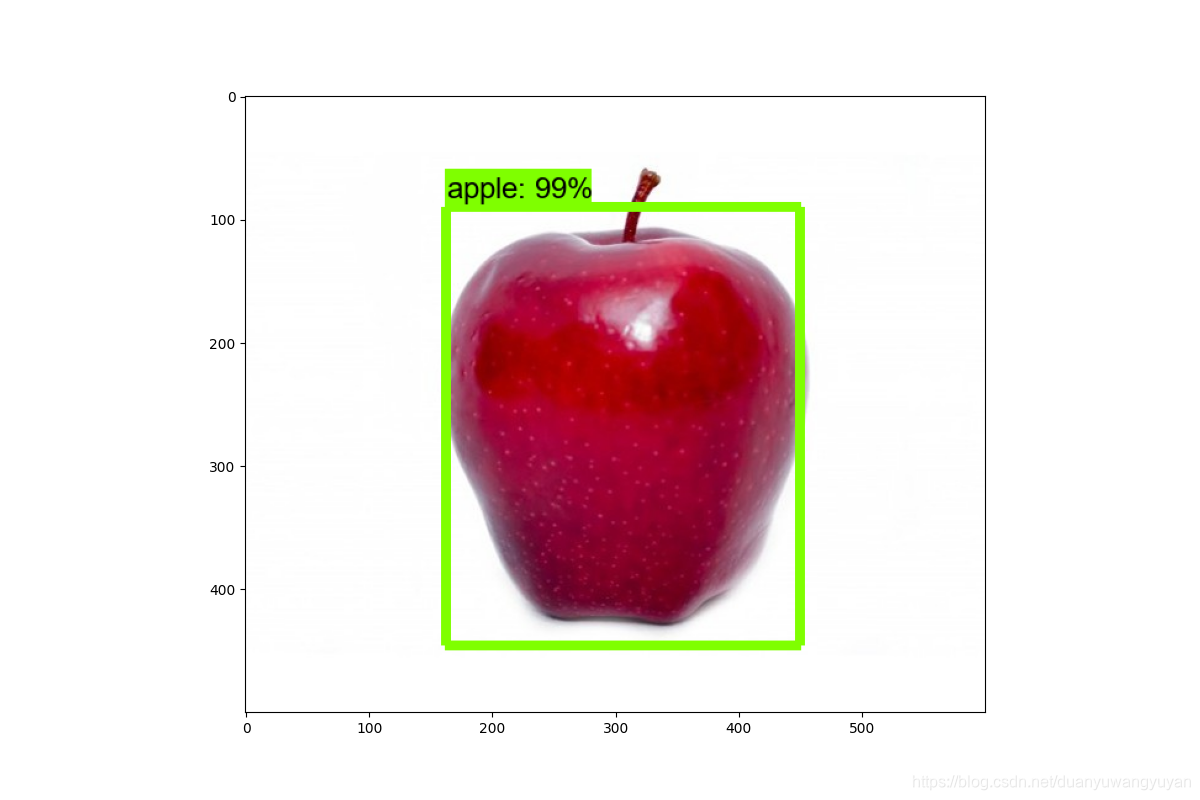
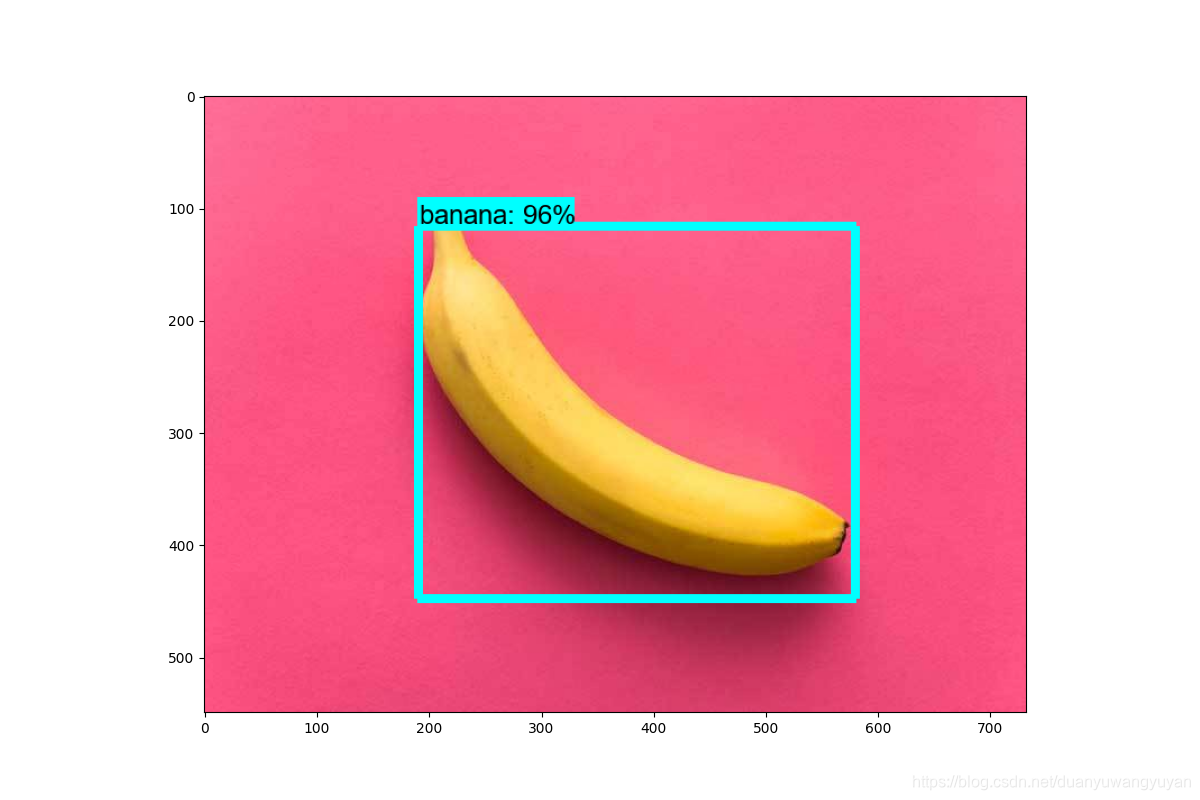
3.3.3 测试效果
效果不好。后面研究下原因。
- 1/14记录:
更新训练集,效果好很多,但是还是达不到更好。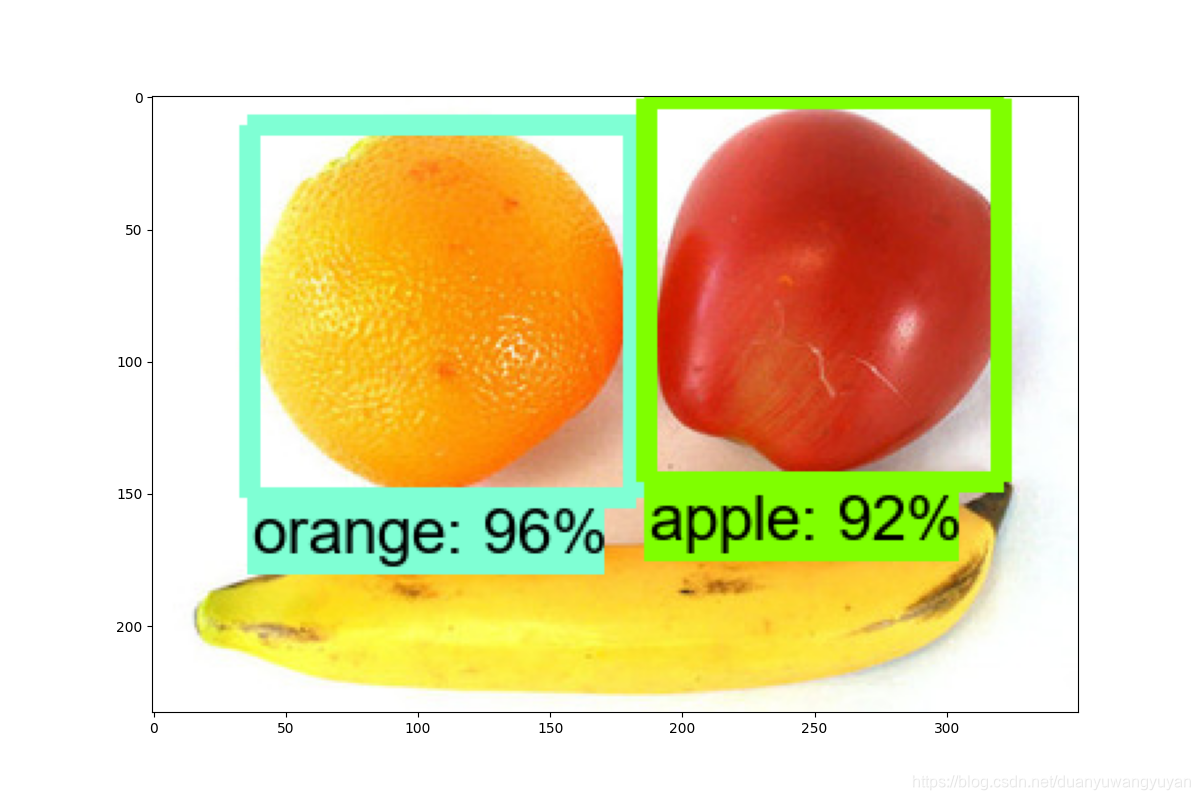

- 最初的结果: