
本文用于记录以及简单的安装
简单介绍
HexoEditor 是 Github 上一款开源的 Markdown 编辑器。
引用原作者说的话:
这是一款为 Hexo 做了优化的 Markdown 编辑器。
使用 Electron 做框架
修改自 Moeditor, 我只是为了让他更好的去为 Hexo 下的博客更好的去书写内容。
同时它还包括很多功能,其中我觉得最有用的就是:
预览内容与 Hexo 生成页面内容高度相似
更多详情介绍请点击这里。
安装过程
整个过程参照官方文档。
1.准备工作
安装 git
安装 nodejs
- Download Page (English)
- 下载地址 (中文)
2.下载配置 Hexo
3.设置 npm 缓存路径
Windows 下:
npm config set prefix "C:/Program Files/nodejs/npm_global"
npm config set cache "C:/Program Files/nodejs/npm_cache"
Linux\Mac 下:
npm config set prefix "~/nodejs/npm_global"
npm config set cache "~/nodejs/npm_cache" 注意:这里的路径是你安装 nodejs 的子目录下对应的路径
4.设置下载来源(镜像),加速下载
来自原作者好心提醒:
在中国,你应该设置淘宝镜像来加速下载。(PS: 这个我没试过,我是直接通过代理的)
npm config set registry "https://registry.npm.taobao.org/"
npm config set electron_mirror "https://npm.taobao.org/mirrors/electron/"
5.下载 GitHub 上最新的版本并安装
git clone https://github.com/zhuzhuyule/HexoEditor.git
cd HexoEditor
npm install
5.启动
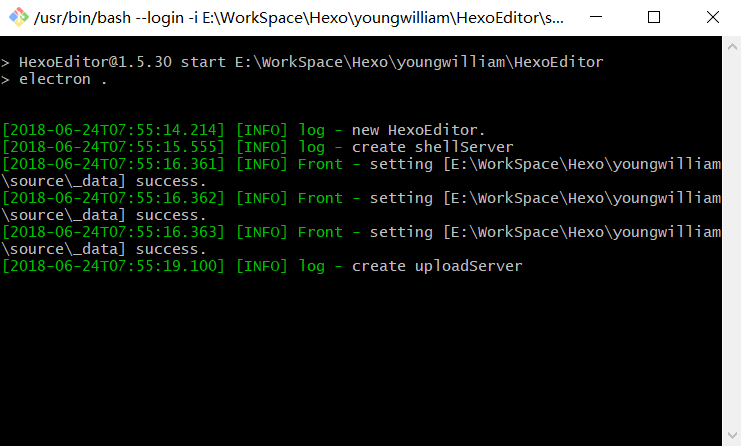
npm start然后,当当当,启动啦~
设置快捷方式
在 HexoEditor 子目录下,新建 start.sh ,编辑(右键->打开方式->NotePad++),输入(其实就是启动)
npm start保存,退出,双击一下 start.sh ,看看效果如何~
顺利的话,gitbash 会弹出来,然后 HexoEditor就会弹出来了~
本教程到此就结束了,希望大家玩的开心~
Post author: YoungWilliam
Post link: https://youngwilliamz.github.io/2018-06-24-HexoEditor/
Copyright Notice: All articles in this blog are licensed under CC BY-NC-SA 3.0 unless stating additionally.