这篇文章标题中看似不相关的两个话题被我放在了一起讨论,主要是因为在项目的POC过程中,我选择了Vue + Echarts作为基础组件完成了一个驾驶舱的验证,后续被要求直接将该驾驶舱集成到 ELK 系统当中时,才想起 kiabana 是基于 angularJS 的。因为太懒,同时也想看看 angularJS 和 Vue 在一起混用会碰撞出什么样的火花,所以我并没有将原先的驾驶舱重构为 angularJS,而是直接进行了集成。。。
背景
虽然 kibana 本身提供了比较丰富的可视化组件和dashborad功能,但是总的来说,对比起其他比较流行的可视化框架,比如 echarts, highcharts 等,还是差强人意的。限制于组件的API,你很难在 kibana 上做各种个性化的展示和在组件之间进行关联互动。而对于 echarts或者highcharts本身而言,它又仅仅是一个基于图表的可视化框架,无法提供数据绑定,路由,组件间通信等高级功能,所以势必要和 Vue 等JS开发的框架一起,才能提供内容丰富、互动性强的dashboard功能。以下,是我将 echart 和 Vue 集成后,做的一个 dashboard:
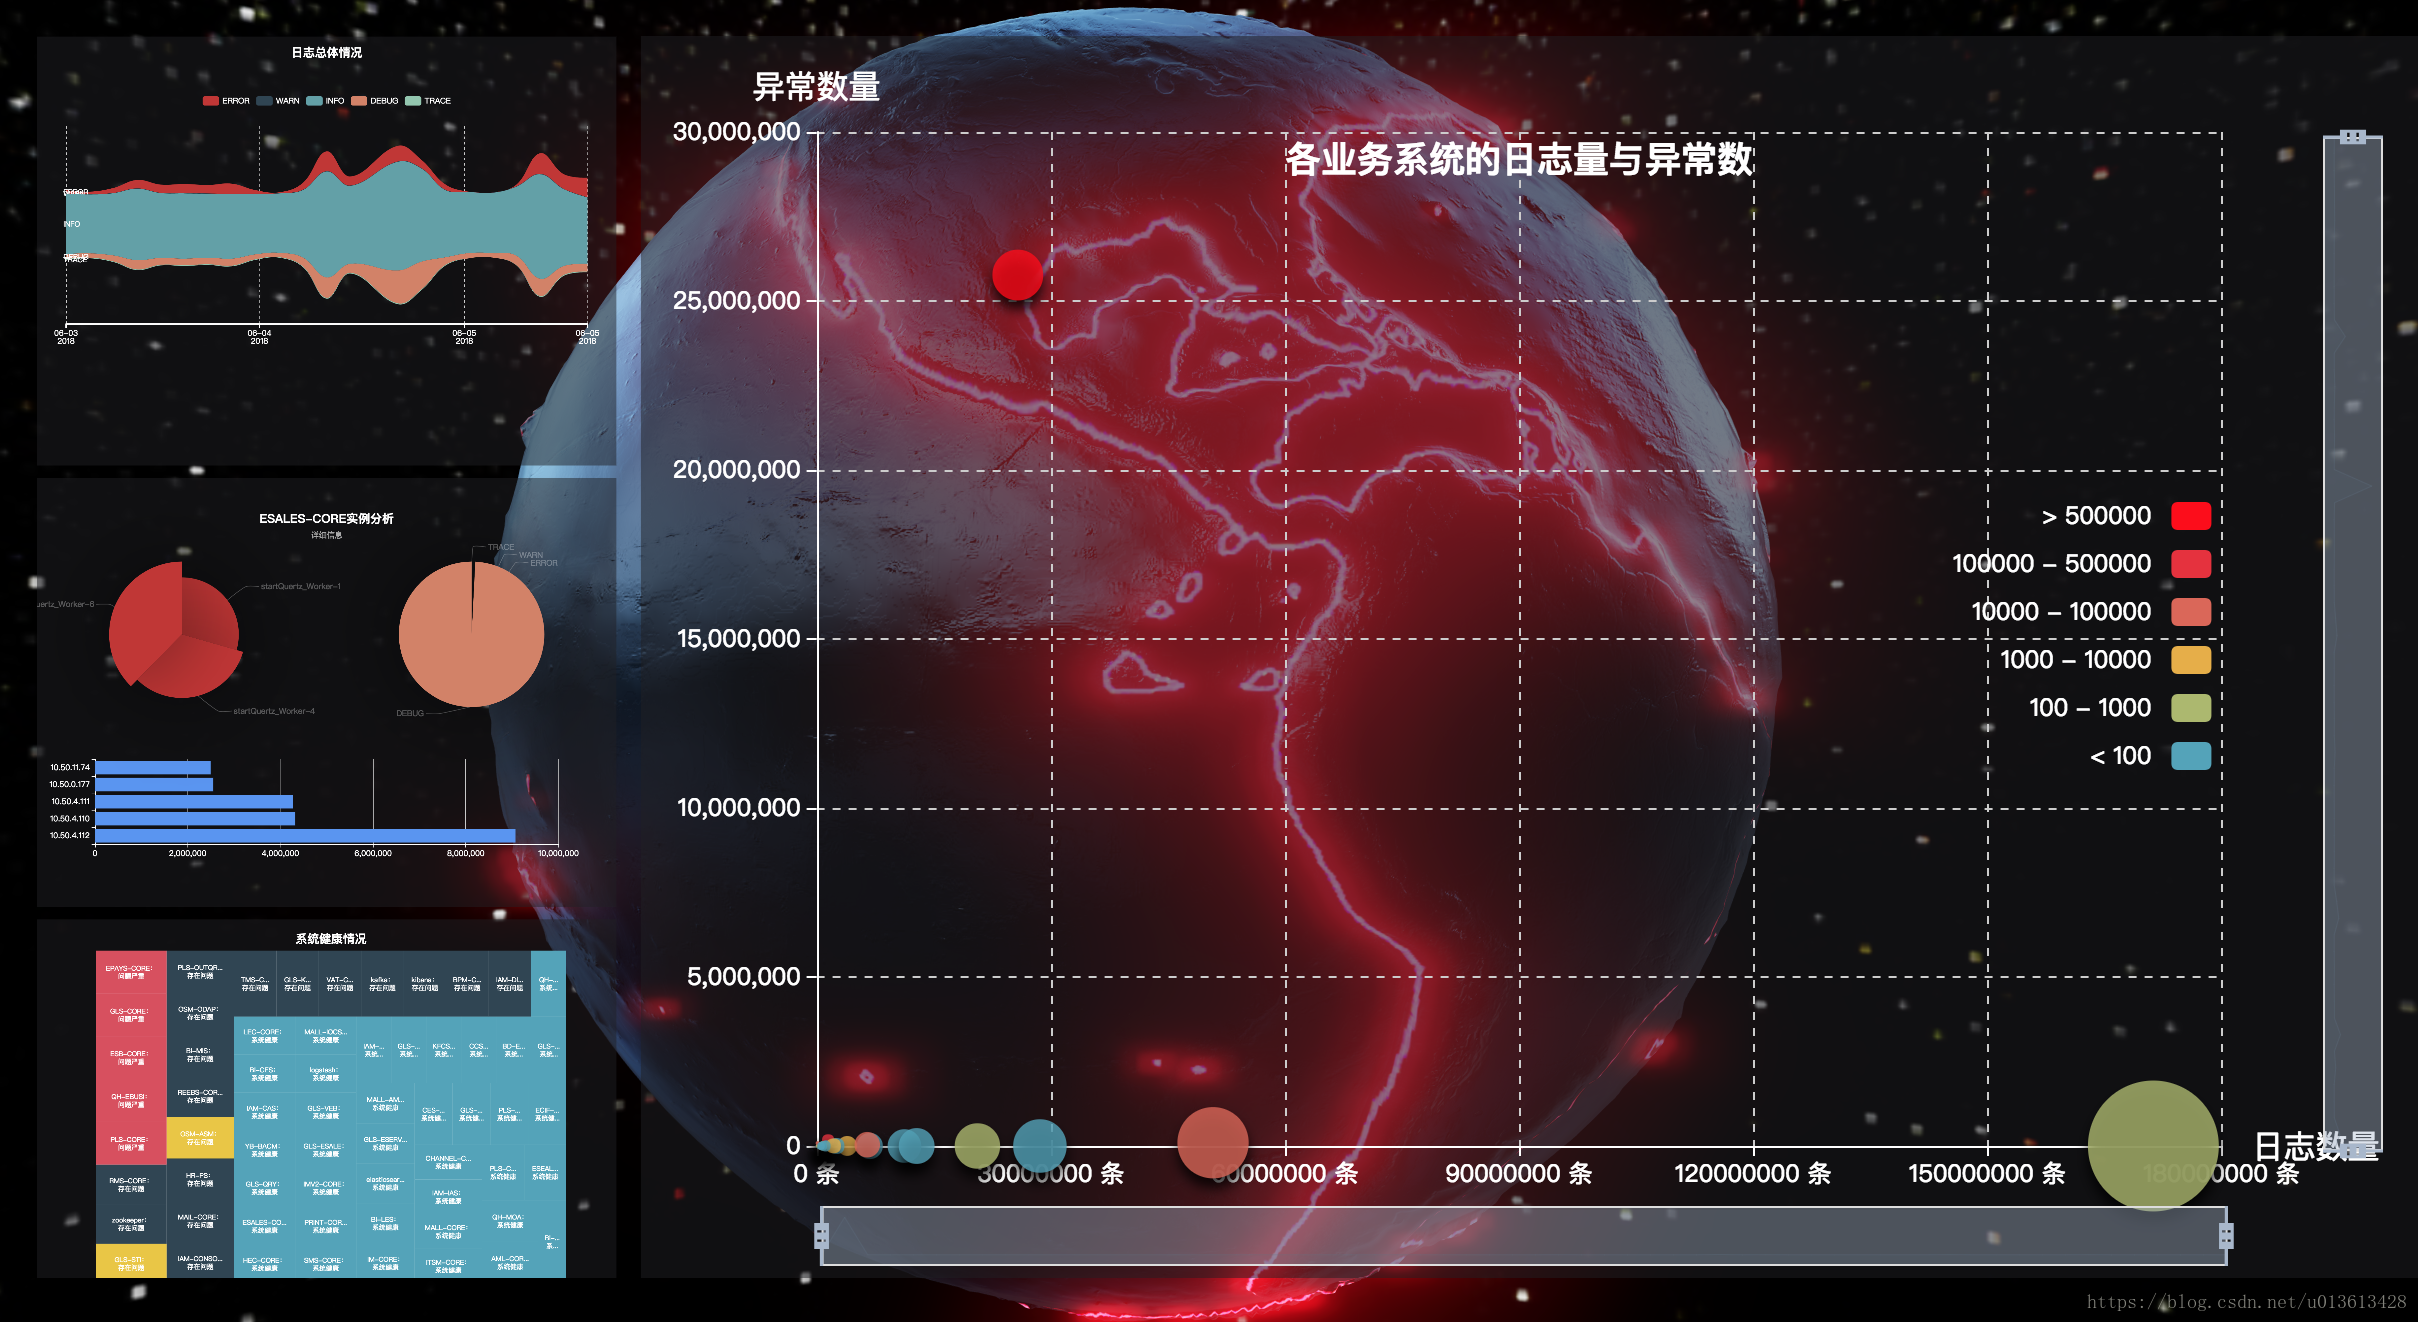
该 dashboard 是可以动态关联的,比如散点图上的每一个点都是可以点击的,点击后,对应系统的状态会被调出并展示:

这里主要是用 Vue 将 echart 的画布组件化,并完成相应的数据绑定和加载功能,为每个点击事件实现响应。具体就不在这里详述。
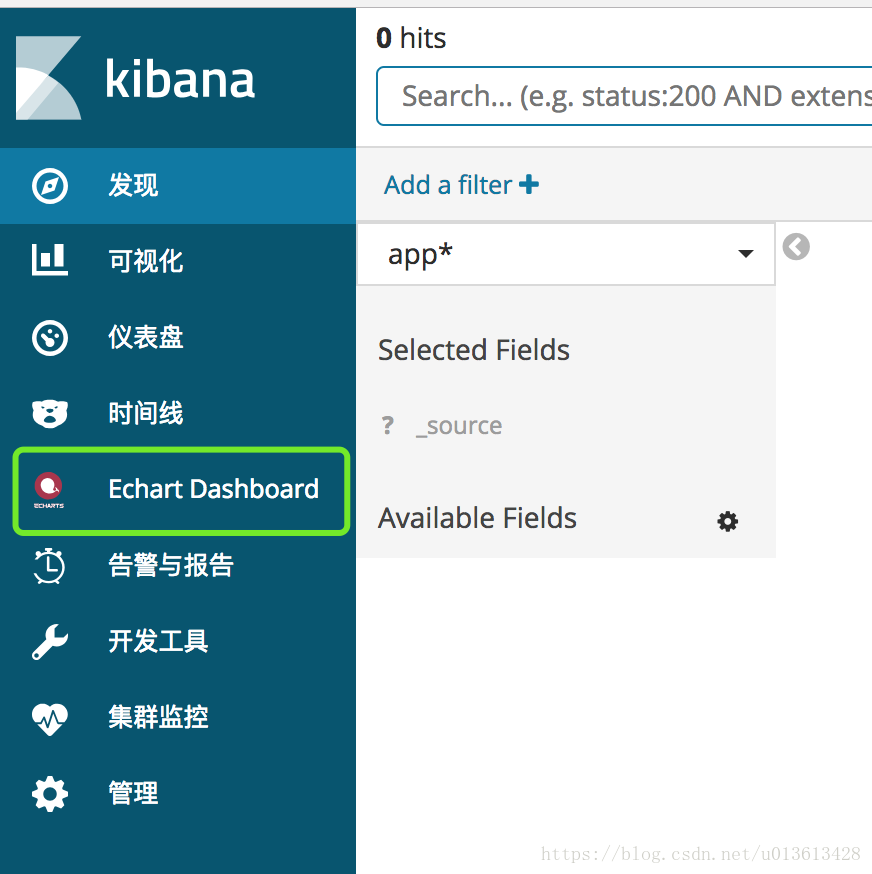
这里要讨论的是如果将这样的一个 dashboard 应用集成到 kibana 上,做到如下效果:
思路
首先,Vue + echarts 必须通过 webpack 打包成一个单页的应用。然后,将这个单页应用做成一个 kibana 的 plugins,共享 kibana 的用户访问权限。
创建插件
elastic在npm上发布了一些制作插件的工具,在你没有完全了解该如何做插件开发之前,可以直接使用工具来帮你生成插件
npm install -g yo
npm install -g generator-kibana-plugin
mkdir echartdashboard-plugin
cd echartdashboard-plugin
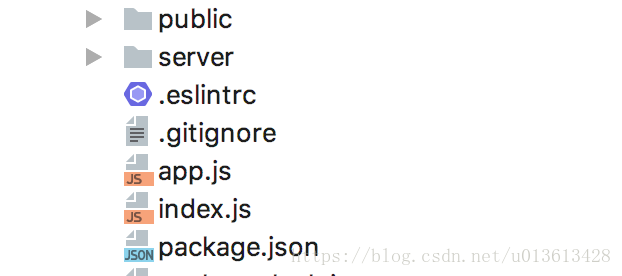
yo kibana-plugin这时,你会看到目录下面有下列文件
在没写任何代码之前,你可以测试一下你的插件是否可以工作。步骤:
- 在插件目录下执行
npm install安装相关的插件 - 创建一个名叫
kibana的文件夹,将这个echartdashboard-plugin整个目录都拷贝到 kibana 目录下。(kibana/echartdashboard-plugin) - 将这个kibana目录保存或压缩为一个zip文件
- 使用 kibana-plugins 的local方法安装这个zip文件
重启kibana之后,你会看到一个类似hello world的插件出现在你的侧边栏。解压缩之后是这样的:

开发插件
index.js
kibana的控制器在启动的时候,会逐个加载安装了的插件。插件是以对象(kibana.Plugin)的方式存在。这个对象是在index.js文件中定义的。其中:
- app -> main 属性定义的是启动的js
- app -> icon 属性定义的是侧边栏的图标
- config属性,定义的是从
kinbana.yml里面的属性和默认值(注意:在kibana.yml,参数必须放在plugins名字下面,比如这里是echart_dashboard) - init(server, options) ,是初始化函数,里面传入了server对象,这是kibana启动的http server (HAPI) 对象,在函数中,我设置了路由,即一开始就加载做好的vue + echart的dashboard。
import { resolve } from 'path';
import apiRoute from './server/routes/redirect';
import cacheData from './server/cache/cachedata'
export default function (kibana) {
  return new kibana.Plugin({
    require: ['elasticsearch'],

    uiExports: {

      app: {
        title: '系统驾驶舱',
        description: 'a independent dashboard based on echarts',
        main: 'plugins/echart_dashboard/app.js',
        icon: 'plugins/echart_dashboard/echarts.svg'
      }
    },

    config(Joi) {
      return Joi.object({
        enabled: Joi.boolean().default(true),
        interval: Joi.string().default( "now/w"),
        index: Joi.string().default("app*")
      }).default();
    },


    init(server, options) {
      // Add server routes and initalize the plugin here
      cacheData.setCacheData(server);
      apiRoute(server);
    }

  });
};
redirect.js
- /app/echart_dashboard, 这个path是plugin的访问目录,返回
../plugins/echart_dashboard, 即之前截图里面的public目录,这里返回目录,其实是默认会返回该目录下的index.html文件,所有,public目录下必须有index.html文件 - 其他定义的路由,实际上就是通过rest接口提供dashboard的数据
import cacheData from "../cache/cachedata"
export default function (server) {
  server.route({
    path: '/app/echart_dashboard',
    method: 'GET',
    handler(req, reply) {
      reply.redirect('../plugins/echart_dashboard')
    }
  });

  server.route({
    path: '/api/echart_dashboard/ModuleInstance',
    method: ['POST', 'GET'],config: {cors : true},
    handler: function (req, reply) {
        reply(cacheData.getCacheData('ModuleInstance'));
    }
  });

  server.route({
    path: '/api/echart_dashboard/jsondata',
    method: ['POST', 'GET'],config: {cors : true},
    handler: function (req, reply) {
        reply(cacheData.getCacheData('jsondata'));
    }
  });

  server.route({
    path: '/api/echart_dashboard/arraydata',
    method: ['POST', 'GET'],config: {cors : true},
    handler: function (req, reply) {
        reply(cacheData.getCacheData('arraydata'));
    }
  });

  server.route({
    path: '/api/echart_dashboard/errjdata',
    method: ['POST', 'GET'],config: {cors : true},
    handler: function (req, reply) {
        reply(cacheData.getCacheData('errjdata'));
    }
  });

  server.route({
    path: '/api/echart_dashboard/timestampData',
    method: ['POST', 'GET'],config: {cors : true},
    handler: function (req, reply) {
        reply(cacheData.getCacheData('timestampData'));
    }
  });
}
public 目录
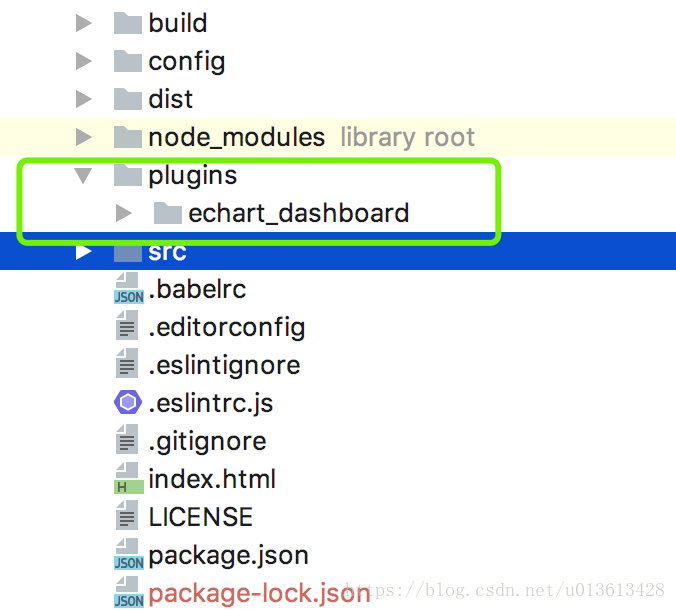
这里public目录就是我们的echart dashboard插件了。用vue开发一个dashboard的具体方法就不说了。开发完之后,用vue脚手架提供的build命令 (npm run build)。会生成一个dist目录:
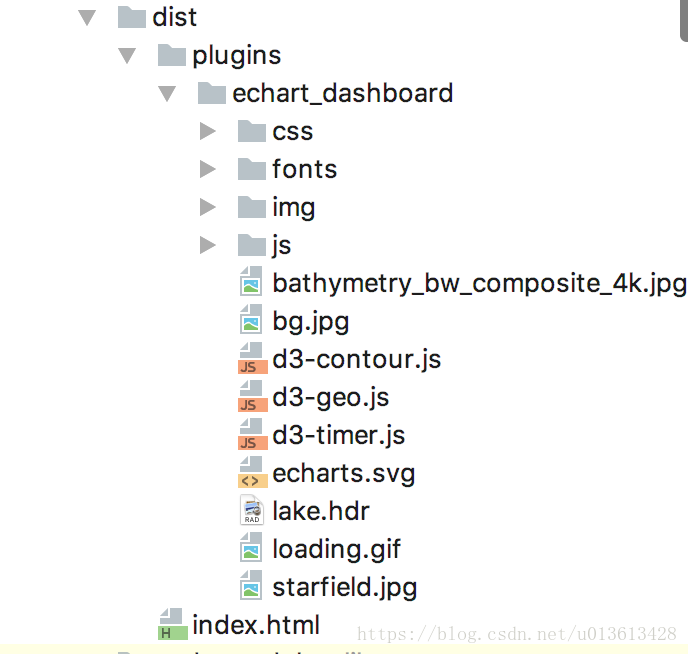
细心的同学一定发现了,为什么这个dist目录是plugins/echart_dashboard?因为将这个单页应用放到kibana之后,所有的静态文件是通过plugins/echart_dashboard路径获取的。 因此,你在开发vue单页应用的时候,你不能使用原先的相对路径/去引用文件,你必须在vue项目下,创建和kibana plugin一样的目录结构 :
举个栗子:
earth.vue
      myChart.setOption({
        globe: {

          environment: '/plugins/echart_dashboard/starfield.jpg',

          heightTexture: '/plugins/echart_dashboard/bathymetry_bw_composite_4k.jpg',

          displacementScale: 0.05,
          displacementQuality: 'high',

          baseColor: '#000',

          shading: 'realistic',
          realisticMaterial: {
            roughness: 0.2,
            metalness: 0
          },
          ...
     }
这里记得修改build.js
build.js
主要是修改 assetsPath
// https://github.com/shelljs/shelljs
require('./check-versions')()
require('shelljs/global')
env.NODE_ENV = 'production'

var path = require('path')
var config = require('../config')
var ora = require('ora')
var webpack = require('webpack')
var webpackConfig = require('./webpack.prod.conf')

console.log(
  '  Tip:\n' +
  '  Built files are meant to be served over an HTTP server.\n' +
  '  Opening index.html over file:// won\'t work.\n'
)

var spinner = ora('building for production...')
spinner.start()

var assetsPath = path.join(config.build.assetsRoot, config.build.assetsSubDirectory)
rm('-rf', assetsPath)
mkdir('-p', assetsPath)
cp('-R', 'plugins/echart_dashboard/*', assetsPath)

webpack(webpackConfig, function (err, stats) {
  spinner.stop()
  if (err) throw err
  process.stdout.write(stats.toString({
    colors: true,
    modules: false,
    children: false,
    chunks: false,
    chunkModules: false
  }) + '\n')
})
config/index.js
修改 assetsSubDirectory
// see http://vuejs-templates.github.io/webpack for documentation.
var path = require('path')

module.exports = {
  build: {
    env: require('./prod.env'),
    index: path.resolve(__dirname, '../dist/index.html'),
    assetsRoot: path.resolve(__dirname, '../dist'),
    assetsSubDirectory: 'plugins/echart_dashboard',
    assetsPublicPath: '/',
    productionSourceMap: true,
    // Gzip off by default as many popular static hosts such as
    // Surge or Netlify already gzip all static assets for you.
    // Before setting to `true`, make sure to:
    // npm install --save-dev compression-webpack-plugin
    productionGzip: false,
    productionGzipExtensions: ['js', 'css']
  },
  dev: {
    env: require('./dev.env'),
    port: 8081,
    assetsSubDirectory: 'plugins/echart_dashboard',
    assetsPublicPath: '/',
    proxyTable: {},
    // CSS Sourcemaps off by default because relative paths are "buggy"
    // with this option, according to the CSS-Loader README
    // (https://github.com/webpack/css-loader#sourcemaps)
    // In our experience, they generally work as expected,
    // just be aware of this issue when enabling this option.
    cssSourceMap: false
  }
}
然后将 dist 目录下的所有文件连同index.html放到原先的插件目录的public目录下,按照之前的步骤,重新生成一下插件,即可得到文章一开始的效果