一、下载源码
源码地址:http://mirrors.tuna.tsinghua.edu.cn/apache/atlas/1.0.0/apache-atlas-1.0.0-sources.tar.gz
二、源码编译
tar -zxf apache-atlas-1.0.0-sources.tar.gz 解压
cd apache-atlas-sources-1.0.0/ 切换目录
export MAVEN_OPTS="-Xms2g -Xmx2g" 设置maven编译堆大小
mvn clean -DskipTests package -Pdist 编译命令,注意该方式编译不会内嵌HBase和Solr
(mvn clean -DskipTests package -Pdist,embedded-hbase-solr 采用这种编译方式会内嵌HBase和Solr,测试用这种方式)
编译报错:
[WARNING] Rule 0: org.apache.maven.plugins.enforcer.RequireMavenVersion failed with message:
** MAVEN VERSION ERROR ** Maven 3.5.0 or above is required. See https://maven.apache.org/install.html
[WARNING] Rule 1: org.apache.maven.plugins.enforcer.RequireJavaVersion failed with message:
** JAVA VERSION ERROR ** Java 8 (Update 151) or above is required.
解决方法:Maven使用3.5以上,Java使用Java8,我使用的版本如下

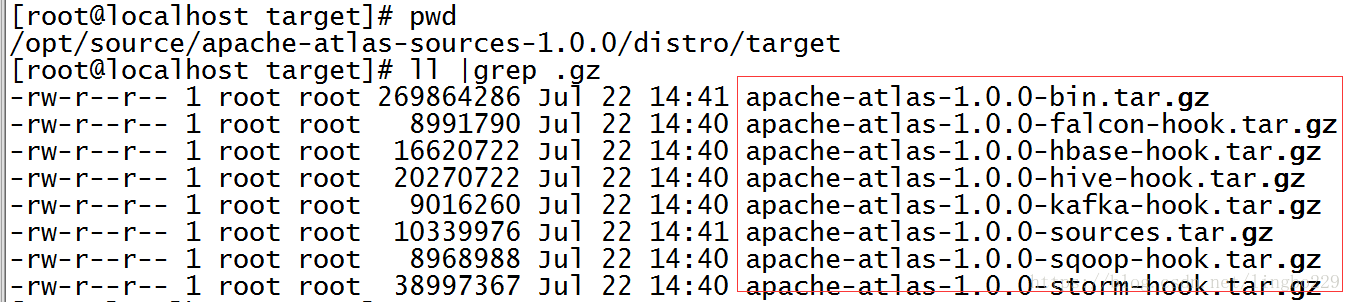
如果编译成功,会生成如下安装包
三、安装(使用单机模式,内嵌了solr和HBase)
tar -zxf apache-atlas-1.0.0-bin.tar.gz 解压编译好的安装包
cd apache-atlas-1.0.0/
[root@localhost apache-atlas-1.0.0]# bin/atlas_start.py 单机模式,不用更改任何配置,直接启动atlas
configured for local hbase.
hbase started.
configured for local solr.
solr started.
setting up solr collections...
starting atlas on host localhost
starting atlas on port 21000
..............................................................................................................................................................................................................................................................................................................
Apache Atlas Server started!!!
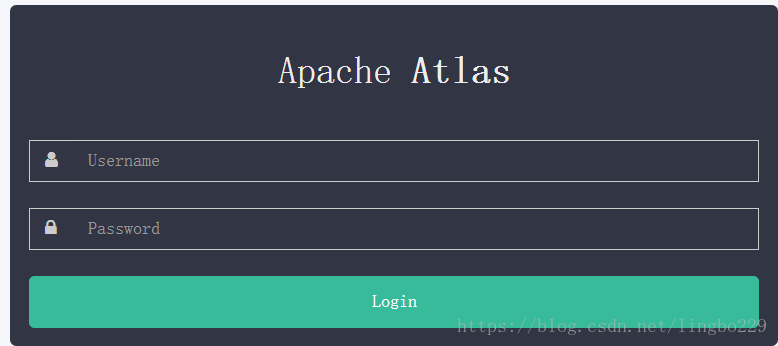
然后通过web:http://ip:21000/访问即可,数据默认用户名admin,密码admin
至此单机安装部署完成