前言:
在我的上一篇文章中对SpringBoot整合Maybatis通过java注解的方式进行了记录,这篇文章说一下使用mybatis官方提供的Spring Boot整合包实现。
环境
版本:SpringBoot1.5.9. RELEASE
整合工程下载
SpringBoot整合Mybatis
注:项目中除了整合Mybatis外,还整合了Redis-cluster集群、Swagger2接口说明
Maven依赖
<!-- 引入web -->
        <dependency>
            <groupId>org.springframework.boot</groupId>
            <artifactId>spring-boot-starter-web</artifactId>
        </dependency>
        <dependency>
            <groupId>org.springframework.boot</groupId>
            <artifactId>spring-boot-starter</artifactId>
        </dependency>
        <!-- SprigBoot测试类 -->
        <dependency>
            <groupId>org.springframework.boot</groupId>
            <artifactId>spring-boot-starter-test</artifactId>
            <scope>test</scope>
        </dependency>
        <dependency>
            <groupId>org.springframework.boot</groupId>
            <artifactId>spring-boot-starter-jdbc</artifactId>
        </dependency>
        <dependency>
            <groupId>org.mybatis.spring.boot</groupId>
            <artifactId>mybatis-spring-boot-starter</artifactId>
            <version>1.3.0</version>
        </dependency>

        <dependency>
            <groupId>mysql</groupId>
            <artifactId>mysql-connector-java</artifactId>
            <version>5.1.35</version>
        </dependency>
        <!-- alibaba的druid数据库连接池 -->
        <dependency>
            <groupId>com.alibaba</groupId>
            <artifactId>druid</artifactId>
            <version>1.0.11</version>
        </dependency>
         <!-- 分页插件 -->
        <dependency>
            <groupId>com.github.pagehelper</groupId>
            <artifactId>pagehelper-spring-boot-starter</artifactId>
            <version>1.1.2</version>
        </dependency>
        <!-- alibaba的druid数据库连接池 -->
        <dependency>
            <groupId>com.alibaba</groupId>
            <artifactId>druid-spring-boot-starter</artifactId>
            <version>1.1.0</version>
        </dependency>
在application.properties中添加配置
########################################mybatis#####################
#mybatis配置文件
spring.datasource.name = test
spring.datasource.url = jdbc:mysql://127.0.0.1:3306/android
spring.datasource.username = root
spring.datasource.password = root
# 使用druid数据源
spring.datasource.type = com.alibaba.druid.pool.DruidDataSource
spring.datasource.driver-class-name = com.mysql.jdbc.Driver
spring.datasource.filters = stat
spring.datasource.maxActive = 20
spring.datasource.initialSize: 1
spring.datasource.maxWait = 60000
spring.datasource.minIdle = 1
spring.datasource.timeBetweenEvictionRunsMillis=60000
spring.datasource.minEvictableIdleTimeMillis: 300000
spring.datasource.validationQuery = select 'x'
spring.datasource.testWhileIdle = true
spring.datasource.testOnBorrow = true
spring.datasource.testOnReturn = false
spring.datasource.poolPreparedStatements = true
spring.datasource.maxOpenPreparedStatements = 20
#mybatis
mybatis.mapper-locations=classpath:mapping/*.xml
type-aliases-package: com.lpl.springboot1.pojo
#pagehelper分页插件
pagehelper.helperDialect=mysql
pagehelper.reasonable=true
pagehelper.supportMethodsArguments=true
pagehelper.params=count=countSql
######################################################mybatis###################
#输出日志
#debug=true
logging.level.org.springframework.web=debug
#输入sql日志:logging.level.+mapper的包
logging.level.com.lpl.springboot1.dao=debug
logging.file=logs/spring-boot-logging.log
#################################################日志####################################################
使用逆向工程生成mybatis相关文件
这里我使用的是从网上找的一个逆行工程代码生产的一个程序,其中就是配置generatorConfig.xml中需要逆向工程的数据库、表、并配置生成的mapper.xml和mapper的接口文件到指定包下。
工程下载地址:http://download.csdn.net/download/plei_yue/10173926
备注(需要按照自己的需求修改generatorConfig.xml文件,点击GeneratorSqlmap.java运行程序。)
配置mybatis
有两种方式进行配置:
1.在SpringBoot启动中配置: @MapperScan(“com.lpl.springboot1.dao”)
@SpringBootApplication
@MapperScan("com.lpl.springboot1.dao")
public class Springboot1Application {

    public static void main(String[] args) {
        SpringApplication.run(Springboot1Application.class, args);
    }
}
2.在接口文件中配置@Mapper
@Mapper
public interface StudentMapper {
int insert(Student student);//增加数据
int deleteByPrimaryKey(@Param("id")Long id);//删除数据
int updateByPrimaryKey(Student student);//修改数据
Student selectByPrimaryKey(Long id);//查询数据
List<Student> selectList();//查询学生列表
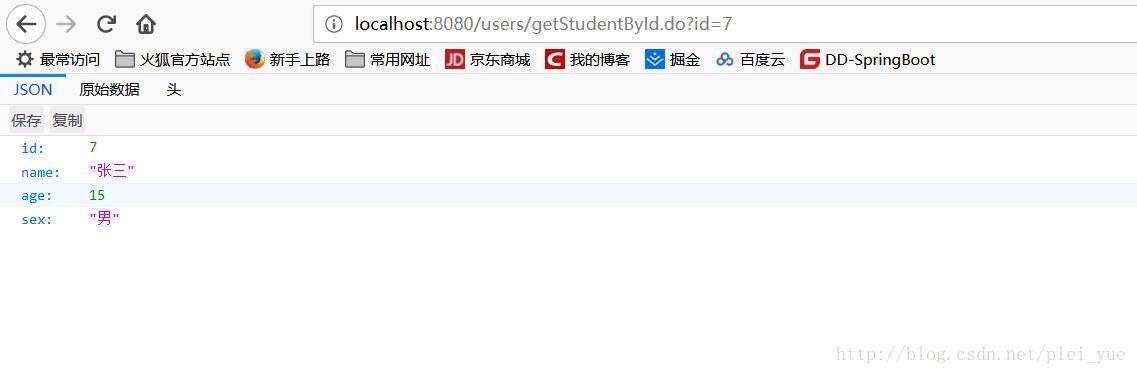
}测试
访问:http://localhost:8080/users/getStudentById.do?id=7
结果: