0x00 项目简介
Obfuscator-LLVM is a project initiated in June 2010 by the information security group of the University of Applied Sciences and Arts Western Switzerland of Yverdon-les-Bains (HEIG-VD).
The aim of this project is to provide an open-source fork of the LLVM compilation suite able to provide increased software security through code obfuscation and tamper-proofing. As we currently mostly work at the Intermediate Representation (IR) level, our tool is compatible with all programming languages (C, C++, Objective-C, Ada and Fortran) and target platforms (x86, x86-64, PowerPC, PowerPC-64, ARM, Thumb, SPARC, Alpha, CellSPU, MIPS, MSP430, SystemZ, and XCore) currently supported by LLVM.
源码地址:https://github.com/obfuscator-llvm/obfuscator/
0x01 编译环境
- Ubuntu 16.04 32位
- obfuscator-llvm4.0
- android-ndk-r10b-linux-x86.tar.bz2
0x02 安装ndk
将ndk解压到/opt/android/ndk/
解压后的目录
/opt/android/ndk/android-ndk-r10b
$ sudo gedit /etc/profile
#在文件尾添加以下内容设置NDK环境变量
export NDK_HOME=/opt/android/ndk/android-ndk-r10b
export PATH=$NDK_HOME:$PATH
$ source /etc/profile   使之生效

如果环境变量未生效可以尝试将内容添加在“~/.bashrc”文件内
$sudo gedit ~/.bashrc
配置好环境变量之后,需要验证一下是否搭建成功,在命令行下输入ndk-build,有如下提示则表示搭建成功了。

0x03 安装编译环境并编译OLLVM
安装编译工具
apt-get install cmake
apt-get install g++

编译ollvm源码
git clone -b obfuscator-llvm-4.0 https://github.com/obfuscator-llvm/obfuscator.git
mkdir build
cd build
cmake -DCMAKE_BUILD_TYPE:String=Release ../
make -j7
在build目录下会生成编译后的程序,我们只会用到bin和lib目录下的文件
0x04 添加字符串混淆功能
0x05 整合工具链到NDK中
cd /opt/android/ndk/android-ndk-r10b/toolchains/
mkdir obfuscator-llvm-4.0
将toolchains目录下的llvm-3.3目录中的下列目录和文件拷贝到obfuscator-llvm-4.0中
1.prebuilt目录和文件
2.config.mk
3.setup.mk
4.setup-common.mk
将obfuscator-llvm-4.0/prebuilt/linux-x86下的bin和lib替换为我们编译好的bin和lib
然后将下面文件复制一份,改名称如下
arm-linux-androideabi-clang3.4->arm-linux-androideabi-obfuscator4.0
mipsel-linux-android-clang3.4-> mipsel-linux-android-obfuscator4.0
x86-clang3.4-> x86-obfuscator4.0
分别将以上三个拷贝后的文件夹中的的 setup.mk 中的 LLVM_NAME 的值更改为
LLVM_NAME := obfuscator-llvm-$(LLVM_VERSION)
0x06 使用ollvm生成混淆过的程序
0.混淆参数详解
-mllvm -fla 开启控制流平台化
-mllvm -sub 开启指令替换
-mllvm -bcf 开启虚假控制流
-mllvm -sobf 开启字符串混淆
-mllvm -seed=0xdeadbeaf 指定随机数种子生成器

bcf可以配合下面参数使用
-mllvm -bcf_loop=3 设置函数混淆次数为3次 不加此选项默认为1次
-mllvm -bcf_prob=40 设置代码块被混淆的概率是40%,默认30%

[了解更多](https://github.com/obfuscator-llvm/obfuscator/wiki)
1.创建工程目录 此处为hello
2.创建子目录jni
3.在jni目录下创建Android.mk并根据需求编写mk文件
LOCAL_PATH := $(call my-dir)
include $(CLEAR_VARS)
LOCAL_MODULE    := hello
LOCAL_SRC_FILES := hello.c
LOCAL_CFLAGS += -mllvm -sub -mllvm -bcf -mllvm -bcf_loop=3  -mllvm -bcf_prob=40 -mllvm -fla -mllvm -split_num=10 -mllvm -sobf
LOCAL_ARM_MODE := arm
include $(BUILD_EXECUTABLE)
4.在jni目录下创建Application.mk并根据需求编写mk文件
LOCAL_PATH := $(call my-dir)
include $(CLEAR_VARS)
APP_ABI := armeabi
NDK_TOOLCHAIN_VERSION := obfuscator4.0
include $(BUILD_EXECUTABLE)
5.在jni目录下创建代码文件hello.c
#include <stdio.h>
int main(int argc, char** argv)
{
    int a=1;
    int b=0;
    if(a>b)
    {
        printf("snow:%d\n",a);
    }
    else{
        printf("test:%d\n",b);
    }
    return 0;
}
6.在工程目录下执行ndk-build命令
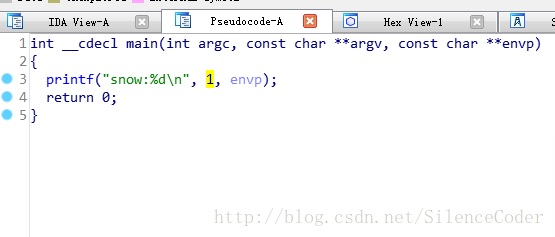
7.未混淆的效果
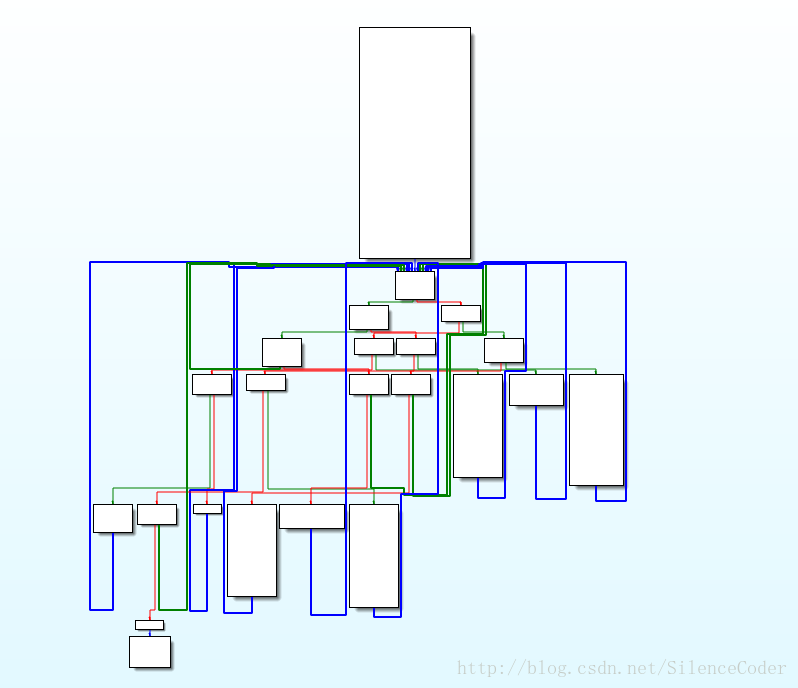
8.混淆后的效果
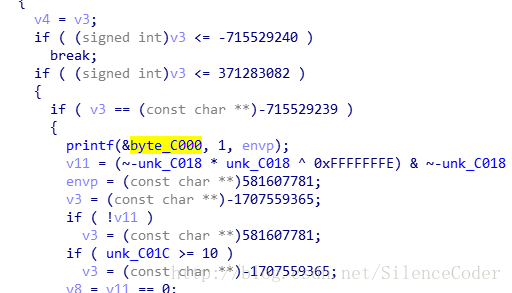
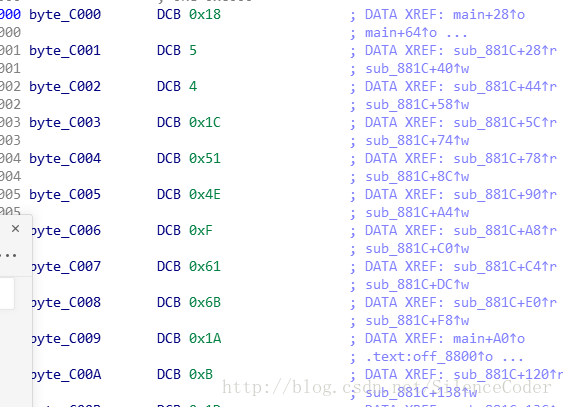
字符串混淆效果
0x07 问题及解决方案
- bcf不支持Invoke指令
在实际使用过程中,发现ollvm目前不支持@synchronized、try…catch等少数语法,然后导致bcf报错。这些语法会生成invoke指令,目前可以在bcf前过滤包含InvokeInst的方法,具体代码可以参考该Github地址。
0x08 参考文档
http://fighting300.com/2017/09/18/ollvm-with-StringObfuscate/
https://github.com/fighting300/obfuscator/commit/ae0e5acd873cd9a8c839a013a635422022fd0d6b
https://github.com/GoSSIP-SJTU/Armariris
https://github.com/obfuscator-llvm/obfuscator/wiki
http://blog.csdn.net/wangbaochu/article/details/45370543