版权声明:本文为博主原创文章,未经博主允许不得转载。 https://blog.csdn.net/qq_35393869/article/details/81360268
phpcms如何实现留言板功能?
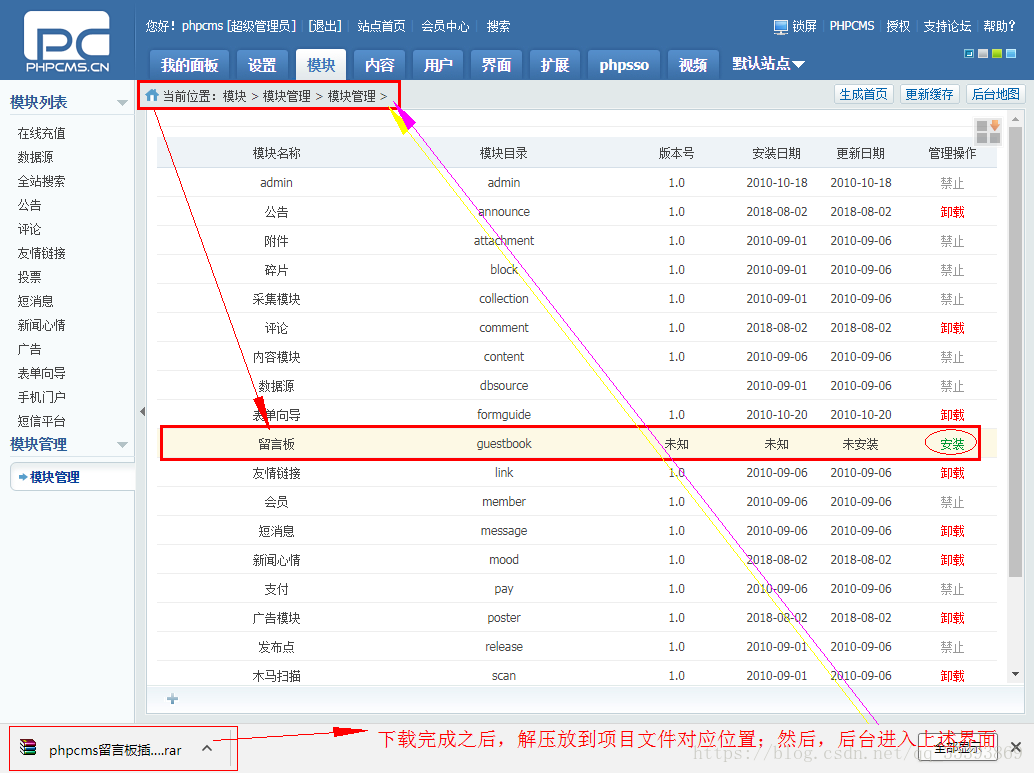
1. 留言板插件下载
首先下载留言板插件:下载地址1
2. 解压并安装
注意:后台的路径导航。
3. 代码调用教程
教程地址:查看教程
4. 参考代码1:(附图)

<form action="http://localhost/index.php?m=guestbook&c=index&a=register&siteid=1" method="post" name="myform" id="myform">
<table cellspacing="1" cellpadding="0" class="table_form" width="960px">
<tbody>
<tr>
<th>姓 名:</th>
<td><input type="text" value="" id="name" name="name" class="input-text" onkeyup="value=" oblog="" value.replace(="" [^\u4e00-\u9fa5]="" g,'')=""><div id="nameTip" class="onShow">请输入姓名</div></td>
</tr>
<tr>
<th>性 别:</th>
<td><input type="radio" value="男" name="sex" checked="checked"> 男<input type="radio" value="女" name="sex"> 女</td>
</tr>
<tr>
<th>联 系QQ:</th>
<td><input type="text" size="40" value="" name="lxqq" id="lxqq" class="input-text"><div id="lxqqTip" class="onShow">请输入QQ号码</div></td>
</tr>
<tr>
<th>电子邮箱:</th>
<td><input type="text" size="40" value="" name="email" id="email" class="input-text"><div id="emailTip" class="onShow">请输入电子邮箱</div></td>
</tr>
<tr>
<th>手 机:</th>
<td><input type="text" size="40" value="" name="shouji" id="shouji" class="input-text"><div id="shoujiTip" class="onShow">请输入手机</div></td>
</tr>
<tr>
<th>所属分类:</th>
<td width="300">
<select style="width: 36%;" id="typeid" name="typeid">
<option value="0">默认分类</option>
</select>
</td>
</tr>
<tr>
<th>填写留言:</th>
<td><textarea name="introduce" cols="40" rows="5" class="input-text" id="introduce" style="width:500px;height:70px;"></textarea><div id="introduceTip" class="onShow">请输入留言内容</div></td>
</tr>
<tr>
<th></th>
<td><input type="submit" value=" 提 交 " name="dosubmit" class="button"> <input type="reset" value=" 取 消 " name="reset" class="button"> </td>
</tr>
</tbody>
</table>
</form>
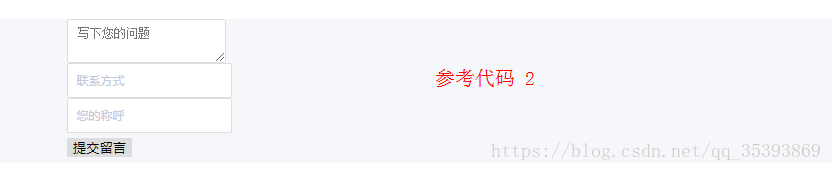
5. 参考代码2:(附图)
<!--留言板编辑-->
            <div id="messageboard">
                <form  action="{APP_PATH}index.php?m=guestbook&c=index&a=register&siteid={$siteid}" method="post" name="myform" id="myform">
                    <div class="messagebox">
                        <textarea id="text" name="introduce" placeholder="写下您的问题"></textarea>
                    </div>
                    <ul class="messageInput">
                        <li><input type="text" class="inptxt" name="shouji" placeholder="联系方式"/><span class="bg1"></span></li>
                        <li><input type="text" class="inptxt" name="name" placeholder="您的称呼"/><span class="bg2"></span></li>
                        <li style="display: none;"><input type="text" class="inptxt" name="email" placeholder="e-mail" value=" " size="40"></li>
                        <li style="display: none;"><input type="text" class="inptxt" name="lxqq" placeholder="QQ" value=" " size="40"></li>
                        <li><button type="submit" id="submit" name="dosubmit">提交留言</button></li>
                    </ul>

                </form>
            </div>
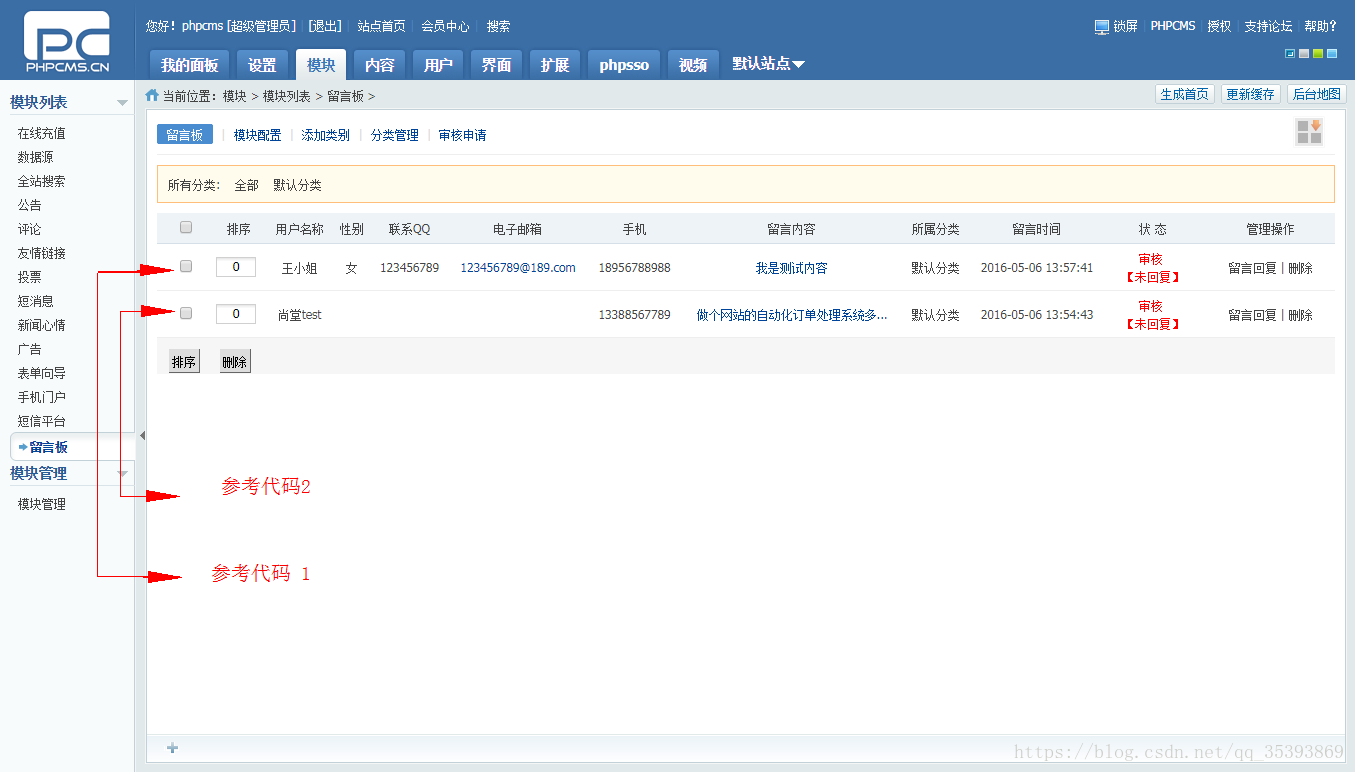
6. 后台接收留言界面,效果图对比
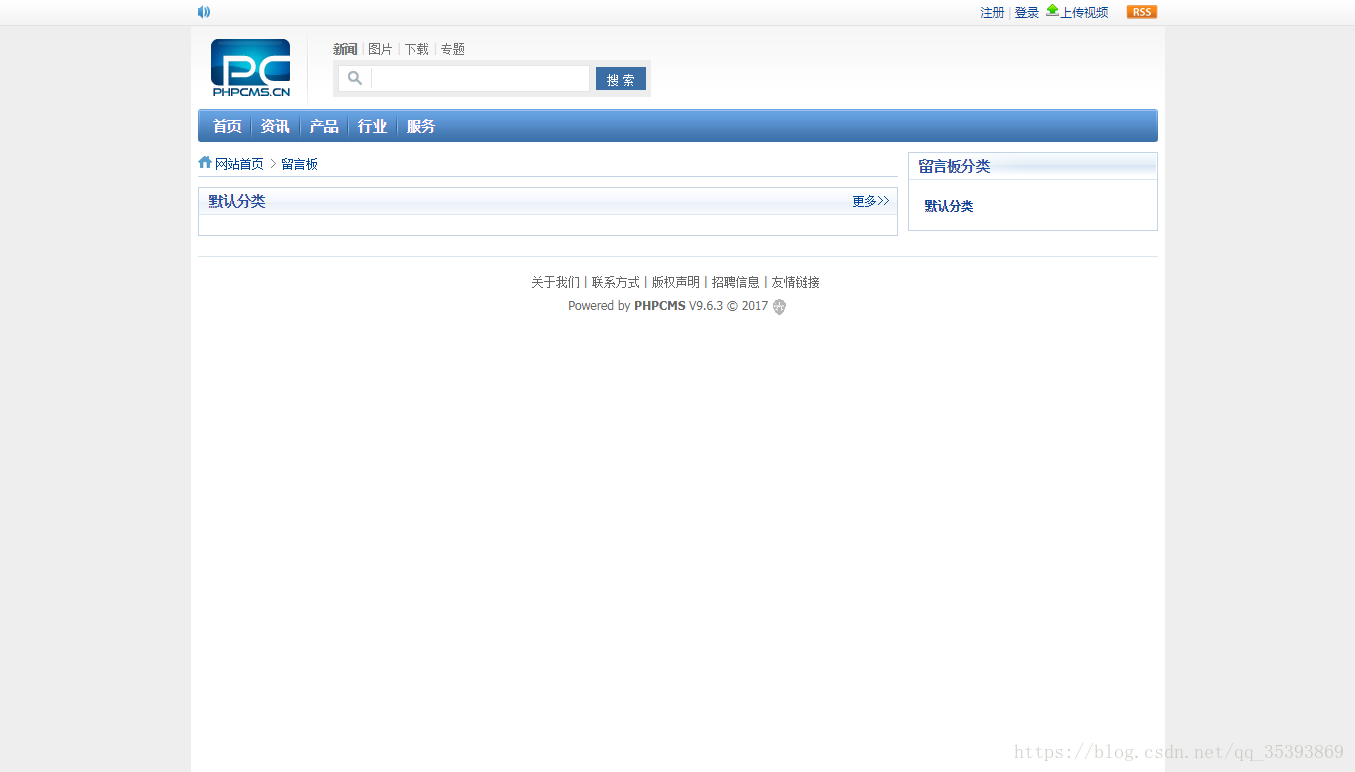
7. 接收成功之后,跳转到页面截图
如果自定义跳转页,可找出文件www/phpcms/modules/gustbook/index.php,修改内部的源码。修改方法请参考教程:“ phpcms留言添加成功之后,跳转到上一页面 ”。
8. 留言提交之后,如何返回到当前页面?(点击查看,参考教程)
附件
csdn留言插件下载:下载地址1
以上就是关于“ phpcms留言板功能的实现 ” 的全部内容。