在我们进入WordPress之前,我们将首先绘制出来并使用静态HTML和CSS创建设计布局。
构建HTML结构&添加CSS
我们在WordPress存放主题的文件夹内创建一个新的文件夹,命名为 advanced-wptheme,然后使用VScode编辑器在空文件夹内创建index.html和style.css两个文件。
1、创建HTML主体并添加搜索框
打开index.html文件,输入以下代码:
<!DOCTYPE html>
<html>
<head>
    <title>高级WP主题</title>
    <link rel="stylesheet" href="style.css">
</head>
<body>
    <header>
        <div class="container">
            <h1>
            	<a href="index.html">高级 Wordpress 主题</a>
            	<small>本站用于构建一个高级WP主题</small>
            </h1>
            <div class="h_right">
                <form>
                    <input type="text" placeholder="Search...">
                </form>
            </div>
        </div>
    </header>
</body>
</html>
当我们实际创建WordPress主题时,h1标签里的标题将是动态的,您将能够在管理区域内更改它,但是现在我们只在这里粘贴一些静态文本。在h1标签下方添加了一个搜索框。
2、添加导航栏
在header结束标签下方添加以下代码:
<nav class="nav main-nav">
        <div class="container">
            <ul>
            <li><a href="index.html">Home</a></li>
            <li><a href="about.html">About</a></li>
            <li><a href="#">Services</a></li>
            </ul>
        </div>
</nav>
3、添加博客文章
在nav结束标签下方添加以下代码:
<div class="container content">
        <div class="main block">
            <article class="post">
                <h2>Blog Post 1</h2>
                <p class="meta">Posted at 11:00 on May 9 by admin</p>
            </article>
            <a class="button" href="#">Read More</a>
        </div>
</div>
现在我们需要快速添加一些内容。 我们将访问www.lipsum.com并点击Generate Lorem Ipsum
我们复制一些内容,然后我们在meta元数据下方添加一些p标签,把刚刚复制的东西粘贴进去。

4、添加footer部分
在body结束标签上方添加以下代码:
<footer class="main-footer">
<div class="container">
<div class="f_left">
<p>© 2018 - Advanced WP Theme</p>
</div>
<div class="f_right">
<ul>
<li><a href="index.html">Home</a></li>
<li><a href="about.html">About</a></li>
<li><a href="#">Services</a></li>
</ul>
</div>
</div>
</footer>
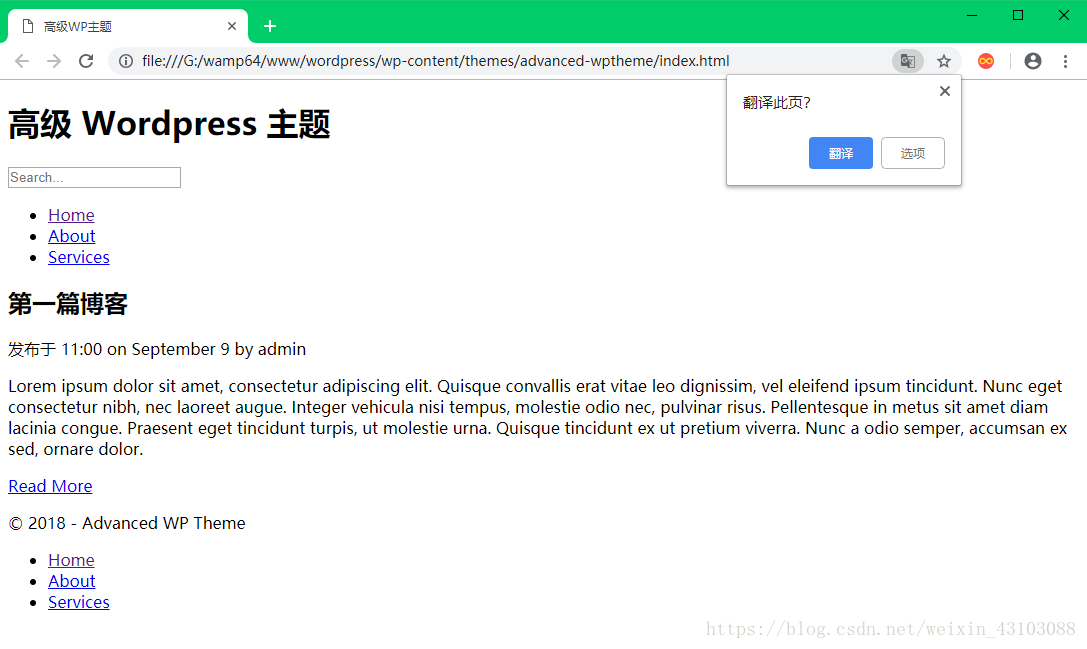
保存代码,在浏览器中打开文件如下图:
看起来很丑,因为我们没有添加css样式
5、添加一些基础样式
打开style.css添加以下代码:
body{
    font-family: Arial;
    color: #333;
    margin:0;
    padding:0;
}
ul{
    margin:0;
    padding:0;
    list-style:none;
}
a{
    color:#009acd;
    text-decoration:none;
}
a:hover{
    color:#333;
}
.container{
    width:960px;
    margin:auto;
    overflow:auto;
}
6、然后添加header和nav导航部分样式
header{
    background: #f4f4f4;
    padding:10px;
    border-bottom: 3px solid #009acd;
}
header h1{
    margin:0;
    padding:0;
    color:#009acd;
    float:left;
}
header h1 a{
    color:#009acd;
    text-decoration:none;
}
header small{
    color:#666;
    margin-left:1px;
    font-size: 13px;
}
header .h_right{
    float:right;
}
header .h_right input[type="text"]{
    width:250px;
    padding:5px;
    margin-top:5px;
}
保存代码去浏览器刷新看看:
然后为导航添加样式:

nav.nav li {
    float: left;
    padding-right: 15px;
}

nav.nav a {
    text-decoration: none;
}

nav.main-nav {
    height: 45px;
    overflow: hidden;
    background: #333;
    color: #fff;
    padding-top: 7px;
}

nav.main-nav li {
    height: 40px;
    line-height: 40px;
}

nav.main-nav a {
    color: #fff;
    text-decoration: none;
    padding: 8px;
}

nav.main-nav a:hover {
    color: #009acd;
}
保存代码刷新浏览器:

7、为博客文章部分添加样式
添加样式之前,我们先创建一个侧边栏,因为我们前面没写这部分代码。 所以我们打开index.html文件并在content的div标签下面添加以下代码:
<div class="side">
            <div class="block">
                <h3>侧边栏</h3>
                <p>Lorem ipsum dolor sit amet, consectetur adipiscing elit.    Nam vel diam hendrerit erat fermentum aliquet sed eget arcu.</p>
                <a class="button">More</a>
           </div>
</div>
然后继续添加样式代码:
.content {
    margin-top: 30px;
    line-height: 1.5em;
}

.main {
    float: left;
    width: 65%;
}

.side {
    width: 30%;
    float: right;
}

.block {
    border: #ccc 1px solid;
    padding: 5px 15px 25px 15px;
    background: #fcfcfc;
    overflow: hidden;
}

.block h3 {
    border-bottom: #ccc solid 1px;
    padding-bottom: 10px;
}
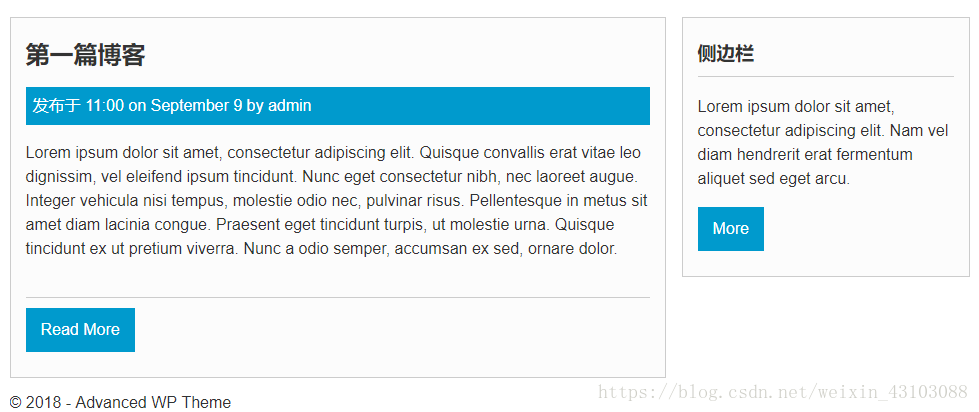
到浏览器看看样子:
接下来为article部分添加样式:
article.post {
    border-bottom: #ccc solid 1px;
    margin-bottom: 10px;
    padding-bottom: 20px;
}

article.post .meta {
    background: #009acd;
    color: #fff;
    padding: 7px;
}

.button {
    background: #009acd;
    color: #fff;
    padding: 10px 15px;
    display: inline-block;
}
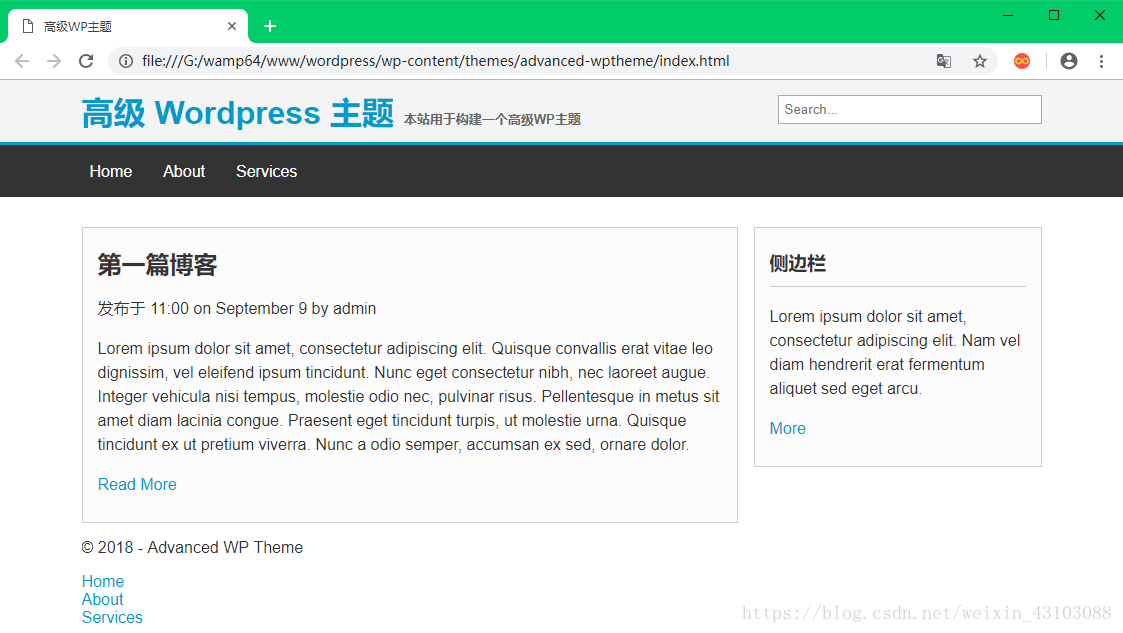
保存代码刷新浏览器看看:
8、给footer添加样式
继续添加样式:
footer.main-footer {
    margin-top: 40px;
    text-align: center;
    background: #333;
    color: #fff;
    height: 60px;
    padding-top: 10px;
    overflow: auto;
}

footer.main-footer .f_left {
    float: left;
}

footer.main-footer .f_right {
    float: right;
    margin-top: 15px;
}

footer.main-footer li {
    float: left;
    padding-right: 10px;
    list-style: none;
}

footer.main-footer .f_right {
    float: right;
    margin-top: 15px;
}
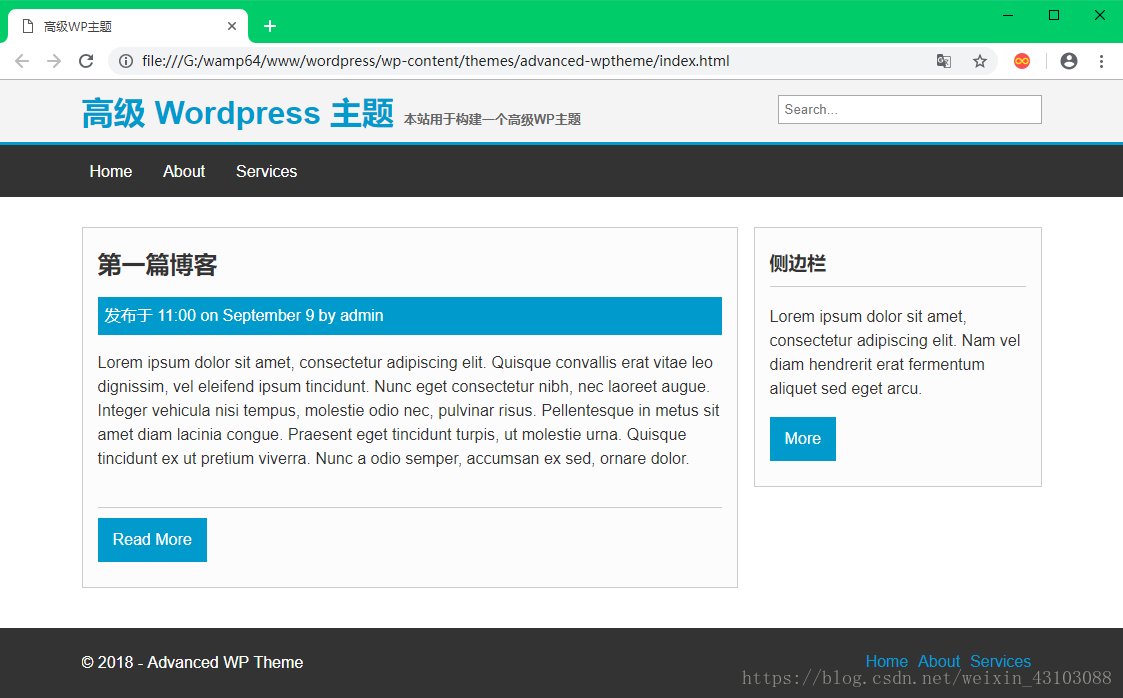
保存代码再到浏览器刷新看看:
这个简单的设计看起来很不错,它的主要目的是让你熟悉创建WordPress主题的语法,而不是创建一个华丽的设计。 现在我们已经完成了HTML和CSS,下一节我们可以继续创建我们的WordPress主题。