前言:
用eclipse编android的时候,虚拟机那叫一个慢。转到Ubuntu下用Android Studio之后,速度上来了不少。不过尝试了genymotion之后,发现genymotion要比自带的虚拟机更胜几筹。打算转投genymotion的怀抱。
安装genymotion
去genymotion官网下载相应的安装程序。
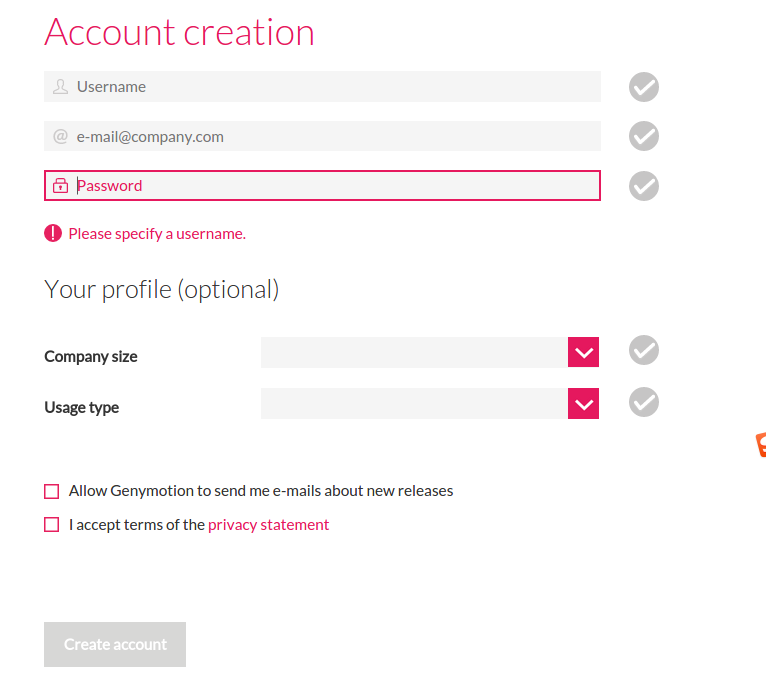
genymotion分为两个版本,免费版和付费版。免费版的功能要少很多,而且只能用于个人使用。免费版也需要在官网免费注册账号之后才能使用。
点击下载相应的程序会要求登陆或者注册。
成功登陆之后就可以开始下载了。
下载结束之后得到一个.bin文件,执行chmod +x 获得执行权限,然后用./xxx.bin执行就可以得到一个叫genymotion的文件夹,进入之后执行./genymotion就可以启动genymotion。
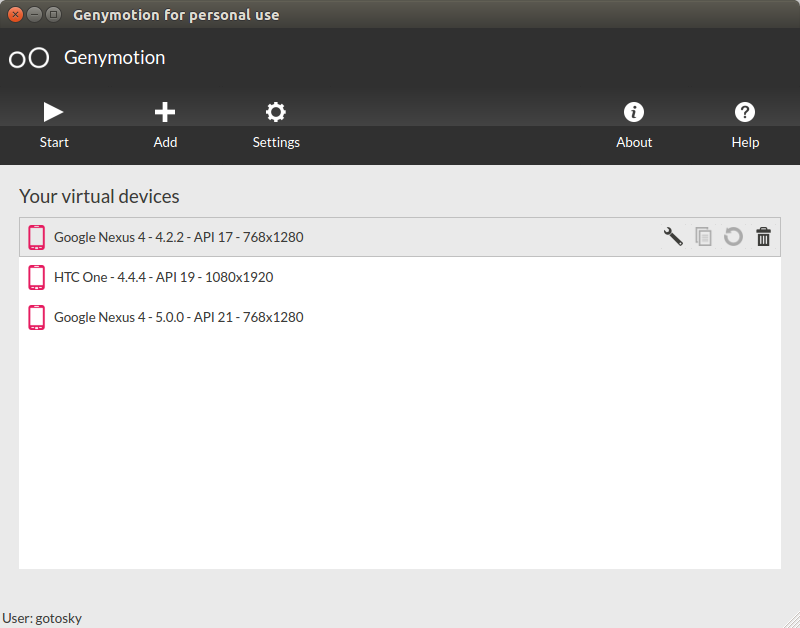
需要用刚刚的账号登陆才能创建新的虚拟机。
安装virtualbox
要想使用genymotion,还要安装virtualbox。安装好了virtualbox,才能启动创建好的虚拟机。
可以在终端执行sudo apt-get install virtualbox直接安装,或者使用Ubuntu软件中心安装。或者自行下载.deb文件安装。
可能会遇到的问题
- 无法启动虚拟机。
可能是virtual版本问题。我在使用4.3.10的时候就无法启动,换成4.3.12就行。官网上的说法是4.1.1起就可以,但是推荐4.3.12。通过apt-get直接安装的virtualbox可能版本就是4.3.10的,可以自己找高版本的deb包来安装。 - 虚拟机很慢或者启动时报错。
报错信息如下:
Caution: the number of CPUs of the virtual device has been forced to 1.
Virtualization technology not enabled in BIOS.
Enable the option in BIOS and recreate the virtual device for multiprocessor support and virtualization technologies.
For more information about virtualization technologies, please refer to this FAQ: https://www.genymotion.com/#!/support?chapter=collapse-perfs#faq
这是因为bios设置里有一个虚拟技术相关的设置没有开。一般进入到bios下,在security那栏设置下找到一个带virtualization字眼的设置,把它设置成able,保存再开机就没有问题了。
安装Android Studio的插件
首先当然是要先安装好Android Studio。Android Studio安装经常会因为GFW的问题比较麻烦。可以去http://www.androiddevtools.cn/通过镜像下载相应的内容。
下面是官网上的介绍。和安装其他插件一样。
In Android Studio, go to File > Settings.
Select Plugins and click Browse Repositories.
Right-click on Genymotion and click Download and install.
To see Genymotion plugin icon, display the toolbar by clicking View > Toolbar.
安装好了之后在toolbar右侧会出现一个手机样式的图标,点击就可以对genymotion的虚拟机进行管理,类似于AVD Manager.