Spring Boot -- 文件上传
一:文件上传
1. pom.xml
<dependency>
    <groupId>org.springframework.boot</groupId>
    <artifactId>spring-boot-starter-thymeleaf</artifactId>
</dependency>

<dependency>
    <groupId>org.springframework.boot</groupId>
    <artifactId>spring-boot-starter-web</artifactId>
</dependency>
2. application.properties
#设置上传文件限制大小
#总大小
spring.servlet.multipart.max-request-size=10MB
#单文件大小
spring.servlet.multipart.max-file-size=10MB
3. Controller
@Controller
public class UploadController {

    @RequestMapping("/doUpload")
    public String doUpload(){
        return "upload";
    }

    @RequestMapping("/result")
    public String result(){
        return "result";
    }

    //RedirectAttributes设置重定向的参数
    @PostMapping("/upload")
    public String upload(@RequestParam("file") MultipartFile file, RedirectAttributes redirectAttributes){
        if(file.isEmpty()){
            redirectAttributes.addFlashAttribute("msg", "file upload error");
            return "redirect:result";
        }

        String fileName = file.getOriginalFilename().substring(file.getOriginalFilename().lastIndexOf("\\") + 1);

        try {
            byte[] bytes = file.getBytes();
            Path path = Paths.get(uploadDirectory() + "/" + fileName);
            Files.write(path, bytes);

            redirectAttributes.addFlashAttribute("msg", fileName + " file upload success");
        } catch (Exception e){
            e.printStackTrace();
        }

        return "redirect:result";

    }

    private String uploadDirectory() throws FileNotFoundException {
        //获取根目录
        File file = new File(ResourceUtils.getURL("classpath:").getPath());
        if(!file.exists()){
            file = new File("");
            System.out.println("path:" + file.getAbsolutePath());
        }

        //创建upload目录
        File upload = new File(file.getAbsolutePath(), "static/upload/");
        if(!upload.exists()){
            upload.mkdirs();
            System.out.println("upload url " + upload.getAbsolutePath() + " init");
        }

        //在开发测试模式时,得到的地址为:{项目跟目录}/target/static/images/upload/
        //在打包成jar正式发布时,得到的地址为:{发布jar包目录}/static/images/upload/

        return upload.getAbsolutePath();
    }

}
RedirectAttributes用于重定向时设置参数,可以带参数进行重定向
4.测试
upload.html
<form method="post" action="/upload" enctype="multipart/form-data">
    <input type="file" name="file" />
    <input type="submit" value="提交" />
</form>
result.html
<span th:text="${msg}"></span>
二:热部署
热部署有三种方式:
- Spring Loaded
- spring-boot-devtools
- JRebel 插件
spring-boot-devtools
1. pom.xml
<dependency>
    <groupId>org.springframework.boot</groupId>
    <artifactId>spring-boot-devtools</artifactId>
    <optional>true</optional>
</dependency>
2. 设置
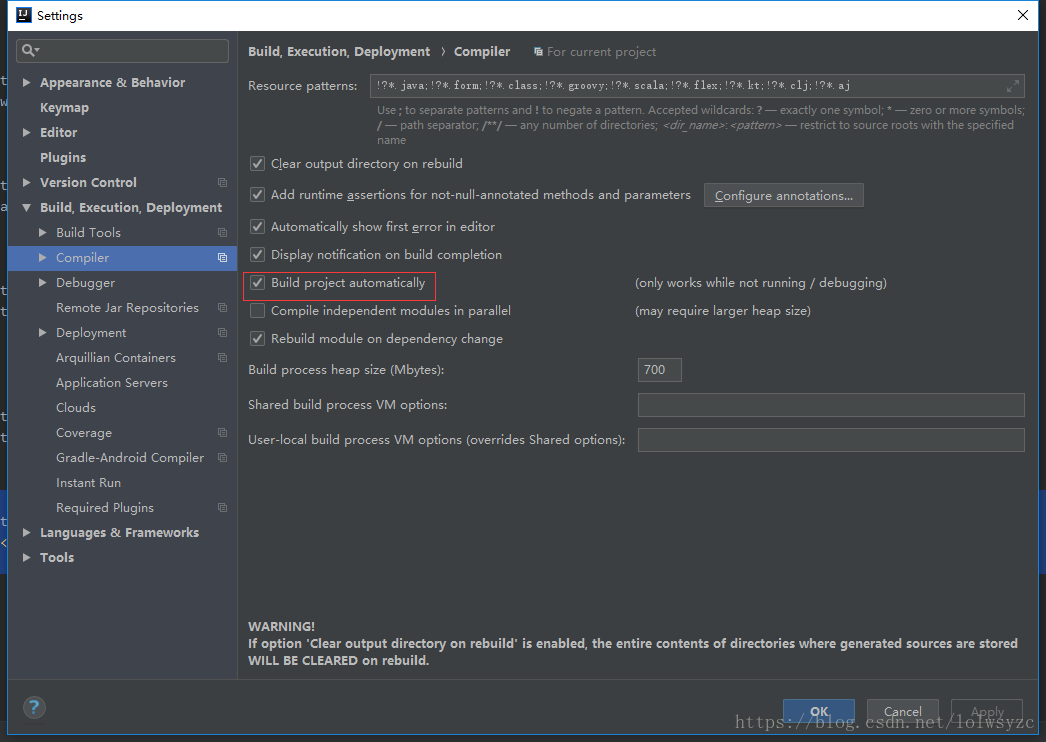
-
找到idea的Preferences -> Build, Execution, Deployment -> Compiler,勾选Build project automatically
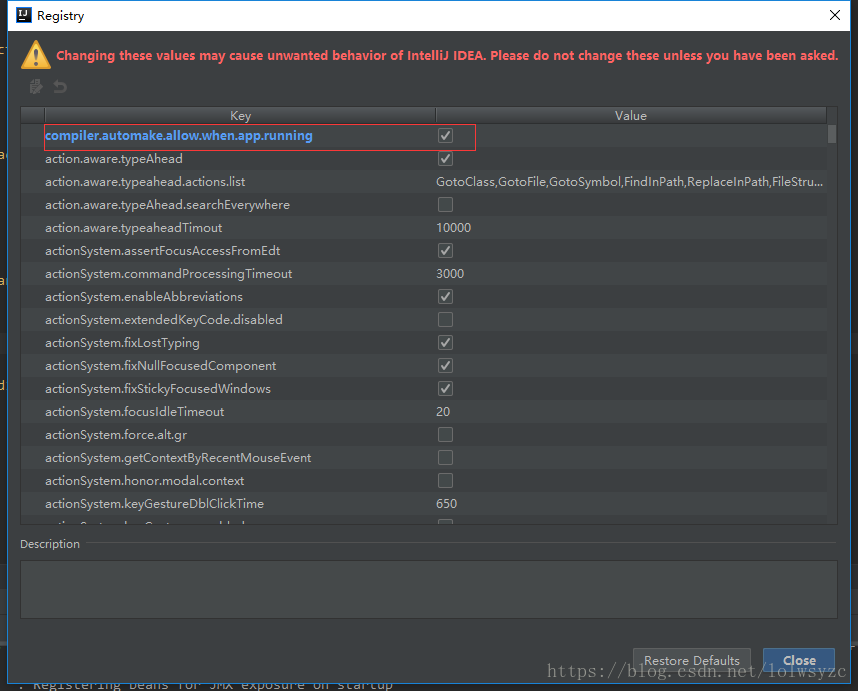
-
回到idea正常界面,Mac使用快捷键shift+option+command+/,window上的快捷键是Shift+Ctrl+Alt+/,打开Registry,勾选
compiler.automake.allow.when.app.runningcompiler.automake.allow.when.app.running后close即可
通过以上的设置就可以在不重启服务的情况下加载html,但如果修改java文件,服务在几秒后会自动重启,如果不希望服务重启需要在application.properties或application.yml中添加spring.devtools.reatart.enable=false