在ASP.NET MVC 5中,身份验证分别有三种方式。分别为使用FormsAuthentication、MemberShip和Identity进行验证。
(PS:本系列的逻辑代码请勿直接用于生产,请自己多加一层抽象后再投入使用)
为了展示这三种方式,我们先新建一个MVC项目。
为了方便,我们创建一个类用来验证身份。
    public class AccountHelper
    {
        [Required]
        public string UserName { get; set; }
        [Required]
        public string Password { get; set; }
    }
方式一:FormsAuthentication
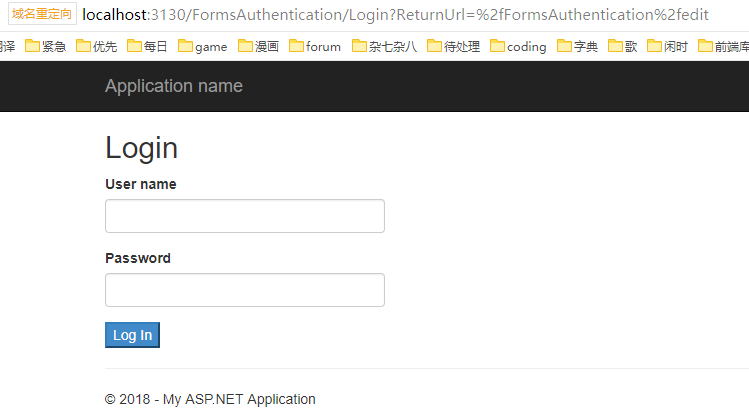
在使用任何一种验证方法之前,我们需要创建一个视图用以进行登录,然后在这个视图中创建一个form用以提交数据
        public ActionResult Login()
        {
            return View();
        }
视图代码:
@model Authority.Models.AccountHelper

@{
    ViewBag.Title = "Index";
}

<h2>Index</h2>
<p>Please log in to access the administration area:</p>
@using (Html.BeginForm())
{
    @Html.ValidationSummary()
    <div class="form-group">
        <label>User name</label>
        @Html.TextBoxFor(m => m.UserName, new { @class = "form-control" })
    </div>
    <div class="form-group">
        <label>Password</label>
        @Html.TextBoxFor(m => m.Password, new { @class = "form-control" })
    </div>
    <input type="submit" value="Log In" class="btn-primary" />
}
然后我们需要在Web.config中对验证方式进行配置。

    <authentication mode="Forms">
      <forms loginUrl="~/FormsAuthentication/Login" timeout="2880">
        <credentials passwordFormat="Clear">
          <user name="admin" password="secret" />
        </credentials>
      </forms>
    </authentication>
接着需要创建一个方法用来接收form元素所提交的数据,对数据进行验证并保留Cookie,对验证成功后返回另一个视图。
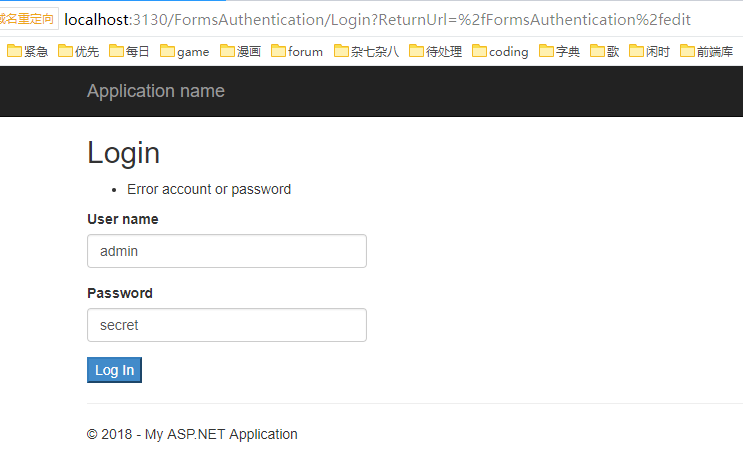
        [HttpPost]
        public ActionResult Login(AccountHelper helper,string returnUrl)
        {
            if (ModelState.IsValid)
            {
                if (FormsAuthentication.Authenticate(helper.UserName, helper.Password))
                {
                    FormsAuthentication.SetAuthCookie(helper.UserName,false);
                    return Redirect(returnUrl ?? Url.Action("AfterAuthority",helper));
                }
                else
                {
                    ModelState.AddModelError("", "Error account or password");
                    return View();
                }
            }
            return View();
        }
对验证成功后的视图进行简单的定义。
        [Authorize]
        public ActionResult AfterAuthority(AccountHelper helper)
        {
            return View(helper);
        }
@model Authority.Models.AccountHelper

@{
    ViewBag.Title = "AfterAuthority";
}

<h2>AfterAuthority</h2>

<p>Your Username is: @Model.UserName</p>
<p>Your Password is: @Model.Password</p>
其中Login方法的returnUrl 用于未在 Login 处进行验证而直接访问带有 [Authorize] 修饰的视图时,在验证后可返回原来访问的地址。假如我对一个Edit视图(该视图后面会定义)进行访问它会直接返回至Login方法并带有ReturnUrl字段:
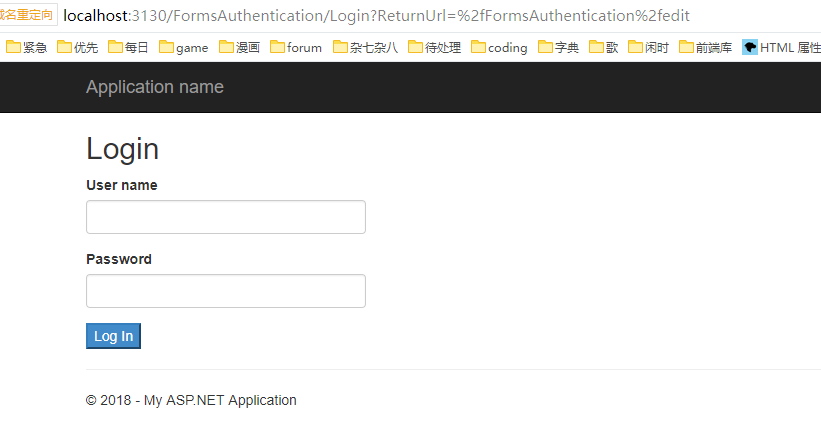
而在验证之后通过returnUrl直接返回至Edit方法。
那么问题来了,要是我想增加更多的用户或者修改现有的账户该怎么办呢?这时候我们就需要对Web.config直接进行修改了。但在这之前我们需要有一个对象用来保存我们现在账户的信息,因此我们需要对Login方法也进行一定的修改:
        static AccountHelper account=new AccountHelper();


        [HttpPost]
        //returnUrl 用于未在 Login 处进行验证而直接访问带有 [Authorize] 修饰的视图时,在验证后可返回原来访问的地址。
        public ActionResult Login(AccountHelper helper,string returnUrl)
        {
            if (ModelState.IsValid)
            {
                if (FormsAuthentication.Authenticate(helper.UserName, helper.Password))
                {
                    account.UserName = helper.UserName;
                    account.Password = helper.Password;
                    FormsAuthentication.SetAuthCookie(helper.UserName,false);
                    return Redirect(returnUrl ?? Url.Action("AfterAuthority",account));
                }
                else
                {
                    ModelState.AddModelError("", "Error account or password");
                    return View();
                }
            }
            return View();
        }
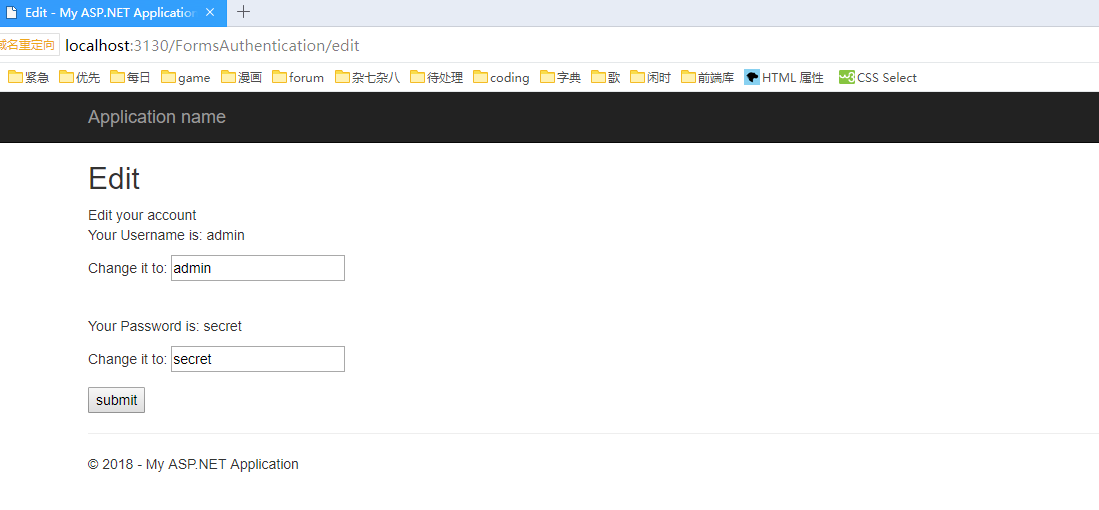
于是,我们可以创建一个用于修改现有账户的视图了。
        [Authorize]
        public ActionResult Edit()
        {
            return View(account);
        }
@model Authority.Models.AccountHelper

@{
    ViewBag.Title = "Edit";
}

<h2>Edit</h2>

<p>Your Password is: @Model.Password</p>

<div>Edit your account</div>
@using (Html.BeginForm())
{
    <div class="form-group">
        <p>Your Username is: @Model.UserName</p>
        <p>Change it to: @Html.EditorFor(m => m.UserName)</p>
        </div>
    <br />

    <div class="form-group">
        <p>Your Password is: @Model.Password</p>
        <p>Change it to: @Html.EditorFor(m => m.Password)</p>
    </div>
    <input type="submit" value="submit"/>
}
        [HttpPost]
        [Authorize]
        public ActionResult Edit(AccountHelper changedAccount)
        {
            XmlDocument doc=new XmlDocument();
            //获得配置文件的全路径
            string strFileName = AppDomain.CurrentDomain.BaseDirectory+"Web.Config";
            doc.Load(strFileName);
            XmlNodeList nodes = doc.GetElementsByTagName("user");
            for (int i = 0; i < nodes.Count; i++)
            {
                string _name = nodes[i].Attributes["name"]==null?
                    "":nodes[i].Attributes["name"].Value;
                if (_name==account.UserName)
                {
                    nodes[i].Attributes["name"].Value = changedAccount.UserName;
                    nodes[i].Attributes["password"].Value = changedAccount.Password;
            //清除Cookie
                    FormsAuthentication.SignOut();
                    break;
                }
            }
            //将修改后的 Web.config 进行保存
            doc.Save(strFileName);

            return View("AfterAuthority",changedAccount);
        }

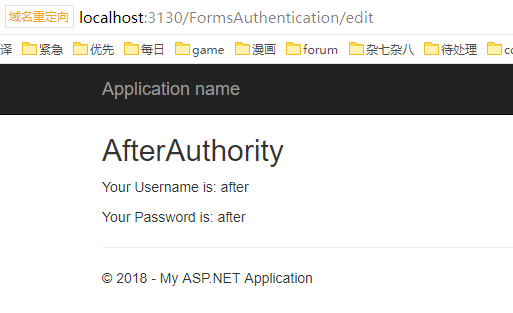
刷新之后:
以修改前的账户登录:
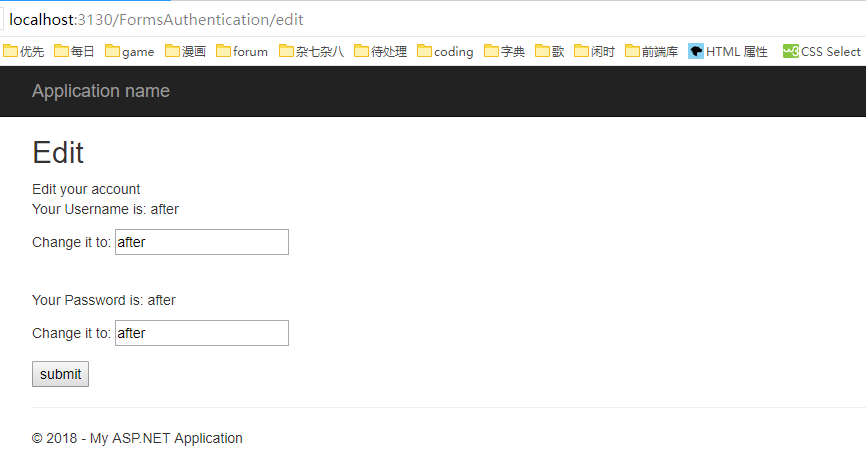
至此修改现有账号的任务完成。
而新增账户不过将XML元素的修改改成插入。
        [Authorize]
        public ActionResult Add()
        {
            return View();
        }

        [HttpPost]
        [Authorize]
        public ActionResult Add(AccountHelper newAccount)
        {
            XmlDocument doc = new XmlDocument();
            //获得配置文件的全路径
            string strFileName = AppDomain.CurrentDomain.BaseDirectory + "Web.Config";
            doc.Load(strFileName);
            XmlNodeList nodes = doc.GetElementsByTagName("user");
            XmlNode credentials = nodes[0].ParentNode;
            XmlNode child = nodes[0].Clone();

            child.Attributes["name"].Value = newAccount.UserName;
            child.Attributes["password"].Value = newAccount.Password;
            credentials.AppendChild(child);

            //将修改后的 Web.config 进行保存
            doc.Save(strFileName);

            return View("Create", newAccount);
        }
Add视图:
@model Authority.Models.AccountHelper

@{
    ViewBag.Title = "Add";
}

<h2>Create Account</h2>
@using (Html.BeginForm())
{
    <div class="form-group">
        <p>UserName: @Html.EditorFor(m => m.UserName)</p>
        <p>Password: @Html.EditorFor(m => m.Password)</p>
    </div>
    <input type="submit" value="submit"/>
}
Create视图:
@model Authority.Models.AccountHelper

@{
    ViewBag.Title = "Create Success";
}

<h2>Successfully</h2>

<p>UserName: @Model.UserName</p>
<p>Password: @Model.Password</p>
但是问题又来了,总不能什么人都可以对账户进行修改或增添用户吧,因此我们需要使用自定义特性,通过继承AuthorizeAttribute获得和AuthorizeAttribute同样的效果,通过继承IAuthenticationFilter对账户进行过滤,在此我们限制Add方法只有admin这一账户可以使用:
    public class AdminAccountAttribute : AuthorizeAttribute, IAuthenticationFilter
    {
        public void OnAuthentication(AuthenticationContext filterContext)
        {
            IIdentity identity = filterContext.Principal.Identity;
            if (identity.Name!="admin" || !identity.IsAuthenticated)
            {
                filterContext.Result = new HttpUnauthorizedResult();
            }
        }

        public void OnAuthenticationChallenge(AuthenticationChallengeContext filterContext)
        {
            if (filterContext.Result == null || filterContext.Result is HttpUnauthorizedResult)
            {
                filterContext.Result = new RedirectToRouteResult(new RouteValueDictionary()
                {
                    {"controller","FormsAuthentication" },
                    { "action","Login"},
                    {"returnUrl",filterContext.HttpContext.Request.RawUrl }
                });
            }
        }
    }
然后将该修饰用于Add之上:
        [AdminAccount]
        public ActionResult Add()
        {
            return View();
        }

        [HttpPost]
        [AdminAccount]
        public ActionResult Add(AccountHelper newAccount)
        {
于是我们便只有admin用户可以对Web.config进行增添用户的操作了。
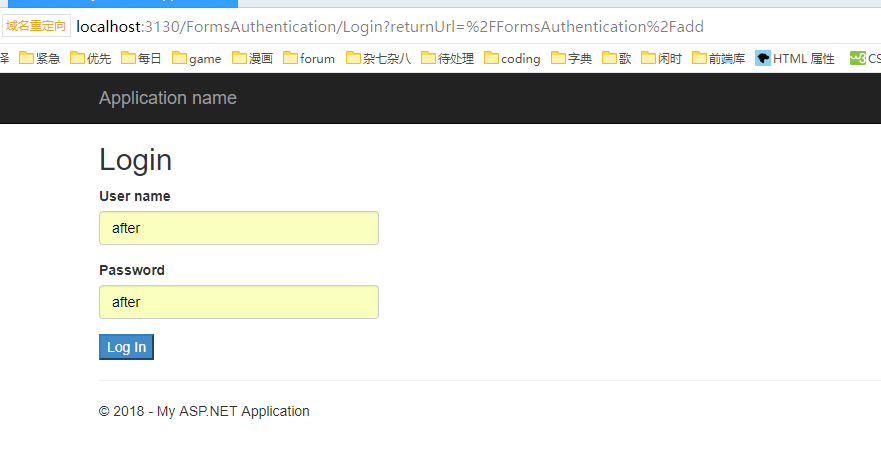
通过一个非admin用户访问Add页面,返回Login页面。

通过admin用户访问Add页面则返回Add页面。

至此,一个完整的登录系统达成。如果需要什么额外的逻辑也可自行添加。
但是由于使用FormsAuthentication.Authenticate需要使用Web.config,在Web.config直接对账户和密码进行配置,过于繁琐、不安全且扩展性差,对配置文件进行显式的修改更是增添了风险;同时,如果需要对用户的账号或者密码进行限制我们便需要进行硬编码。该方法早已被弃用,之后ASP.NET推出了Membership.ValidateUser方法解决这一情况,而现在更是有了Identity用来更进一步地提高扩展性。
源代码地址:
https://github.com/NanaseRuri/FormsAuthentication