版权声明:(谢厂节的博客)博主文章绝大部分非原创,转载望留链接。 https://blog.csdn.net/xundh/article/details/83721411
I2C 简介
I2C总线是由Philips公司开发的一种简单、双向二线制同步串行总线。它只需要两根线即可在连接于总线上的器件之间传送信息。
主器件用于启动总线传送数据,并产生时钟以开放传送的器件,此时任何被寻址的器件均被认为是从器件.在总线上主和从、发和收的关系不是恒定的,而取决于此时数据传送方向。如果主机要发送数据给从器件,则主机首先寻址从器件,然后主动发送数据至从器件,最后由主机终止数据传送;如果主机要接收从器件的数据,首先由主器件寻址从器件.然后主机接收从器件发送的数据,最后由主机终止接收过程。在这种情况下.主机负责产生定时时钟和终止数据传送。
——《百度百科》
I2C LCD1602的蓝色电位器用于调整背光以获得更好的显示效果。I2C仅使用两个双向漏极开路线,串行数据线(SDA)和串行时钟线(SCL),通过电阻上拉。使用的典型电压为+5V或3.3V,但允许使用其它电压的系统。
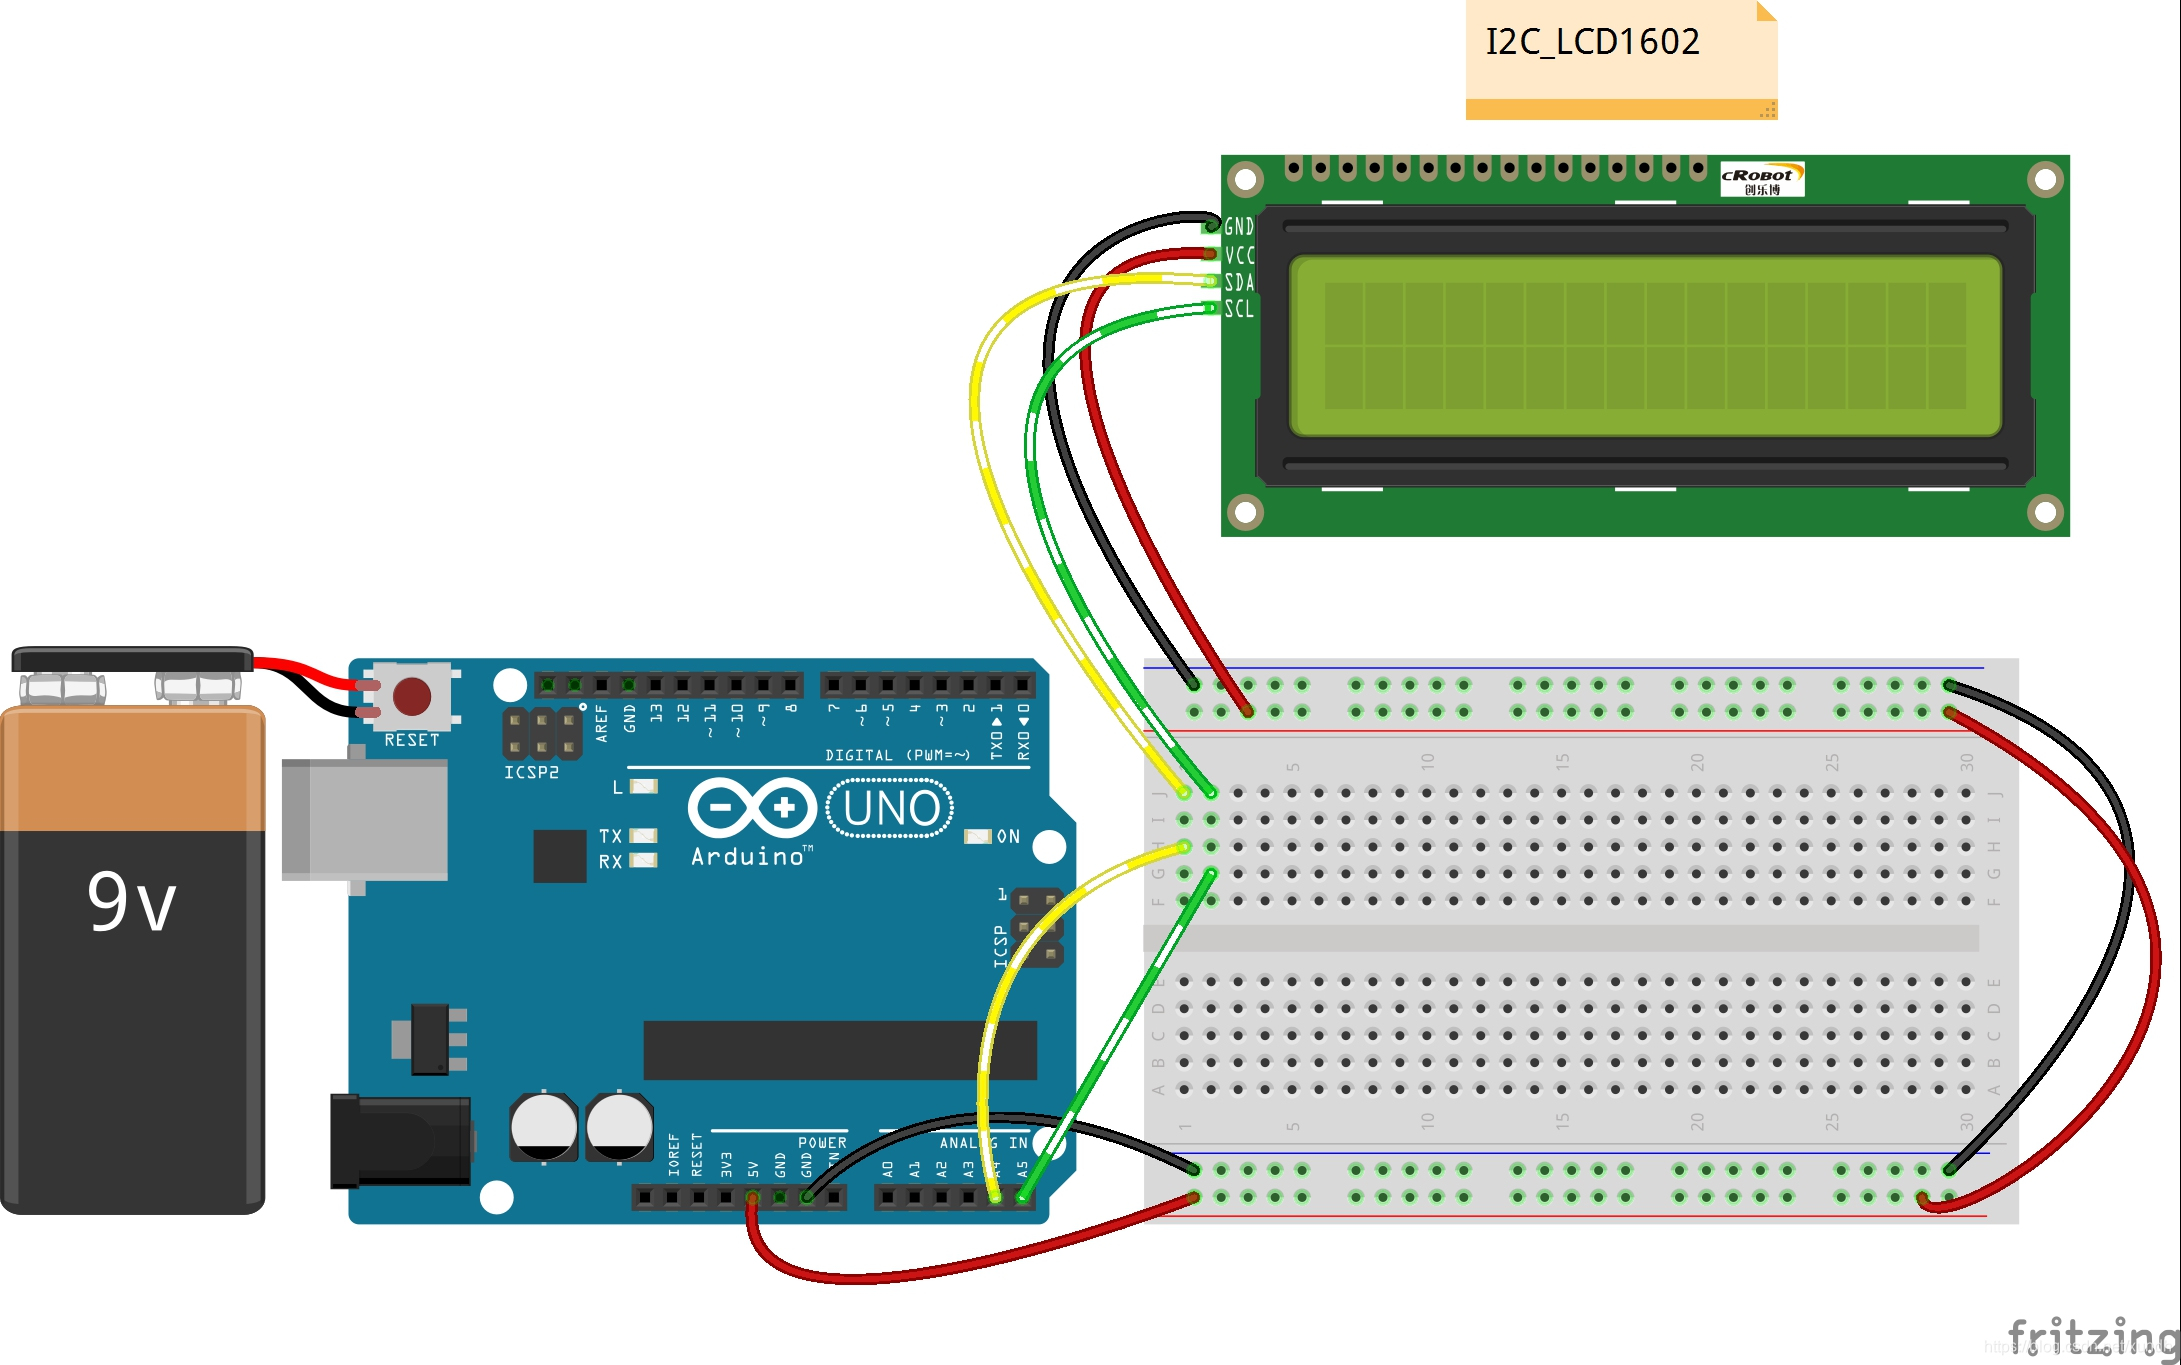
线路图
LiquidCrystal_I2C库
将 LiquidCrystal_I2C 库拷到arduino IDE 下的 libraries 目录下。
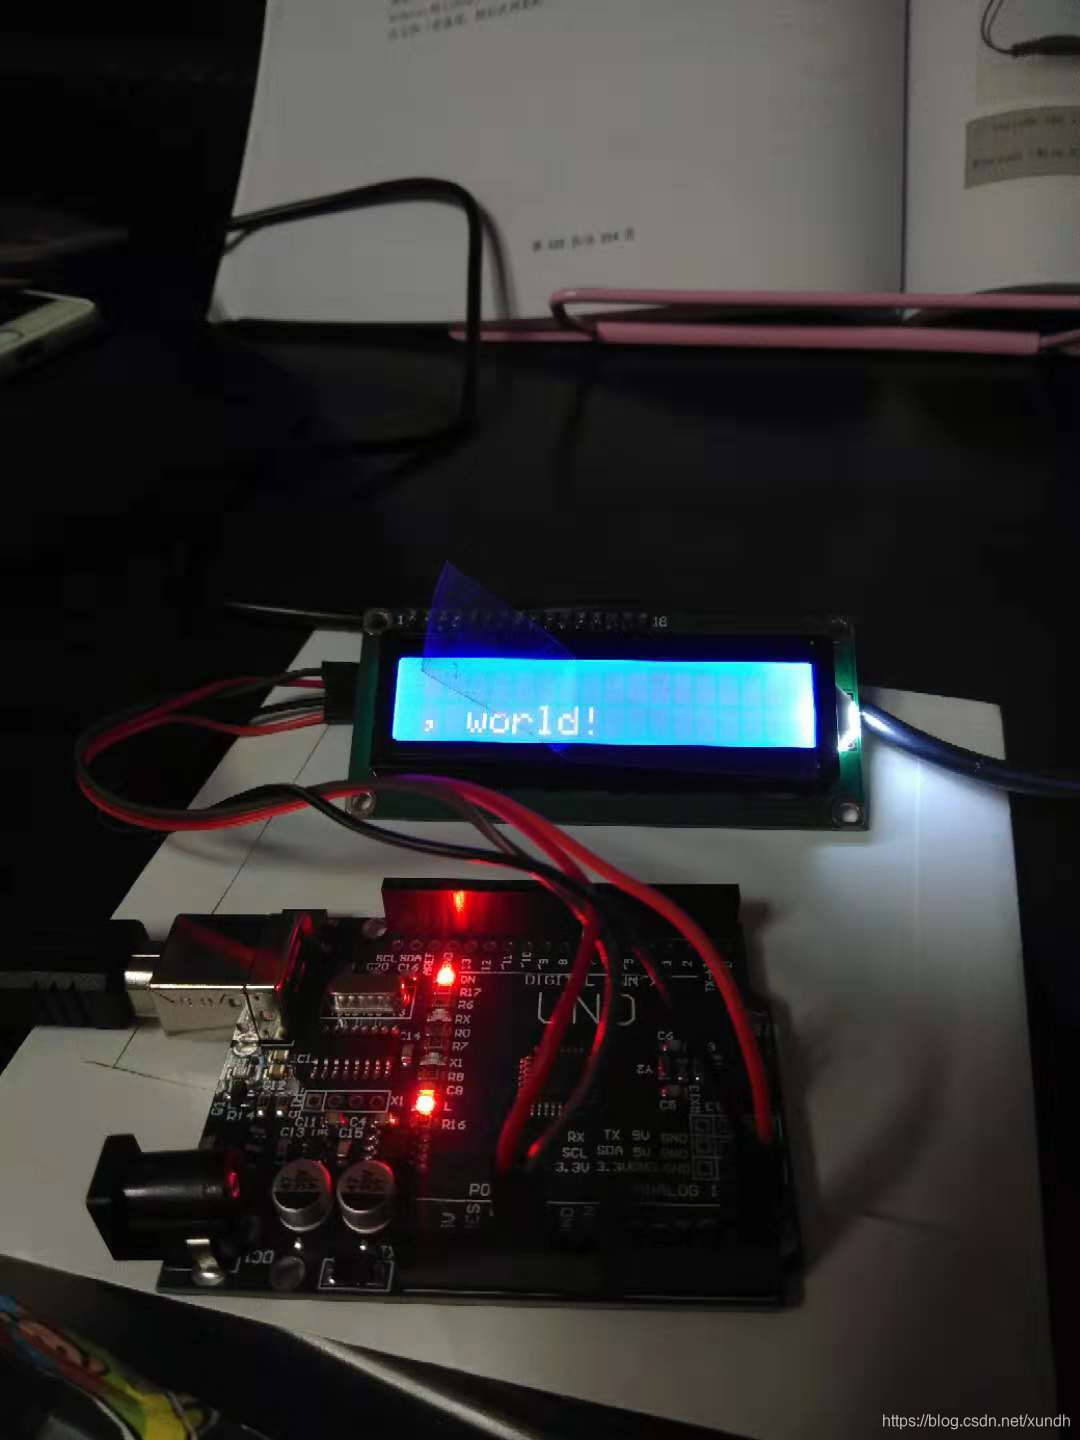
LCD显示程序demo
// 湖南创乐博智能科技有限公司
// include the library code
#include <Wire.h>
#include <LiquidCrystal_I2C.h>
/**********************************************************/
char array1[]=" Arduino                  ";  //the string to print on the LCD
char array2[]="hello, world!             ";  //the string to print on the LCD
int tim = 500;  //the value of delay time
// initialize the library with the numbers of the interface pins
LiquidCrystal_I2C lcd(0x27,16,2);  // set the LCD address to 0x27  0x3F for a 16 chars and 2 line display
/*********************************************************/
void setup()
{
  lcd.init();  //initialize the lcd
  lcd.backlight();  //open the backlight
}
/*********************************************************/
void loop()
{
    lcd.setCursor(15,0);  // set the cursor to column 15, line 0
    for (int positionCounter1 = 0; positionCounter1 < 26; positionCounter1++)
    {
      lcd.scrollDisplayLeft();  //Scrolls the contents of the display one space to the left.
      lcd.print(array1[positionCounter1]);  // Print a message to the LCD.
      delay(tim);  //wait for 250 microseconds
    }
    lcd.clear();  //Clears the LCD screen and positions the cursor in the upper-left corner.
    lcd.setCursor(15,1);  // set the cursor to column 15, line 1
    for (int positionCounter = 0; positionCounter < 26; positionCounter++)
    {
      lcd.scrollDisplayLeft();  //Scrolls the contents of the display one space to the left.
      lcd.print(array2[positionCounter]);  // Print a message to the LCD.
      delay(tim);  //wait for 250 microseconds
    }
    lcd.clear();  //Clears the LCD screen and positions the cursor in the upper-left corner.
}
/************************************************************/
运行:
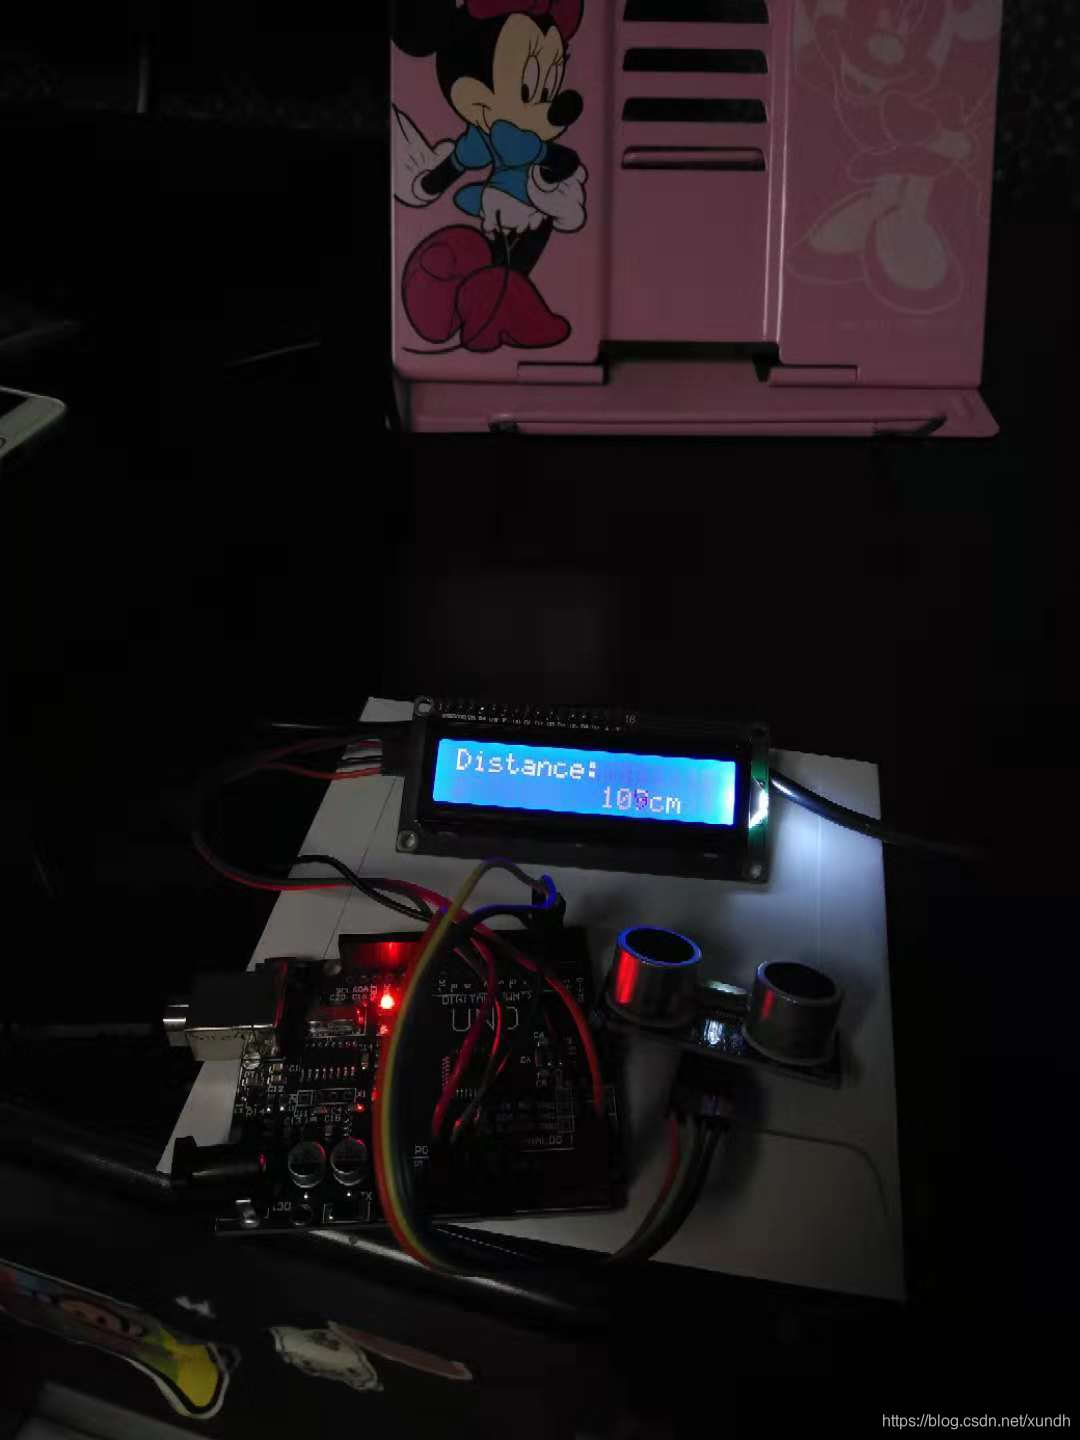
超声波传感器距离检测demo
拷贝库 NewPing到libraries下
代码
// ---------------------------------------------------------------------------
// * 湖南创乐博智能科技有限公司
// Example NewPing library sketch that does a ping about 20 times per second.
// ---------------------------------------------------------------------------

// include the library code
#include <Wire.h>
#include <LiquidCrystal_I2C.h>
#include <NewPing.h>

LiquidCrystal_I2C lcd(0x27,16,2);//0x27   0x3F

#define TRIGGER_PIN  2  // Arduino pin tied to trigger pin on the ultrasonic sensor.
#define ECHO_PIN     3  // Arduino pin tied to echo pin on the ultrasonic sensor.
#define MAX_DISTANCE 400 // Maximum distance we want to ping for (in centimeters). Maximum sensor distance is rated at 400-500cm.

NewPing sonar(TRIGGER_PIN, ECHO_PIN, MAX_DISTANCE); // NewPing setup of pins and maximum distance.

void setup() {
  Serial.begin(115200); // Open serial monitor at 115200 baud to see ping results.
  lcd.init();
  lcd.backlight();
}

void loop() {
  delay(100);                      // Wait 50ms between pings (about 20 pings/sec). 29ms should be the shortest delay between pings.
  unsigned int uS = sonar.ping(); // Send ping, get ping time in microseconds (uS).
  Serial.print("Ping: ");
  Serial.print(uS / US_ROUNDTRIP_CM); // Convert ping time to distance in cm and print result (0 = outside set distance range)
  Serial.println("cm");
  lcd.setCursor(0, 0);
  lcd.print("Distance:");
  lcd.setCursor(0, 1);
  lcd.print("             ");
  lcd.setCursor(9, 1);
  lcd.print(uS / US_ROUNDTRIP_CM);
  lcd.setCursor(12, 1);
  lcd.print("cm");
}
接线图

运行效果