实际生活中的应用界面,通常由多层嵌套的组件组合而成。同样地,URL 中各段动态路径也按某种结构对应嵌套的各层组件。借助 vue-router,使用嵌套路由配置,就可以很简单地表达这种关系。
观看此文档时应该先看“Vue-router HelloWorld”文档。
创建Hi1,Hi2两个新页面
在src/components目录下,新建 Hi1.vue 以及Hi2.vue文件。
<template>
  <div>
    <h2>{{message}}</h2>
  </div>
</template>
<script>
export default {
  name: "Hi",
  data() {
    return {
      message : 'Wo Shi Hi1!'
    };
  }
};
</script>
<style scoped>

</style>
<template>
<div>
<h2>{{message}}</h2>
</div>
</template>
<script>
export default {
name: "Hi",
data() {
return {
message : 'Wo Shi Hi2!'
};
}
};
</script>
<style scoped>
</style>修改Hi.vue页面
修改src/components目录下Hi.vue文件。
<template>
  <div>
    <h2>{{message}}</h2>
    <!-- 增加路由 -->
    <router-view></router-view>
  </div>
</template>
<script>
export default {
  name: "Hi",
  data() {
    return {
      message : 'Wo Shi Hi!'
    };
  }
};
</script>
<style scoped>

</style>
改造App.vue的导航代码
改造app.vue的导航代码,用<router-link>标签增加了两个新的导航链接,增加Hi1及Hi2导航。
<template>
  <div id="app">
    <img src="./assets/logo.png">
    <!-- 导航 -->
    <div>
      <router-link to="/">Hello</router-link>|
      <router-link to="/Hi">Hi</router-link>|
      <router-link to="/Hi/Hi1">Hi1</router-link>|
      <router-link to="/Hi/Hi2">Hi2</router-link>
    </div>
    <router-view/>
  </div>
</template>

<script>
export default {
  name: 'App'
}
</script>

<style>
#app {
  font-family: 'Avenir', Helvetica, Arial, sans-serif;
  -webkit-font-smoothing: antialiased;
  -moz-osx-font-smoothing: grayscale;
  text-align: center;
  color: #2c3e50;
  margin-top: 60px;
}
</style>
修改router/index.js代码
修改router/index.js代码,增加子路由。子路由的写法是在原有的路由配置下加入children字段。
children:[
{path:'/',component:xxx},
{path:'xx',component:xxx},
]
index.js全部代码为:
import Vue from 'vue'
import Router from 'vue-router'
import HelloWorld from '@/components/HelloWorld'
// 引入Hi
import Hi from '@/components/Hi'
// 引入Hi1
import Hi1 from '@/components/Hi1'
// 引入Hi2
import Hi2 from '@/components/Hi2'

Vue.use(Router)

export default new Router({
  routes: [
    {
      path: '/',
      name: 'HelloWorld',
      component: HelloWorld
    },
    // 配置Hi对象
    {
      path: '/Hi',
      name: 'Hi',
      component: Hi,
      //引子路由
      children:[
        {path:'/',component:Hi},
        {path:'Hi1',component:Hi1},
        {path:'Hi2',component:Hi2},
      ]
    }
  ]
})
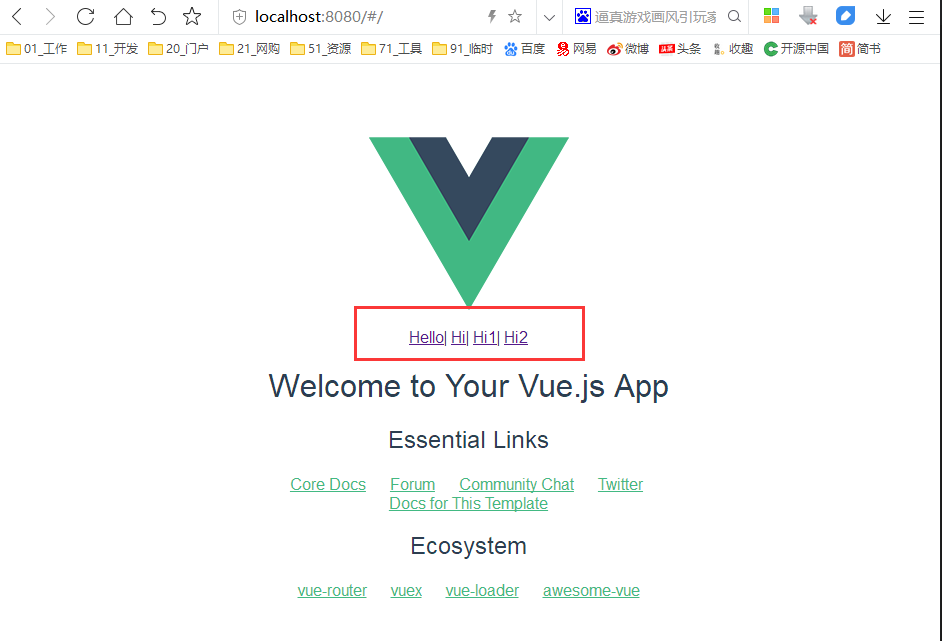
完成以上调整之后,我们就可以启动服务,在浏览器中输入以下信息,查看是否成功了:
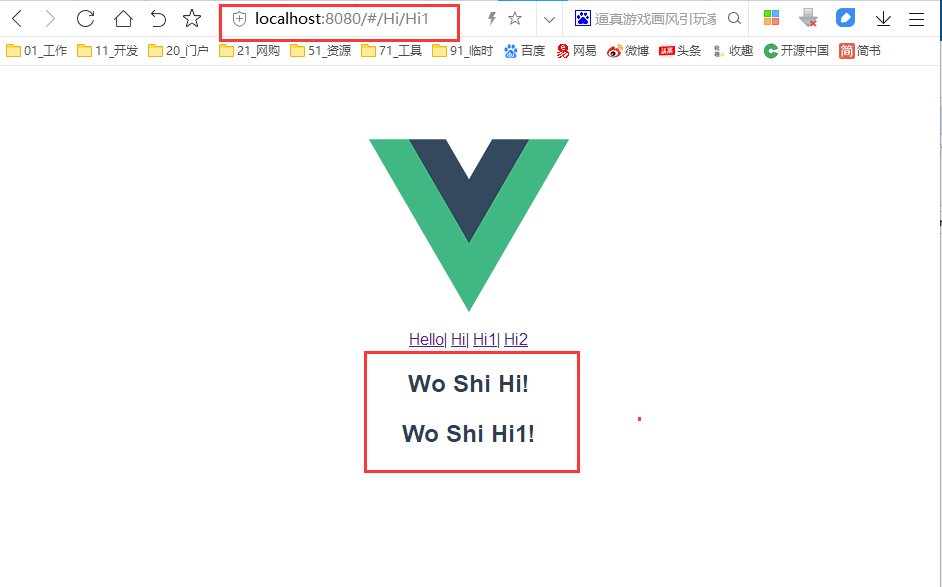
点击Hi1
点击Hi2
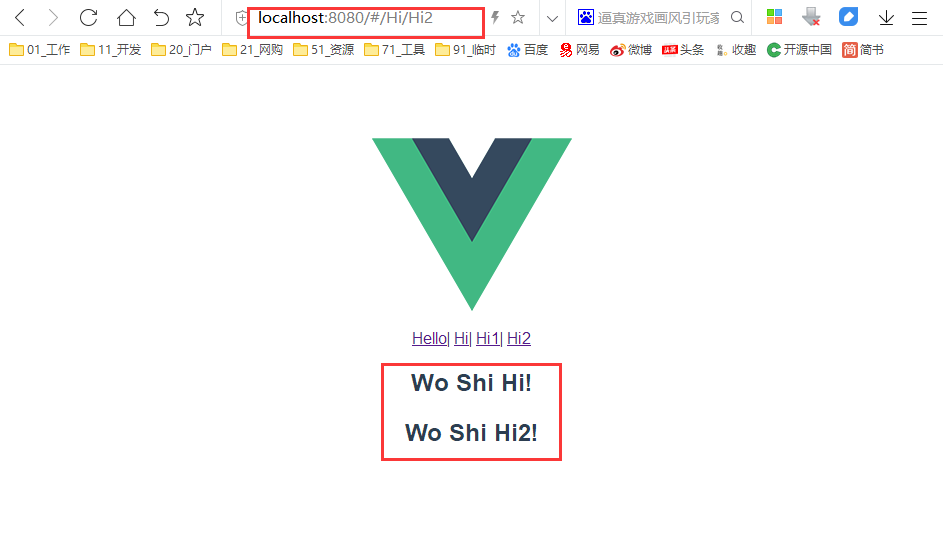
通页面查看,我们可以看到Hi1和Hi2的页面,不仅包括自己页面的内容,还包括Hi页面内容,表示我们子路由配置成功