一、tomcat服务器配置session共享
tomcat配置session共享,有两种方式
①通过修改配置文件,让tomcat不停的广播自己的session给其他的tomcat,建议使用5台以下的服务器,5台及以上,建议使用方式二
②将用户信息存入redis,每台服务器都从redis中读取用户信息,并设置过期时间,适用于多台服务器
以下给出方式一的配置:
由于window系统和Linux系统配置有点差别,window系统上面的直接拷贝到Linux系统上面会报错
以下给出两者的配置:
**windows系统配置:**
第一步:
解压一份tomcat ,放在tomcat-cluster目录下,命名为tomcat1
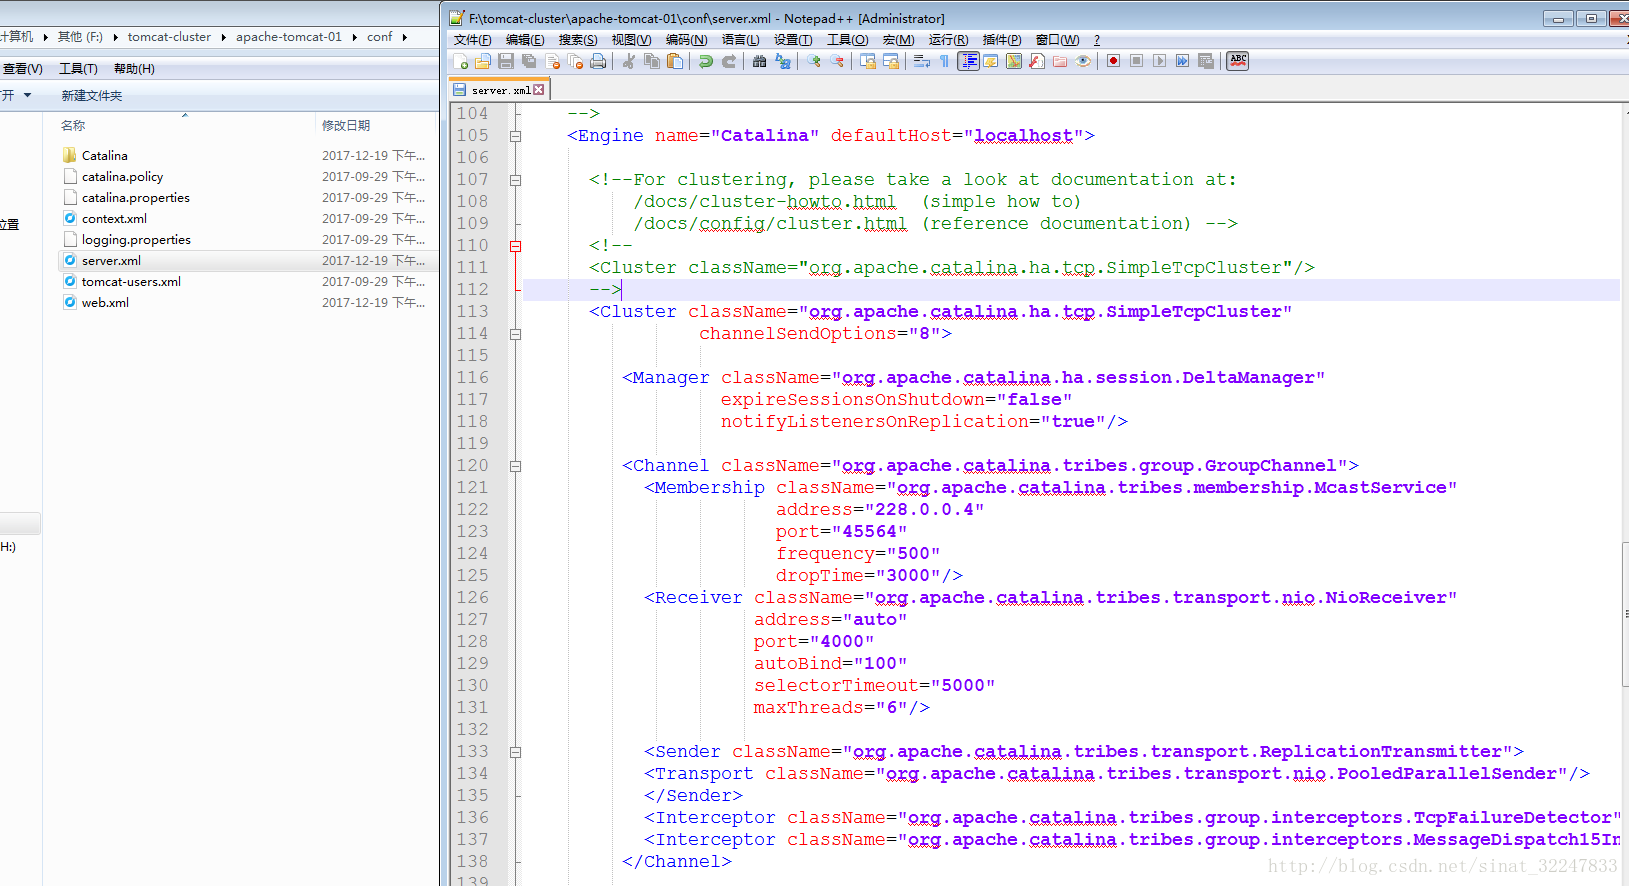
修改tomcat中conf文件夹下的server.xml文件
在<Engine name="Catalina" defaultHost="localhost">代码下面加上
<Cluster className="org.apache.catalina.ha.tcp.SimpleTcpCluster"
channelSendOptions="8">
<Manager className="org.apache.catalina.ha.session.DeltaManager"
expireSessionsOnShutdown="false"
notifyListenersOnReplication="true"/>
<Channel className="org.apache.catalina.tribes.group.GroupChannel">
<Membership className="org.apache.catalina.tribes.membership.McastService"
address="228.0.0.4"
port="45564"
frequency="500"
dropTime="3000"/>
<Receiver className="org.apache.catalina.tribes.transport.nio.NioReceiver"
address="auto"
port="4000"
autoBind="100"
selectorTimeout="5000"
maxThreads="6"/>
<Sender className="org.apache.catalina.tribes.transport.ReplicationTransmitter">
<Transport className="org.apache.catalina.tribes.transport.nio.PooledParallelSender"/>
</Sender>
<Interceptor className="org.apache.catalina.tribes.group.interceptors.TcpFailureDetector"/>
<Interceptor className="org.apache.catalina.tribes.group.interceptors.MessageDispatch15Interceptor"/>
</Channel>
<Valve className="org.apache.catalina.ha.tcp.ReplicationValve"
filter=""/>
<Valve className="org.apache.catalina.ha.session.JvmRouteBinderValve"/>
<Deployer className="org.apache.catalina.ha.deploy.FarmWarDeployer"
tempDir="/tmp/war-temp/"
deployDir="/tmp/war-deploy/"
watchDir="/tmp/war-listen/"
watchEnabled="false"/>
<ClusterListener className="org.apache.catalina.ha.session.JvmRouteSessionIDBinderListener"/>
<ClusterListener className="org.apache.catalina.ha.session.ClusterSessionListener"/>
</Cluster>
这段配置
注意:如果在同一台电脑上做集群,需要修改端口号,只要不用同一端口号就行了
第二步:部署web项目
新建test项目,只需要一个index.jsp页面即可,做测试
在index.jsp中加入如下:
SessionID:<%=session.getId()%>
    SessionIP:<%=request.getServerName()%>

    SessionPort:<%=request.getServerPort()%>
    <%
    out.println("This is Tomcat Server 1");
    %>
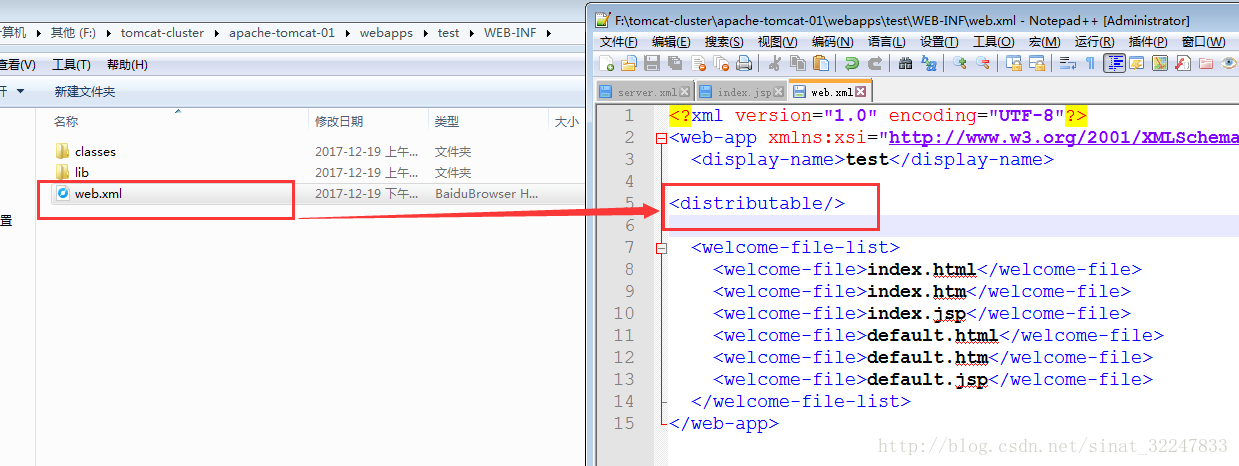
修改test项目的web.xml文件,在其中加入 <distributable/> 代码
配置完成,将test工程部署(拷贝)到tomcat的webapp目录下,启动tomcat,看看会不会报错,如果不报错,那么配置正确
第三步:复制刚才的tomcat1,命名为tomcat2,修改端口号,test工程中的index.jsp页面,方便区分
启动tomcat2,启动成功,说明配置已经完成。
第四步:测试
访问
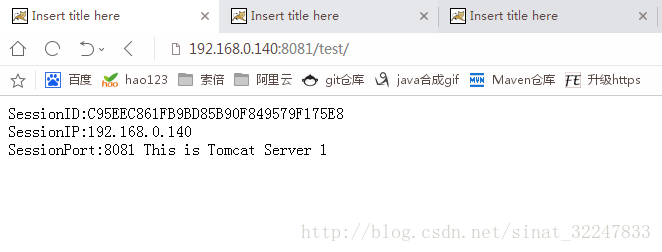
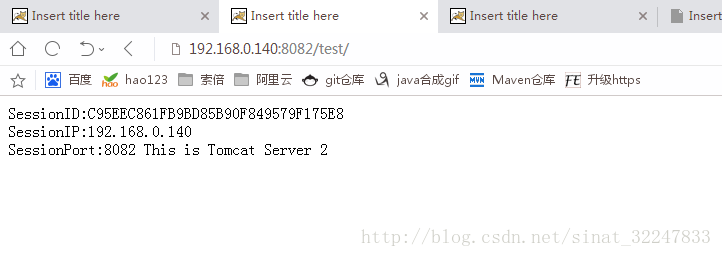
从图中可以看出,两者的sessionID是一样的,说明session共享了
Linux系统配置:
server.xml中集群配置拷贝下面这段代码,其他的一模一样
 <Cluster className="org.apache.catalina.ha.tcp.SimpleTcpCluster"
                 channelSendOptions="6">

          <Manager className="org.apache.catalina.ha.session.BackupManager"
                   expireSessionsOnShutdown="false"
                   notifyListenersOnReplication="true"
                   mapSendOptions="6"/>
          <!--
          <Manager className="org.apache.catalina.ha.session.DeltaManager"
                   expireSessionsOnShutdown="false"
                   notifyListenersOnReplication="true"/>
          -->
          <Channel className="org.apache.catalina.tribes.group.GroupChannel">
            <Membership className="org.apache.catalina.tribes.membership.McastService"
                        address="228.0.0.4"
                        port="45564"
                        frequency="500"
                        dropTime="3000"/>
            <Receiver className="org.apache.catalina.tribes.transport.nio.NioReceiver"
                      address="auto"
                      port="5000"
                      selectorTimeout="100"
                      maxThreads="6"/>

            <Sender className="org.apache.catalina.tribes.transport.ReplicationTransmitter">
              <Transport className="org.apache.catalina.tribes.transport.nio.PooledParallelSender"/>
            </Sender>
            <Interceptor className="org.apache.catalina.tribes.group.interceptors.TcpFailureDetector"/>
            <Interceptor className="org.apache.catalina.tribes.group.interceptors.MessageDispatch15Interceptor"/>
            <Interceptor className="org.apache.catalina.tribes.group.interceptors.ThroughputInterceptor"/>
          </Channel>

          <Valve className="org.apache.catalina.ha.tcp.ReplicationValve"
                 filter=".*\.gif;.*\.js;.*\.jpg;.*\.png;.*\.htm;.*\.html;.*\.css;.*\.txt;"/>

          <Deployer className="org.apache.catalina.ha.deploy.FarmWarDeployer"
                    tempDir="/tmp/war-temp/"
                    deployDir="/tmp/war-deploy/"
                    watchDir="/tmp/war-listen/"
                    watchEnabled="false"/>

          <ClusterListener className="org.apache.catalina.ha.session.ClusterSessionListener"/>
        </Cluster>
至此,session共享配置完成
二、配置nginx反向代理到上面三台服务器
下面配置nginx反向代理到上面三台服务器
首先yum安装nginx,配置安装源
sudo rpm -Uvh http://nginx.org/packages/centos/7/noarch/RPMS/nginx-release-centos-7-0.el7.ngx.noarch.rpm
安装nginx:
$: yum install nginx
安装完成之后,访问ip: 192.168.0.140
若出现欢迎页,表示安装成功
网站文件存放默认目录
/usr/share/nginx/html
网站默认站点配置
/etc/nginx/conf.d/default.conf
自定义Nginx站点配置文件存放目录
/etc/nginx/conf.d/
Nginx全局配置
/etc/nginx/nginx.conf
先备份nginx.conf配置文件
$: cp nginx.conf nginx.conf.bak以便还原
修改配置文件:
vi /etc/nginx/nginx.conf
在http{}里面添加如下配置:
upstream tomcatserver {
    server 192.168.0.140:8081;
    server 192.168.0.140:8082;
    server 192.168.0.140:8083;
    }


    server {
        listen       80;
        server_name  192.168.0.140;

        #charset koi8-r;

        #access_log  logs/host.access.log  main;

        location / {
            proxy_pass   http://tomcatserver;
            index  index.html index.htm;
        }
    }
配置完成后,重启nginx服务.
$: nginx -s reload
访问测试:
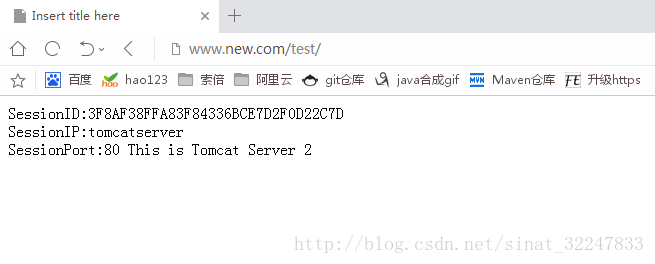
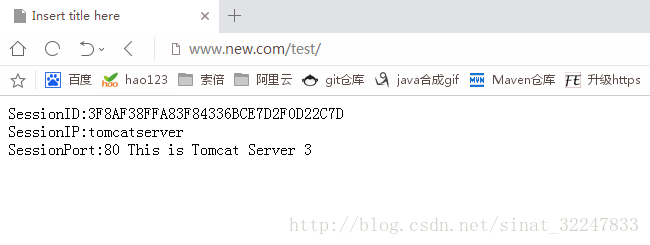
sessionID还是没变,说明session共享,服务器名和下标跟着改变,负载均衡成功
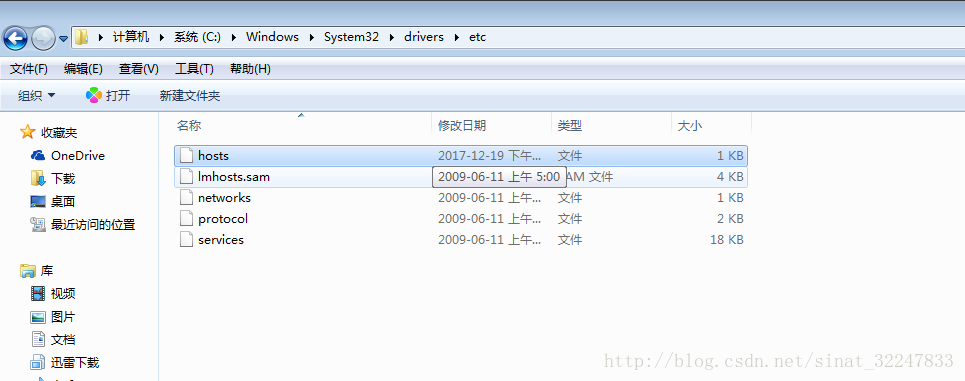
三、通过ip设置本地域名
找到C:\Windows\System32\drivers\etc 下面的 hosts文件
在里面添加 192.168.0.140 www.new.com
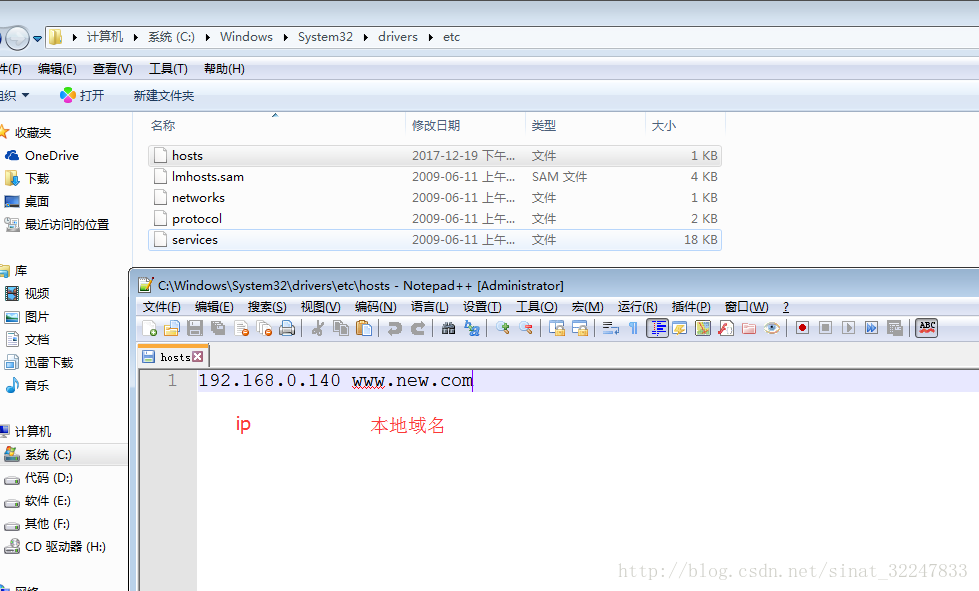
可以配置多个
完成!