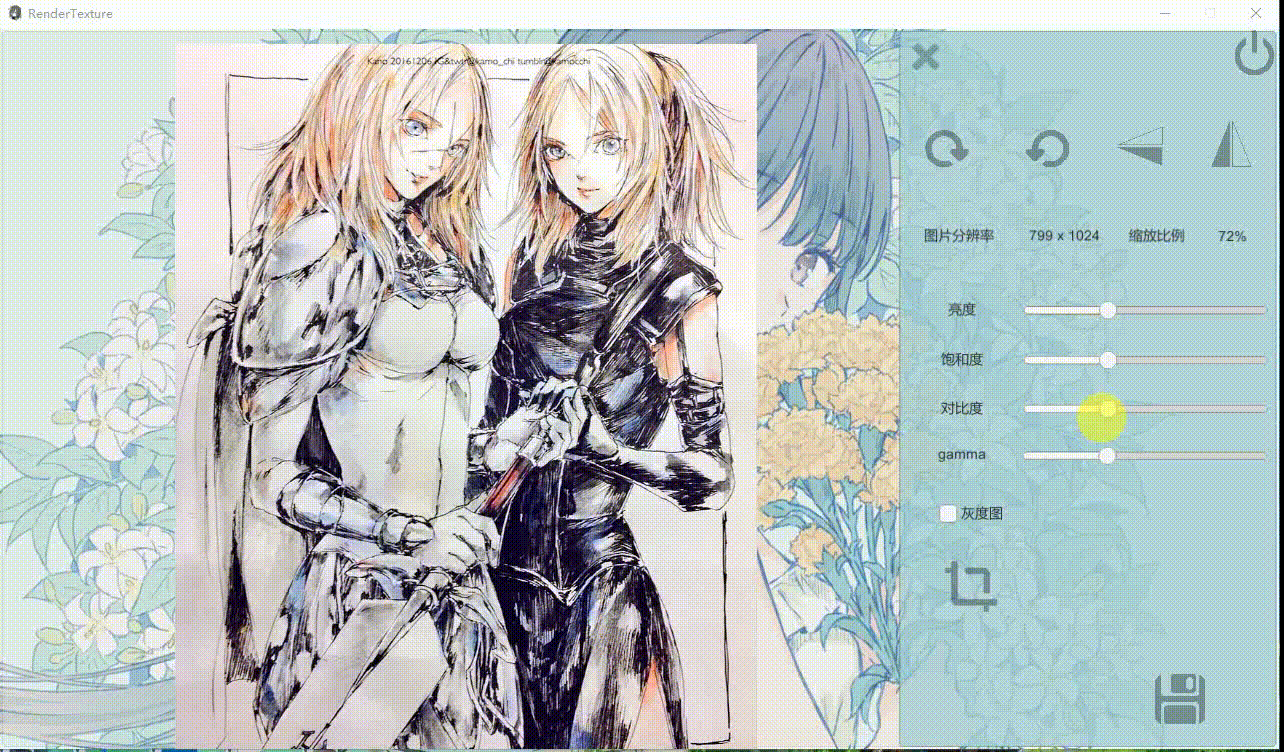
添加了gamma矫正和裁剪功能,添加当前图片分辨率的显示。
关于裁剪选择时的框线,我是用的LineRenderer,然后给它一个material,添加一个由色块组成的纹理
方便采样,这样框线会有颜色变化,不至于太单调。
用户一共有四种拖拽方式,所以我们还需要根据用户的推拽方式判断裁剪的坐标
首先是Line的实现部分
if (Input.GetMouseButtonDown(0))
                {
                    linerd.SetPosition(0, mospos = Input.mousePosition);
                    Gamevars.tailoring = true;
                    linerd.SetWidth(1.6f, 1.6f);
                }
                linerd.SetPosition(1, new Vector2(Input.mousePosition.x, mospos.y));
                linerd.SetPosition(2, new Vector2(Input.mousePosition.x, Input.mousePosition.y));
                linerd.SetPosition(3, new Vector2(mospos.x, Input.mousePosition.y));
                linerd.SetPosition(4, mospos);
if (Gamevars.tailoring && Input.GetMouseButtonUp(0))
                {
                    if (true)
                    {
                        Vector2 sizedelta = new Vector2(Gamevars.imagewidth, Gamevars.imageheight) * Gamevars.size;
                        Vector2 originpos = new Vector2(image.transform.position.x, image.transform.position.y - sizedelta.y);
                        Gamevars.xy[0, 0] = (mospos.x - originpos.x)/sizedelta.x;
                        Gamevars.xy[0, 1] = (mospos.y - originpos.y)/sizedelta.y;
                        Gamevars.xy[1, 0] = (Input.mousePosition.x - originpos.x) / sizedelta.x;
                        Gamevars.xy[1, 1] = (Input.mousePosition.y - originpos.y) / sizedelta.y;
                        Gamevars.mospos = mospos;
                        //Debug.Log(xy[0, 0].ToString() + "   " + xy[0, 1].ToString());
                        this.GetComponent<transmit>().tailor();//这里调用了另一个脚本中关于裁剪的实现部分。
                        //↓,在裁剪完成之后,我们需要裁剪的图像仍然留在“原位置”
                        if (Gamevars.xy[1, 0] > Gamevars.xy[0, 0] && Gamevars.xy[1, 1] < Gamevars.xy[0, 1])//位置保持
                        {
                            image.GetComponent<RectTransform>().position = Gamevars.mospos;
                        }
                        else if (Gamevars.xy[1, 0] > Gamevars.xy[0, 0] && Gamevars.xy[1, 1] > Gamevars.xy[0, 1])
                        {
                            image.GetComponent<RectTransform>().position = new Vector2(mospos.x, Input.mousePosition.y);
                        }
                        else if (Gamevars.xy[1, 1] > Gamevars.xy[0, 1] && Gamevars.xy[1, 0] < Gamevars.xy[0, 0])
                        {
                            image.GetComponent<RectTransform>().position = Input.mousePosition;
                        }
                        else if(Gamevars.xy[0, 1] > Gamevars.xy[1, 1] && Gamevars.xy[1, 0] < Gamevars.xy[0, 0])
                        {
                            image.GetComponent<RectTransform>().position = new Vector2(Input.mousePosition.x, mospos.y);
                        }
                    }
                    Gamevars.istailoring = false;
                    Gamevars.tailoring = false;
                    linerd.SetWidth(0, 0);

                }
在这中间有一个Gamevars类,控制着整个程序,方便两个脚本合作
public struct Gamevars
{
    public static bool istailoring=false;
    public static bool tailoring=false;
    public static bool textureisable=false;
    public static int imagewidth = 0;
    public static int imageheight = 0;
    public static float size=1;
    public static float[,] xy = new float[2, 2];
    public static Vector2 mospos=new Vector2(0,0);
}
裁剪的实现部分
private void dotailor()//裁剪
    {
        tailormaterial.SetFloat("x1",Gamevars.xy[0, 0]);
        tailormaterial.SetFloat("y1", Gamevars.xy[0, 1]);
        tailormaterial.SetFloat("x2", Gamevars.xy[1, 0]);
        tailormaterial.SetFloat("y2", Gamevars.xy[1, 1]);
        RenderTexture Disttexture = RenderTexture.GetTemporary((int)(RTpic[0].width*(Mathf.Abs(Gamevars.xy[0,0]-Gamevars.xy[1,0]))), (int)(RTpic[0].height * (Mathf.Abs(Gamevars.xy[0, 1] - Gamevars.xy[1, 1]))), 0);
        int width = Disttexture.width;
        int height = Disttexture.height;
        resolution.text = width.ToString() + " x " + height.ToString();
        Gamevars.imageheight = height;
        Gamevars.imagewidth = width;
        tailormaterial.SetFloat("Scalex", (float)RTpic[0].width/ width );
        tailormaterial.SetFloat("Scaley", (float)RTpic[0].height/ height);//这个float很重要,因为都是int会导致精度丢失
        Graphics.Blit(RTpic[0], Disttexture, tailormaterial);
        RenderTexture.ReleaseTemporary(RTpic[0]);//
        RTpic.Insert(0, Disttexture);
       // Debug.Log(width.ToString() + "   " + height.ToString());
        updateBSC();
        Vector2 sized = image.GetComponent<RectTransform>().sizeDelta;
        image.GetComponent<RectTransform>().sizeDelta = new Vector2(width, height);
        image.GetComponent<RawImage>().texture = RTs[0];
        Resources.UnloadUnusedAssets();
        Refresh();
    }
裁剪的shader
在这里插入代码片
Shader "myshaders/tailor"
{
	Properties
	{
		_MainTex ("_MainTex", 2D) = "white" {}
	}
		SubShader
		{
			Pass
			{
				ZTest Always Cull Off ZWrite Off
				CGPROGRAM
				#pragma vertex vert
				#pragma fragment frag
				#include "UnityCG.cginc"
				sampler2D _MainTex;
				float x1;
				float y1;
				float x2;
				float y2;
				float Scalex;
				float Scaley;
			struct v2a
			{
				float4 vertex : POSITION;
				float2 texcoord : TEXCOORD0;
			};

			struct v2f
			{
				float2 uv : TEXCOORD0;
				float4 pos : SV_POSITION;
			};
			v2f vert (v2a v)
			{
				v2f o;
				o.pos = UnityObjectToClipPos(v.vertex);
				o.uv = v.texcoord;
				return o;
			}
			fixed4 frag (v2f i) : SV_Target
			{
			i.uv.x/=Scalex;
			i.uv.y/=Scaley;
			if(x2>x1&&y2<y1){
			i.uv.x=i.uv.x+x1;
			i.uv.y=i.uv.y+y2;}
			else if(x2>x1&&y2>y1){
			i.uv.x=i.uv.x+x1;
			i.uv.y=i.uv.y+y1;
			}
			else if(y2>y1&&x2<x1){
			i.uv.x=i.uv.x+x2;
			i.uv.y=i.uv.y+y1;
			}
			else{
			i.uv.x=i.uv.x+x2;
			i.uv.y=i.uv.y+y2;
			}
			fixed4 renderTex = tex2D(_MainTex,i.uv);
			return fixed4(renderTex);
			}
			ENDCG
		}
	}
			Fallback Off
}

现在已经基本成型了,可能后续还会添加一些新的功能,也可能直接交了,11月28号截止,是否继续做还是要看心情。整理整理导出之后,我会提供一个下载,希望有人会下。。。