Feign是一个声明式的伪客户端,它使得写http客户端变得更为简单,使用Feign,只需要创建一个接口并注解。它具有可插拔的注解特性,可使用Feign 注解和JAX-RS注解。Feign支持可插拔的编码器和解码器。Feign默认集成了Ribbon,并和Eureka结合,默认实现了负载均衡的效果。
总而言之:
1、Feign 采用的是基于接口的注解。
2、Feign 整合了ribbon,具有负载均衡的能力。
3、整合了Hystrix,具有熔断的能力。
1、准备工作
基于上一篇的文章继续学习Feign,启动spring-cloud-eureka,spring-cloud-provide启动两次,暴露两个端口8081和8083。
2、创建消费者服务(spring-cloud-consumer-feign)
第一步:创建一个普通的Spring Boot工程
创建一个普通的Spring Boot工程,并命名为:pring-cloud-consumer-feign
第二步:引入相关依赖
在它的pom文件引入Feign的起步依赖spring-cloud-starter-feign、Eureka的起步依赖spring-cloud-starter-netflix-eureka-client、Web的起步依赖spring-boot-starter-web,代码如下:
<?xml version="1.0" encoding="UTF-8"?>
<project xmlns="http://maven.apache.org/POM/4.0.0" xmlns:xsi="http://www.w3.org/2001/XMLSchema-instance"
         xsi:schemaLocation="http://maven.apache.org/POM/4.0.0 http://maven.apache.org/xsd/maven-4.0.0.xsd">
    <modelVersion>4.0.0</modelVersion>
    <parent>
        <groupId>com.brimen</groupId>
        <artifactId>spring-cloud-brimen-consumer</artifactId>
        <version>1.0-SNAPSHOT</version>
        <relativePath/>
    </parent>
    <groupId>com.brimen</groupId>
    <artifactId>spring-cloud-consumer-feign</artifactId>
    <version>0.0.1-SNAPSHOT</version>
    <name>spring-cloud-consumer-feign</name>
    <description>Spring Cloud 消费者Feign</description>

    <dependencies>
        <dependency>
            <groupId>org.springframework.cloud</groupId>
            <artifactId>spring-cloud-starter-netflix-eureka-client</artifactId>
        </dependency>
        <dependency>
            <groupId>org.springframework.boot</groupId>
            <artifactId>spring-boot-starter-web</artifactId>
        </dependency>
        <dependency>
            <groupId>org.springframework.cloud</groupId>
            <artifactId>spring-cloud-starter-openfeign</artifactId>
        </dependency>
    </dependencies>

    <build>
        <plugins>
            <plugin>
                <groupId>org.springframework.boot</groupId>
                <artifactId>spring-boot-maven-plugin</artifactId>
            </plugin>
        </plugins>
    </build>

</project>
第三步:在配置文件当中进行配置
在配置文件当中指定程序名为:spring-cloud-consumer-feign,服务注册中心: http://localhost:8080/eureka/ ,端口为8084,
配置如下:
eureka:
  client:
    serviceUrl:
      defaultZone: http://localhost:8080/eureka/ #1
server:
  port: 8084
spring:
  application:
    name: spring-cloud-consumer-feign #2

#1、服务注册中心的地址
#2、服务的名称,作为其它服务调用的服务名
第四步:在程序启动类Application上加注解@EnableFeignClients
加注解@EnableFeignClients开启Feign的功能,代码如下:
package com.brimen.springcloudconsumerfeign;

import org.springframework.boot.SpringApplication;
import org.springframework.boot.autoconfigure.SpringBootApplication;
import org.springframework.cloud.openfeign.EnableFeignClients;

@SpringBootApplication
@EnableFeignClients
public class SpringCloudConsumerFeignApplication {

    public static void main(String[] args) {
        SpringApplication.run(SpringCloudConsumerFeignApplication.class, args);
    }
}
第五步:创建一个Service来调用服务提供者消费接口
定义一个feign接口,通过@ FeignClient(“服务名”),来指定调用哪个服务,代码如下:
package com.brimen.springcloudconsumerfeign.service;

import org.springframework.beans.factory.annotation.Autowired;
import org.springframework.cloud.openfeign.FeignClient;
import org.springframework.stereotype.Service;
import org.springframework.web.bind.annotation.RequestMapping;
import org.springframework.web.bind.annotation.RequestMethod;
import org.springframework.web.bind.annotation.RequestParam;
import org.springframework.web.client.RestTemplate;

@FeignClient(value = "spring-cloud-provide")
public interface HelloService {

    @RequestMapping(value = "/hello/gethello",method = RequestMethod.GET)
    String sayHelloFromProvider(@RequestParam(value = "name") String name);
}
第六步:创建对外访问的接口
写一个具体的Controller,提供对外访问的接口,并调用Service的方法,代码如下:
package com.brimen.springcloudconsumerfeign.controller;

import com.brimen.springcloudconsumerfeign.service.HelloService;
import org.springframework.beans.factory.annotation.Autowired;
import org.springframework.web.bind.annotation.GetMapping;
import org.springframework.web.bind.annotation.RequestMapping;
import org.springframework.web.bind.annotation.RequestParam;
import org.springframework.web.bind.annotation.RestController;

@RestController
@RequestMapping("/hello")
public class HelloController {

    @Autowired
    public HelloService helloService;

    @GetMapping(value = "/gethello")
    public String getHello(@RequestParam(value = "name", defaultValue = "ribbon") String name) {
        return helloService.sayHelloFromProvider(name);
    }
}
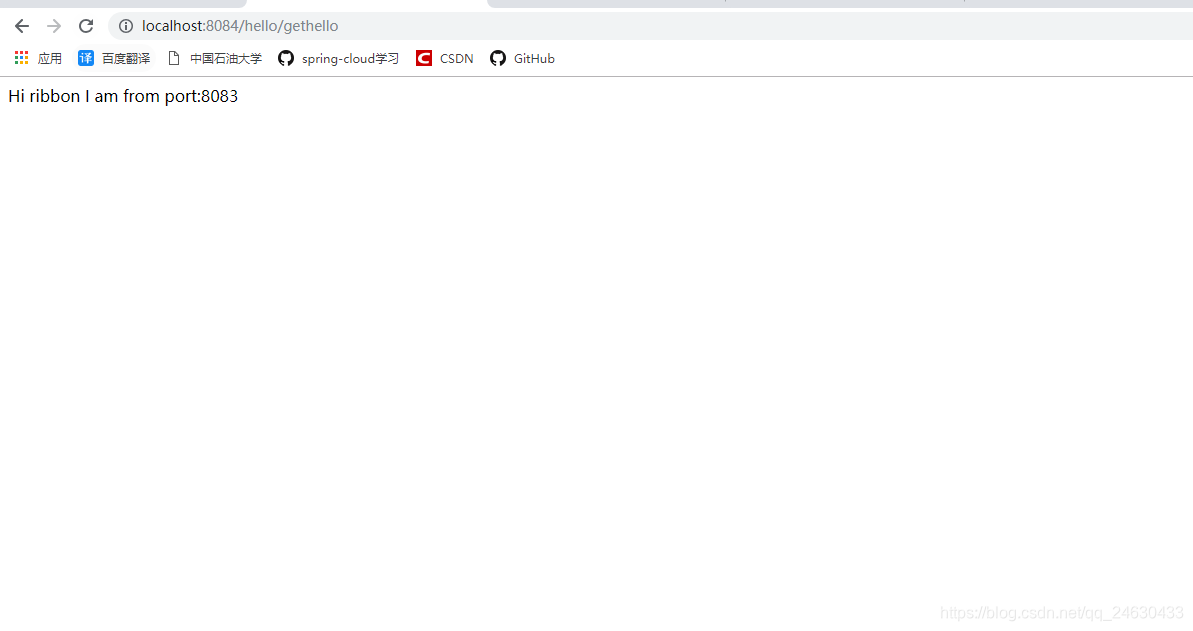
第七步:启动项目并访问
启动项目,并进行访问:http://localhost:8084/hello/gethello ,发现浏览器会轮流调用8081和8083