1.修改nginx日志格式
vim /datas/soft/nginx/conf/nginx.conf
将默认日志这段给注释掉
#log_format main '$remote_addr - $remote_user [$time_local] "$request" '
# '$status $body_bytes_sent "$http_referer" '
# '"$http_user_agent" "$http_x_forwarded_for"';
#access_log logs/access.log main;
改成json格式的
log_format json '{"@timestamp":"$time_iso8601",'
'"host":"$server_addr",'
'"clientip":"$remote_addr",'
'"size":$body_bytes_sent,'
'"responsetime":$request_time,'
'"upstreamtime":"$upstream_response_time",'
'"upstreamhost":"$upstream_addr",'
'"http_host":"$host",'
'"url":"$uri",'
'"referer":"$http_referer",'
'"agent":"$http_user_agent",'
'"status":"$status"}';
access_log /var/log/nginx/access_json.log json;
nginx -s reload
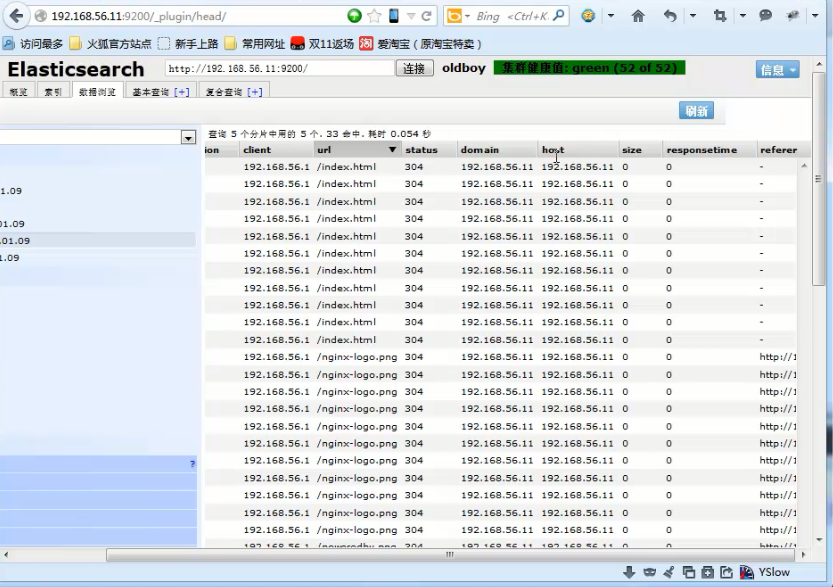
查看下访问日志,发现变成JSON格式了
2.配置logstash
vim logstash_nginx.conf
input {
file {
path => "/var/log/messages"
type => "system"
start_position => "beginning"
}
file {
path => "/var/log/nginx/access_json.log"
codec => "json"
start_position => "beginning"
type => "nginx-log"
}
file {
path => "/var/log/elasticsearch/kye.log"
type => "es-error"
start_position => "beginning"
codec => multiline{
pattern => "^\["
negate => "true"
what => "previous"
}
}
}
output {
if [type] == "system"{
elasticsearch {
hosts => ["192.168.56.11:9200"]
index => "system-%{+YYYY.MM.dd}"
}
}
if [type] == "es-error"{
elasticsearch {
hosts => ["192.168.56.11:9200"]
index => "es-error-%{+YYYY.MM.dd}"
}
}
if [type] == "nginx-log"{
elasticsearch {
hosts => ["192.168.56.11:9200"]
index => "nginx-log-%{+YYYY.MM.dd}"
}
}
}
/opt/logstash/bin/logstash -f /root/all.conf