1、安装MySQL
下载解压MySQL安装包
[root@localhost src]# wget https://cdn.mysql.com//Downloads/MySQL-5.5/mysql-5.5.60-linux-glibc2.12-x86_64.tar.gz
[root@localhost src]# tar -zxvf mysql-5.5.60-linux-glibc2.12-x86_64.tar.gz
[root@localhost src]# mv mysql-5.5.60-linux-glibc2.12-x86_64 /usr/local/mysql
[root@localhost src]# cd /usr/local/mysql/
添加mysql组和mysql用户,并将文件夹所有者设为mysql组和mysql用户
[root@localhost mysql]# groupadd mysql
[root@localhost mysql]# useradd -g mysql mysql
[root@localhost mysql]# chown -R mysql:mysql ./
安装libaio
[root@localhost mysql]# yum install -y libaio卸载mariadb
[root@localhost mysql]# rpm -qa|grep mar
mariadb-libs-5.5.56-2.el7.x86_64
[root@localhost mysql]# rpm -e --nodeps mariadb-libs-5.5.56-2.el7.x86_64
安装Mysql
./scripts/mysql_install_db --user=mysql --basedir=/usr/local/mysql/ --datadir=/usr/local/mysql/data/修改MySQL配置文件
[root@localhost mysql]# cp support-files/my-medium.cnf /etc/my.cnf
添加mysql为系统服务并设置自启动
[root@localhost mysql]# cp support-files/mysql.server /etc/init.d/mysqld
[root@localhost mysql]# chkconfig --add mysqld
[root@localhost mysql]# chkconfig --list mysqld

Note: This output shows SysV services only and does not include native
      systemd services. SysV configuration data might be overridden by native
      systemd configuration.

      If you want to list systemd services use 'systemctl list-unit-files'.
      To see services enabled on particular target use
      'systemctl list-dependencies [target]'.

mysqld         	0:off	1:off	2:on	3:on	4:on	5:on	6:off
启动MySQL服务
[root@localhost mysql]# systemctl start mysqld添加全局变量mysql
[root@localhost mysql]# vim /etc/profile
[root@localhost mysql]# source /etc/profile
[root@localhost mysql]# echo $PATH
/usr/local/sbin:/usr/local/bin:/usr/sbin:/usr/bin:/root/bin:/usr/local/mysql/bin
登录MySQL,密码为空
[root@localhost mysql]# mysql -u root -p
Enter password:
Welcome to the MySQL monitor.  Commands end with ; or \g.
Your MySQL connection id is 1
Server version: 5.5.60-log MySQL Community Server (GPL)

Copyright (c) 2000, 2018, Oracle and/or its affiliates. All rights reserved.

Oracle is a registered trademark of Oracle Corporation and/or its
affiliates. Other names may be trademarks of their respective
owners.

Type 'help;' or '\h' for help. Type '\c' to clear the current input statement.

mysql>
设置密码,允许远程登录
2、安装Nginx
下载解压
[root@localhost src]# wget http://nginx.org/download/nginx-1.14.0.tar.gz
[root@localhost nginx-1.14.0]# tar -zxvf nginx-1.14.0.tar.gz
安装一些依赖
[root@localhost nginx-1.14.0]# yum install -y gcc gcc-c++ pcre pcre-devel zlib zlib-devel openssl openssl-devel安装
[root@localhost nginx-1.14.0]# ./configure
[root@localhost nginx-1.14.0]# make && make install
添加nginx为系统服务并设置开机启动
[root@localhost nginx-1.14.0]# vim /usr/lib/systemd/system/nginx.service添加如下内容
[Unit]
Description=nginx - high performance web server
After=network.target remote-fs.target nss-lookup.target

[Service]
Type=forking
ExecStart=/usr/local/nginx/sbin/nginx
ExecReload=/usr/local/nginx/sbin/nginx -s reload
ExecStop=/usr/local/nginx/sbin/nginx -s stop

[Install]
WantedBy=multi-user.target
更改权限
[root@localhost nginx-1.14.0]# chmod 754 /usr/lib/systemd/system/nginx.service使文件生效
[root@localhost nginx-1.14.0]# systemctl daemon-reload设置开机启动
[root@localhost nginx-1.14.0]# systemctl enable nginx.service启动nginx服务
[root@localhost nginx-1.14.0]# systemctl start nginx.service
3、安装PHP
下载解压
[root@localhost src]# wget http://us1.php.net/distributions/php-7.0.31.tar.gz
[root@localhost src]# tar -zxvf php-7.0.31.tar.gz
安装一些库
yum install -y libxml2 libxml2-devel openssl openssl-devel bzip2 bzip2-devel libcurl libcurl-devel libjpeg libjpeg-devel libpng libpng-devel freetype freetype-devel gmp gmp-devel libmcrypt libmcrypt-devel readline readline-devel libxslt libxslt-devel安装libmcrypt
[root@localhost src]# wget https://jaist.dl.sourceforge.net/project/mcrypt/Libmcrypt/2.5.8/libmcrypt-2.5.8.tar.gz
[root@localhost libmcrypt-2.5.8]# tar zxvf libmcrypt-2.5.8.tar.gz
[root@localhost libmcrypt-2.5.8]# cd libmcrypt-2.5.8
[root@localhost libmcrypt-2.5.8]# ./configure
[root@localhost libmcrypt-2.5.8]# make && make install
配置
./configure --prefix=/usr/local/php --with-config-file-path=/usr/local/php/etc --with-curl --with-freetype-dir --with-gd --with-gettext --with-iconv-dir --with-kerberos --with-libdir=lib64 --with-libxml-dir --with-mysqli --with-openssl --with-pcre-regex --with-pdo-mysql --with-pdo-sqlite --with-pear --with-png-dir --with-jpeg-dir --with-xmlrpc --with-xsl --with-zlib --with-bz2 --with-mhash --enable-fpm --enable-bcmath --enable-libxml --enable-inline-optimization --enable-gd-native-ttf --enable-mbregex --enable-mbstring --enable-opcache --enable-pcntl --enable-shmop --enable-soap --enable-sockets --enable-sysvsem --enable-sysvshm --enable-xml --enable-zip安装
[root@localhost php-7.0.31]# make
[root@localhost php-7.0.31]# make test
[root@localhost php-7.0.31]# make install
拷贝php配置文件到php安装目录
[root@localhost php-7.0.31]# cp php.ini-production /usr/local/php/etc/php.ini拷贝启动文件到init.d目录
[root@localhost php-7.0.31]# cp sapi/fpm/init.d.php-fpm /etc/int.d/php-fpm
[root@localhost php-7.0.31]# chmod 755 /etc/int.d/php-fpm
添加www用户
[root@localhost php-7.0.31]# groupadd www
[root@localhost php-7.0.31]# useradd -g www www
配置php-fpm
[root@localhost php-7.0.31]# cd /usr/local/php/etc
[root@localhost etc]# cp php-fpm.conf.default php-fpm.conf
[root@localhost etc]# vim php-fpm.conf
pid设置,去掉前面的分号
[global]
; Pid file
; Note: the default prefix is /usr/local/php/var
; Default Value: none
pid = run/php-fpm.pid
复制www.conf.default文件
[root@localhost etc]# cd php-fpm.d/
[root@localhost php-fpm.d]# cp www.conf.default www.conf
[root@localhost php-fpm.d]# vim www.conf
fpm进程的用户和组改为www
; Unix user/group of processes
; Note: The user is mandatory. If the group is not set, the default user's group
;       will be used.
user = www
group = www
添加php-fpm为系统服务设置开机自启动
[root@localhost php]# chkconfig --add php-fpm
[root@localhost php]# chkconfig php-fpm on
[root@localhost php]# chkconfig --list php-fpm

Note: This output shows SysV services only and does not include native
      systemd services. SysV configuration data might be overridden by native
      systemd configuration.

      If you want to list systemd services use 'systemctl list-unit-files'.
      To see services enabled on particular target use
      'systemctl list-dependencies [target]'.

php-fpm        	0:off	1:off	2:on	3:on	4:on	5:on	6:off
[root@localhost php]# service php-fpm start
配置Nginx支持php-fpm
[root@localhost ~]# vim /usr/local/nginx/conf/nginx.conf在server配置块的location配置中追加inde.php 使nginx支持index.php作为首页
#access_log  logs/host.access.log  main;

        location / {
            root   html;
            index  index.html index.htm index.php;
        }
去掉的php FastCGI模块的注释,并修改成这样
# pass the PHP scripts to FastCGI server listening on 127.0.0.1:9000
        #
        location ~ \.php$ {
            root           html;
            fastcgi_pass   127.0.0.1:9000;
            fastcgi_index  index.php;
            fastcgi_param  SCRIPT_FILENAME  $document_root$fastcgi_script_name;
            include        fastcgi_params;
        }
重启Nginx
[root@localhost ~]# systemctl restart nginx在nginx的html目录下,新建一个info.php显示phpinfo,测试一下
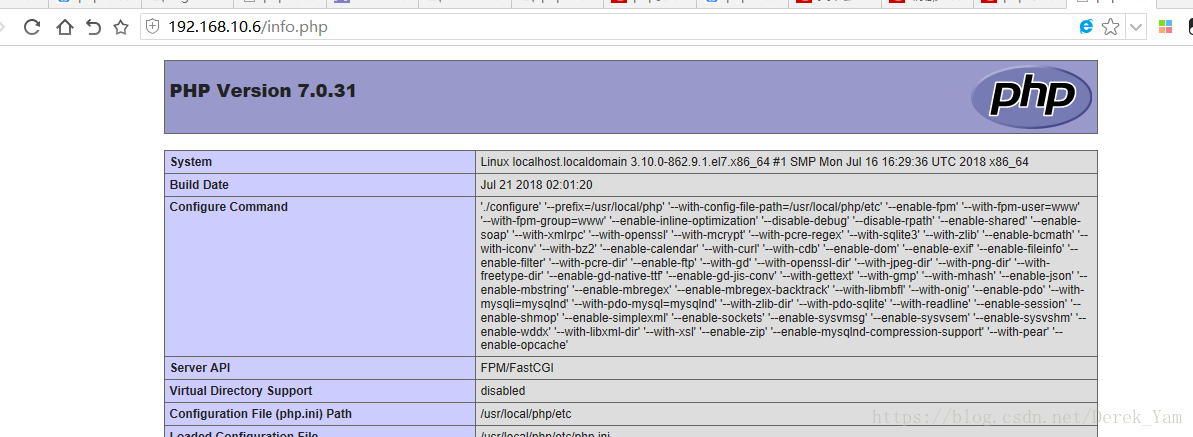
完成!