现在微信越来越流行,我们开发的app或者网站如果想从微信导流的话可以选择微信登陆。
现在这里介绍怎样集成微信登陆功能
首先我们要做好前期工作,就是注册账号,目的就是获取appID 和appsecret ,并设置好回调地址,下面介绍两种注册方式。
我们有两种注册方式:
- 微信公众号(公众平台)
- 微信开放平台
1.我们需要在微信公众号(公众平台)账号
地址是:https://open.weixin.qq.com/

下面是我们注册的页面:
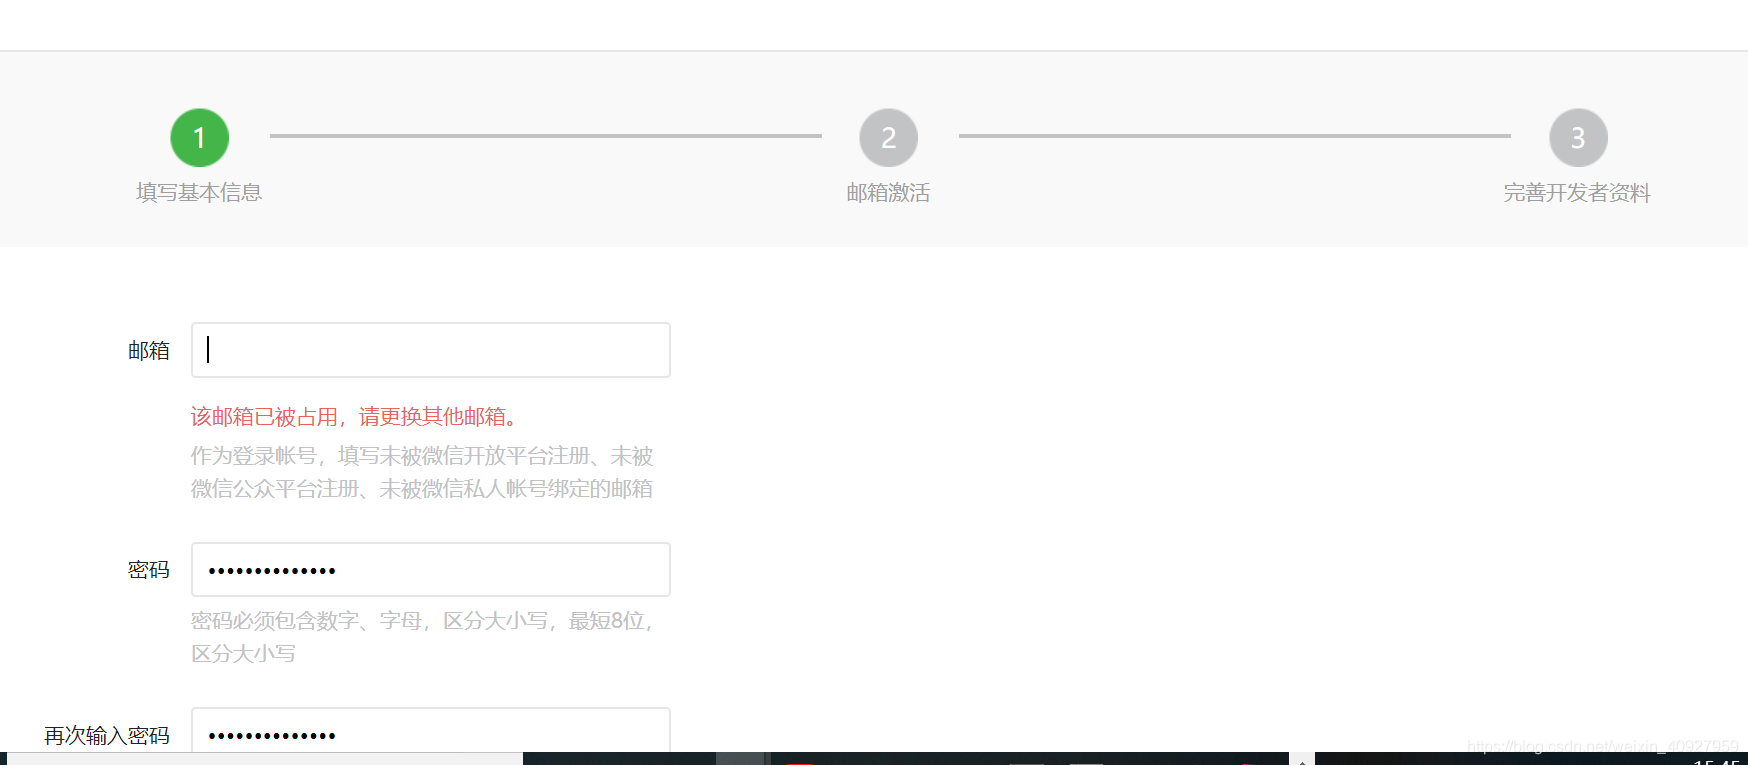
注册成功之后我们就可以创建应用了:

这里我们就可以取得设置回调地址和获取appID 和 appsecret
2.如果你想测试,我们可以申请微信开放平台
这里我们就不多说,下面我们也可以申请测试账号:http://mp.weixin.qq.com/debug/cgi-bin/sandboxinfo?action=showinfo&t=sandbox/index

这是我们就可以获取appID 和 appsecret
最后我们要设置回调地址,这里就是我们的域名,并不加http:// 或 http:// 只是填写域名就可以:

点击网页授权获取用户信息 最右侧的修改就可以填写回调地址:

之后我们需要开发者认证,这里要掏钱了:

功能的集成
前期的工作准备好以后我们就可看集成的文档了:
文档的地址是: https://mp.weixin.qq.com/wiki?t=resource/res_main&id=mp1421140842
具体流程图如下:
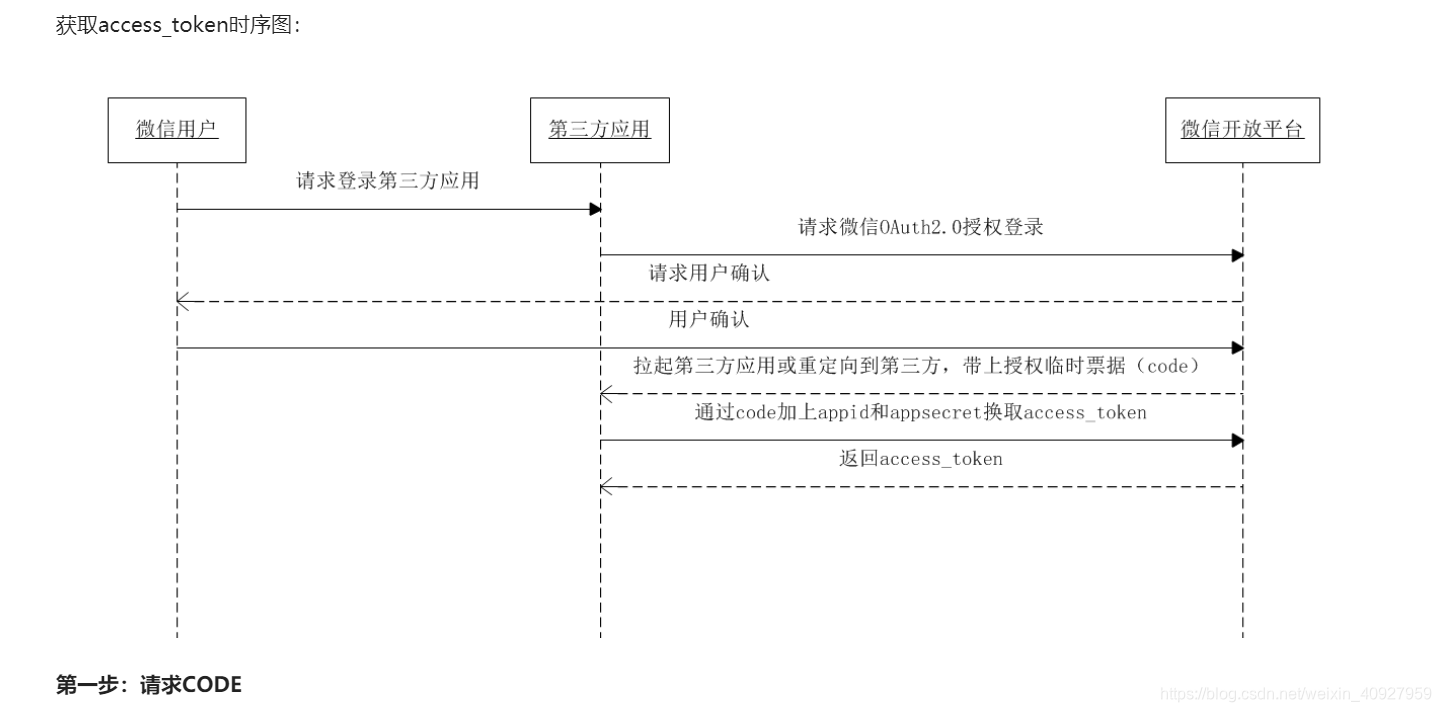
具体而言,网页授权流程分为四步:
- 1、引导用户进入授权页面同意授权,获取code
- 2、通过code换取网页授权access_token(与基础支持中的access_token不同)
- 3、如果需要,开发者可以刷新网页授权access_token,避免过期
- 4、通过网页授权access_token和openid获取用户基本信息(支持UnionID机制)
下面就是我们的代码部分了:
配置application.properties:
####微信的登陆密钥#######
#微信开放平台创建的网站应用的appid 和 appsecret
appid=
appsecret=
scope=snsapi_login
#微信开放平台创建的网站 设置的授权回调域
callBack=
scope部分我们要特别注意的是:
微信公众号(公众平台) 和 微信开放平台 是两码事。公众号(公众平台)获取的scope只包括两种:snsapi_base 和snsapi_userinfo,前者是静默获取,用户无感知;后者是需要用户确认同意的。
但是微信开放平台(https://open.weixin.qq.com/) 就可以获取snsapi_login这种scope。坑爹的是,公众平台的认证和开放平台的认证是独立的,你如果想获取snsapi_login,还需要重新注册开放平台,交300块钱认证。
如果你只是想实现微信扫二维码登录的话,其实snsapi_base 也足够了,因为它可以获取到用户的openid,你可以之后用来和自己数据库中作比对。
下面是CoreController.java
package com.haihua.haihua.controller;


import com.haihua.haihua.Utils.HttpRequestUtils;
import org.json.JSONObject;
import org.slf4j.Logger;
import org.slf4j.LoggerFactory;
import org.springframework.beans.factory.annotation.Value;
import org.springframework.stereotype.Controller;
import org.springframework.ui.Model;
import org.springframework.web.bind.annotation.RequestMapping;

import java.io.UnsupportedEncodingException;
import java.net.URLEncoder;

/**
 * Created by liuzp on 2018/5/9.
 */
@Controller
public class CoreController {

    private Logger logger = LoggerFactory.getLogger(this.getClass());

    @Value("${appid}")
    private String appid;

    @Value("${callBack}")
    private String callBack;

    @Value("${scope}")
    private String scope;

    @Value("${appsecret}")
    private String appsecret;

@RequestMapping("/1")
    public String index1(Model model) throws UnsupportedEncodingException {
        String redirect_uri = URLEncoder.encode(callBack, "utf-8"); ;
        model.addAttribute("name","liuzp");
        model.addAttribute("appid",appid);
        model.addAttribute("scope",scope);
        model.addAttribute("redirect_uri",redirect_uri);
        return "index1";
    }


    @RequestMapping("/")
    public String index(Model model) throws UnsupportedEncodingException {
        String oauthUrl = "https://open.weixin.qq.com/connect/qrconnect?appid=APPID&redirect_uri=REDIRECT_URI&response_type=code&scope=SCOPE&state=STATE#wechat_redirect";
        String redirect_uri = URLEncoder.encode(callBack, "utf-8"); ;
        oauthUrl =  oauthUrl.replace("APPID",appid).replace("REDIRECT_URI",redirect_uri).replace("SCOPE",scope);
        model.addAttribute("name","liuzp");
        model.addAttribute("oauthUrl",oauthUrl);
        return "index2";
    }


    @RequestMapping("/callBack")
    public String callBack(String code,String state,Model model) throws Exception{
        logger.info("进入授权回调,code:{},state:{}",code,state);

        //1.通过code获取access_token
        String url = "https://api.weixin.qq.com/sns/oauth2/access_token?appid=APPID&secret=SECRET&code=CODE&grant_type=authorization_code";
        url = url.replace("APPID",appid).replace("SECRET",appsecret).replace("CODE",code);
        String tokenInfoStr =  HttpRequestUtils.httpGet(url,null,null);

        JSONObject tokenInfoObject = new JSONObject(tokenInfoStr);
        logger.info("tokenInfoObject:{}",tokenInfoObject);

        //2.通过access_token和openid获取用户信息
        String userInfoUrl = "https://api.weixin.qq.com/sns/userinfo?access_token=ACCESS_TOKEN&openid=OPENID";
        userInfoUrl = userInfoUrl.replace("ACCESS_TOKEN",tokenInfoObject.getString("access_token")).replace("OPENID",tokenInfoObject.getString("openid"));
        String userInfoStr =  HttpRequestUtils.httpGet(userInfoUrl,null,null);
        logger.info("userInfoObject:{}",userInfoStr);

        model.addAttribute("tokenInfoObject",tokenInfoObject);
        model.addAttribute("userInfoObject",userInfoStr);

        return "result";
    }


}
前端 index1.html
<!DOCTYPE html>
<html lang="en" xmlns:th="http://www.thymeleaf.org">
<head>
    <meta charset="UTF-8">
    <title>内嵌(自定义二维码)</title>
</head>
<script src="http://res.wx.qq.com/connect/zh_CN/htmledition/js/wxLogin.js"></script>

<body>
<h1>hello! <label th:text="${name}"></label></h1>
<div id="login_container"></div>
<script th:inline="javascript">
    var obj = new WxLogin({
        self_redirect:true,
        id:"login_container",
        appid: [[${appid}]],
        scope: [[${scope}]],
        redirect_uri: [[${redirect_uri}]],
        state: "",
        style: "",
        href: ""
    });
</script>
</body>
</html>
前端 index2.html
<!DOCTYPE html>
<html lang="en" xmlns:th="http://www.thymeleaf.org">
<head>
    <meta charset="UTF-8">
    <title>Title</title>
</head>
<body>
<h1>hello! <label th:text="${name}"></label></h1>
<a  th:href="${oauthUrl}">点击扫码登录</a>
</body>
</html>
前端 result.html:
<!DOCTYPE html>
<html lang="en" xmlns:th="http://www.thymeleaf.org">
<head>
    <meta charset="UTF-8">
    <title>授权结果页</title>
</head>
<script src="http://res.wx.qq.com/connect/zh_CN/htmledition/js/wxLogin.js"></script>

<body>
<h2>你好,授权成功!</h2><br>
<h3>通过code换取access_token 结果:</h3>
<p th:text="${tokenInfoObject}"></p>
<h3>通过access_token获取用户信息 结果:</h3>
<p th:text="${userInfoObject}"></p>
</body>
</html>
这了我们就完成了微信登录的功能,当然最重要的是要给腾讯掏钱,坑爹!