成熟目录结构演示:

一:
首先将springboot的jar包依赖引入maven项目,那么,配置pom.xml文件:
<?xml version="1.0" encoding="UTF-8"?>
<project xmlns="http://maven.apache.org/POM/4.0.0"
         xmlns:xsi="http://www.w3.org/2001/XMLSchema-instance"
         xsi:schemaLocation="http://maven.apache.org/POM/4.0.0 http://maven.apache.org/xsd/maven-4.0.0.xsd">
    <modelVersion>4.0.0</modelVersion>

    <groupId>com.aaa.fx</groupId>
    <artifactId>newSpring</artifactId>
    <version>1.0-SNAPSHOT</version>

    <!--提供默认的spring版本依赖库(springboot其本质便是一个整合了大量常用spring包的spring集合),
    这样书写具体的springbootjar包依赖时便是重写此spring集合中的默认jar包依赖,无需添加版本号-->
    <parent>
        <groupId>org.springframework.boot</groupId>
        <artifactId>spring-boot-starter-parent</artifactId>
        <version>1.5.22.RELEASE</version>
    </parent>

    <dependencies>
        <dependency>
            <groupId>org.springframework.boot</groupId>
            <artifactId>spring-boot-starter-web</artifactId>
        </dependency>

        <!--mybatis在springboot中并没有被整合,我们导进去的这个mybatis-springboot整合包是mybatis自己整合的-->
      <!--注意,若是只测试主方法则注释掉mybatisjar,不然会报错显示未配置数据源-->
        <dependency>
            <groupId>org.mybatis.spring.boot</groupId>
            <artifactId>mybatis-spring-boot-starter</artifactId>
            <version>1.3.0</version>
        </dependency>
        <dependency>
            <groupId>mysql</groupId>
            <artifactId>mysql-connector-java</artifactId>
            <version>5.1.38</version>
        </dependency>
    </dependencies>
</project>
jar包导入完成后进行springboot主方法的编写:
package com.aaa.fx.springboot;


import org.springframework.boot.Banner;
import org.springframework.boot.SpringApplication;
import org.springframework.boot.autoconfigure.SpringBootApplication;

/**
 * 此ApplicationRun类为springboot的入口类,整个springboot项目赖以启动的方法
 * //此ApplicationRun类必须放在所有业务的上一层保持主方法的正常执行
 * 至少将此方法放入springboot目录下
 * @SpringBootApplication 自动加载springboot所需要的所有配置,且将ApplicationRun类(也就是加了这个注解的标识类)识别为springboot的启动类
 */

@SpringBootApplication
public class ApplicationRun {

    public static void main(String[] args) {
//        SpringApplication.run(ApplicationRun.class,args);
//        演示关闭banner文件的显示,首先创建一个SpringApplication对象,传入Application的class反射伪类类型
        SpringApplication springApplication = new SpringApplication(ApplicationRun.class);
        //接着设置banner文件为关闭状态
        springApplication.setBannerMode(Banner.Mode.OFF);
//        运行此新创建的SpringApplication对象
        springApplication.run(args);

    }
}
运行主方法可成功,接着来将mybatis整合进来:
在resources中创建新文件包config,里面创建一个名为application.yml的文件,在此文件中配置数据源:
#配置tomcat,不然整合mybatis会报错
#注意 配置的时候  需要在配置的数值前加上空格!!!
# 寻找tomcat配置文件时,会先到resources的config下寻找,若未找到则到resources寻找

server:
  port: 8081 #  tomcat端口号配置
  context-path: /yuer #  配置tomcat的映射根路径 如果不配置默认为"/"
  # 数据源配置:
spring:
  datasource:
    driver-class-name: com.mysql.jdbc.Driver
    url: jdbc:mysql://localhost:3306/th
    data-username: root
    data-password: root
配置完成则进入我们的测试Controller类中,注意,此类需要在我们刚刚书写的主方法之下:
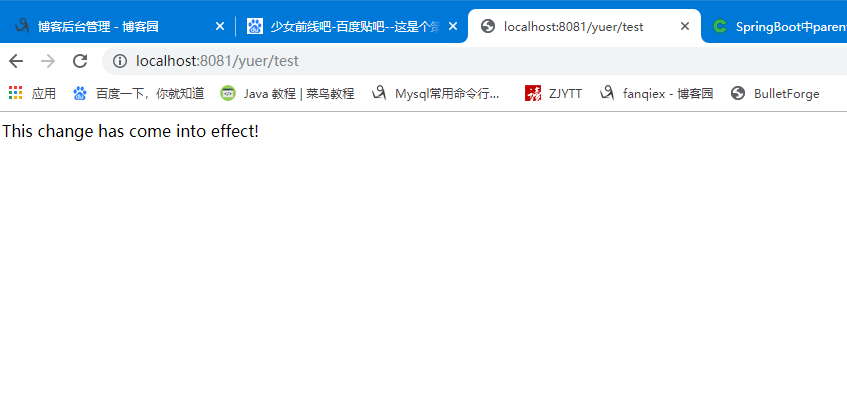
package com.aaa.fx.springboot.controller;

import org.springframework.web.bind.annotation.RequestMapping;
import org.springframework.web.bind.annotation.RestController;

/**
 * @Controller
 *      直接返回页面,不能处理ajax请求,如果需要处理ajax请求则需要添加@ResponseBody注解
 * @RestController
 *      直接将整个controller下的都添加上@ResponseBody注解。
 */
@RestController
public class Controller {

    @RequestMapping("/test")
    public String test(){
        return "This change has come into effect!";
    }
}
OK 完成配置,接着启动主方法,打开浏览器进行测试
调控banner则在resources目录下创建banner.txt 对其进行书写。