Android Stdio 有六种基本布局,但部分用的比较少,所以暂时只学常用的几种。
这次新建一个空项目,命名为UILayout
一、需要知道的三个属性
LinearLayout称作线性布局,这种布局会将其所包含的控件在线性方向上依次排列。
1、orientation排列方向
通过android:orientation可以指定排列方向,比如:
<?xml version="1.0" encoding="utf-8"?>
<LinearLayout xmlns:android="http://schemas.android.com/apk/res/android"
    android:orientation="vertical" android:layout_width="match_parent"
    android:layout_height="match_parent">

    <Button
        android:id="@+id/button_1"
        android:layout_width="wrap_content"
        android:layout_height="wrap_content"
        android:text="button 1"
        />

    <Button
        android:id="@+id/button_2"
        android:layout_width="wrap_content"
        android:layout_height="wrap_content"
        android:text="button 2"
        />

    <Button
        android:id="@+id/button_3"
        android:layout_width="wrap_content"
        android:layout_height="wrap_content"
        android:text="button 3"
        />

</LinearLayout>
这样就是垂直方向上的线性布局:

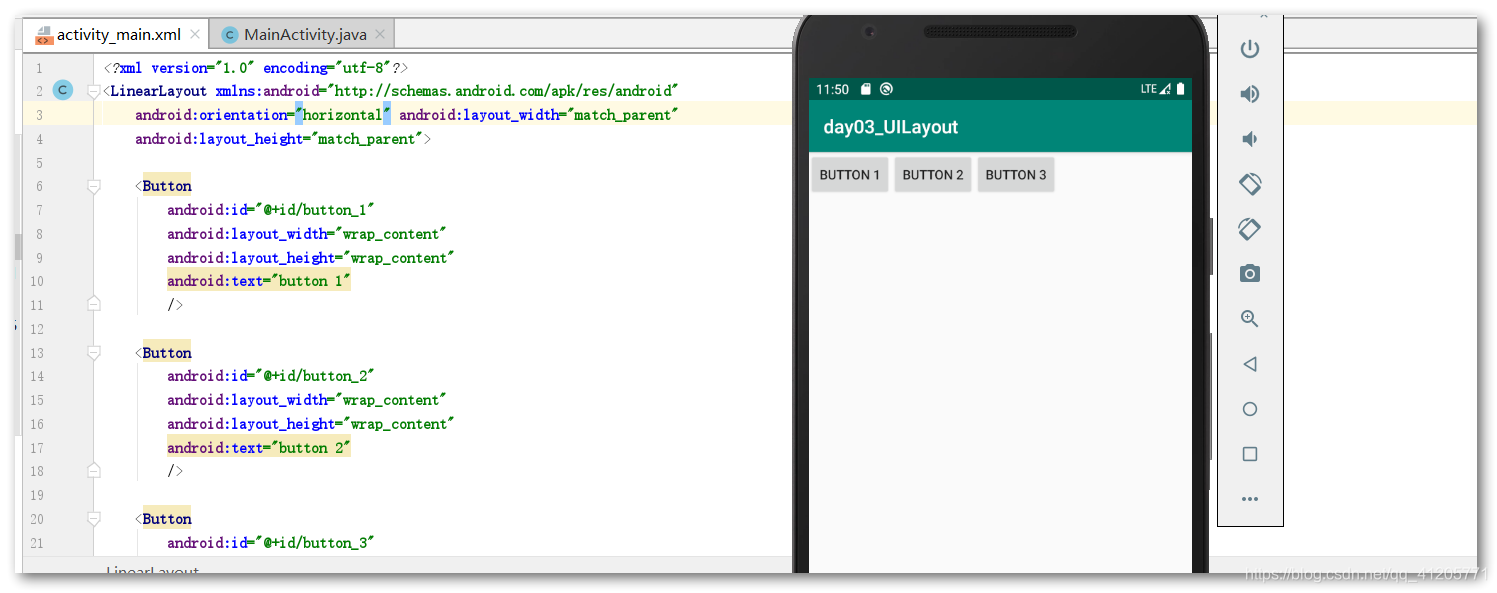
修改一下android:orientation为horizontal
2、 layout_gravity对齐方式
android:gravity可以指定内容的对齐方式
android:layout_gravity可以指定控件的对齐方式
<Button
    android:id="@+id/button_1"
    android:layout_width="wrap_content"
    android:layout_height="wrap_content"
    android:text="button 1"

    android:layout_gravity="top"
    />

<Button
    android:id="@+id/button_2"
    android:layout_width="wrap_content"
    android:layout_height="wrap_content"
    android:text="button 2"

    android:layout_gravity="center_vertical"
    />

<Button
    android:id="@+id/button_3"
    android:layout_width="wrap_content"
    android:layout_height="wrap_content"
    android:text="button 3"

    android:layout_gravity="bottom"
    />
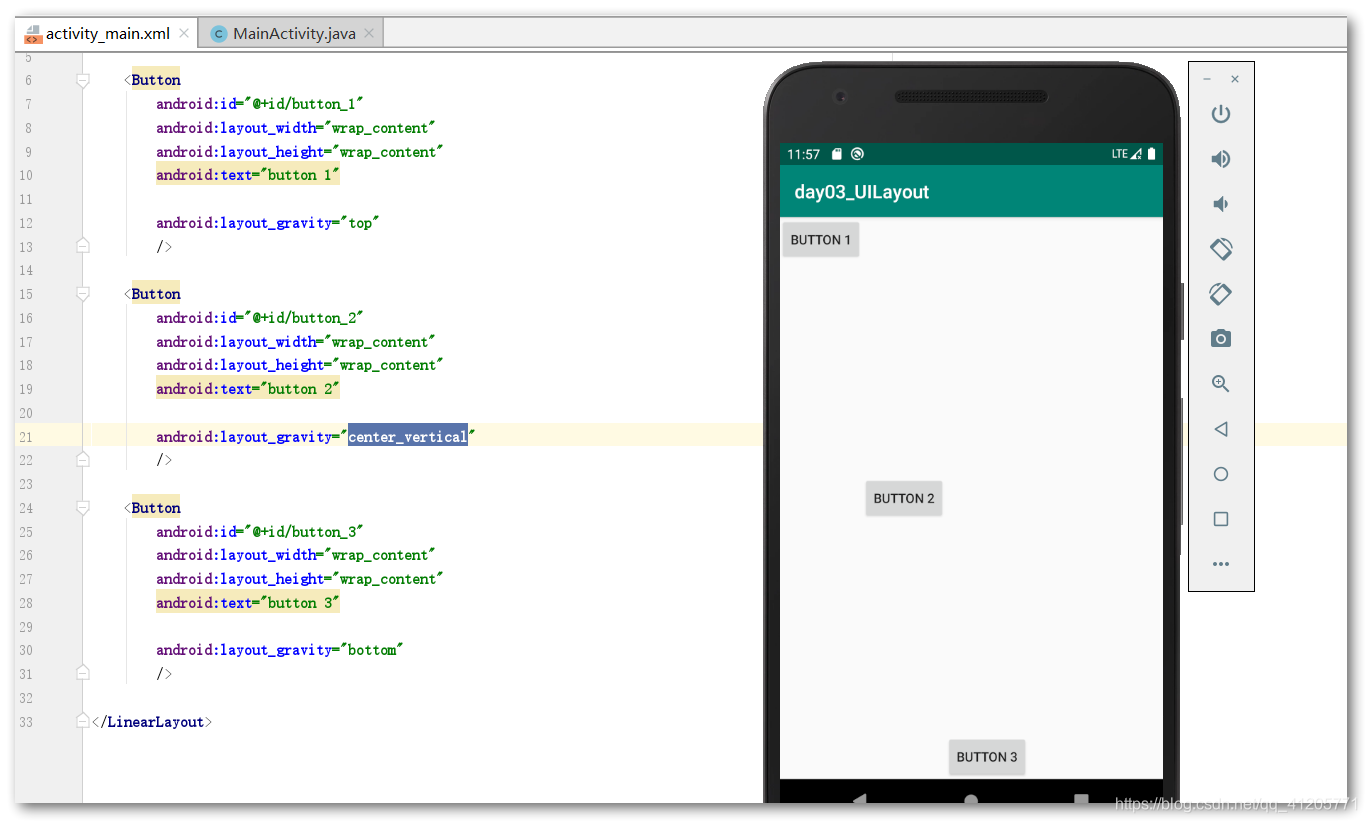
分别是:顶端对齐,垂直居中对齐,底端对齐
3、layout_weight布局占比
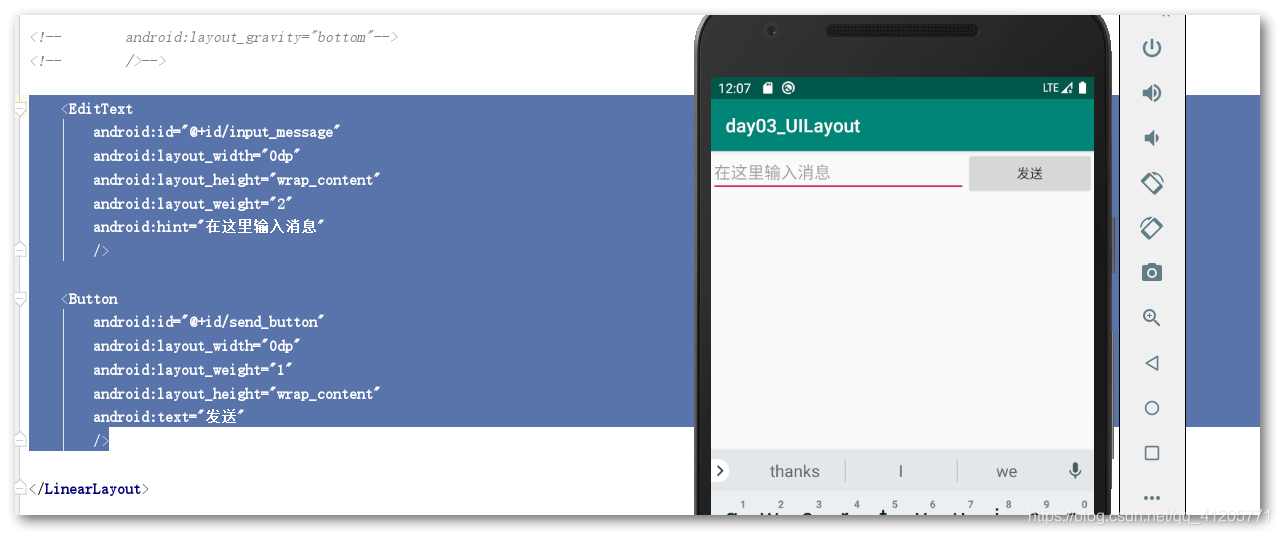
android:layout_weight支持以我们以比例的方式指定控件大小
比如写个文本编辑框和发送按钮:
<EditText
    android:id="@+id/input_message"
    android:layout_width="0dp"
    android:layout_height="wrap_content"
    android:layout_weight="2"
    android:hint="在这里输入消息"
    />

<Button
    android:id="@+id/send_button"
    android:layout_width="0dp"
    android:layout_weight="1"
    android:layout_height="wrap_content"
    android:text="发送"
    />
此时宽度虽然为0,但A:layout_weight会自动计算比例分配屏幕宽度:
如果只是指定一部分的控件layout_weight值,别的自动调节,效果会更好:
<EditText
    android:id="@+id/input_message"
    android:layout_width="0dp"
    android:layout_height="wrap_content"
    android:layout_weight="2"
    android:hint="在这里输入消息"
    />

<Button
    android:id="@+id/send_button"
    android:layout_width="wrap_content"
    android:layout_height="wrap_content"
    android:text="发送"
    />

EditText占用了所有的剩余空间,而按钮仅占用了需要的空间,这样更加舒服。
