玩一下自己的maven私服(bg)--linux版
说明
1. maven私服只是一个中转, 不用太在意
2. 本人公司有用到过, 想自己尝试下
3. 顺便记录一下
环境
* 服务器: linux —— centOS7 64bit
* 软件: nexus ——  nexus-3.21.1-01-unix.tar.gz
下载

懒人操作直接下载nexus-3.21.1-01-unix.tar.gz
安装
解压nexus到指定目录
tar -zxvf nexus-3.21.1-01-unix.tar.gz -C /usr/local/命令
cd /usr/local/进到nexus的安装目录, 重命nexus的解压目录mv nexus-3.21.1-01 nexus3.21命令:
vim /etc/profile配置nexus的环境变量# nexus set export NEXUS_HOME=/usr/local/nexus3.21 export PATH=$PATH:NEXUS_HOME/bin命令:
:wq保存修改后, 生效配置source /etc/profile启动nexus
// 进入nexus的bin目录
cd /usr/local/nexus3.21/bin/
// 启动nexus
./nexus start

[root@linux_maven bin]# ./nexus start
WARNING: ************************************************************
WARNING: Detected execution as "root" user.  This is NOT recommended!
WARNING: ************************************************************
Starting nexus
// 直接./nexus 会显示出此命令后面可以接的参数, 如: [root@linux_maven bin]# ./nexus WARNING: ************************************************************ WARNING: Detected execution as "root" user. This is NOT recommended! WARNING: ************************************************************ Usage: ./nexus {start|stop|run|run-redirect|status|restart|force-reload}// 注意: 官网说的启动方式是 ./nexus run // 但这种方式会打印很多日志信息, 同时会持续性占用当前的终端界面, 如果想继续使用终端输入linux命令, 则需要新开一个界面 // 而使用 ./nexus start // 方式启动, 则不会显示日志信息, 同时可以继续使用当前的linux终端界面, 不需要重新打开新的界面使用命令:
ps -ef | grep nexus可以确认服务是否启动在网页查看安装的结果http://192.168.1.126:8081/(这是本人的服务器, 将IP改成你自己的就可以了)
// 无法访问的原因
// 1.你的服务器自身无法访问
// 2.你的服务器的防火墙的限制(简单粗暴处理: 关闭防火墙)

// 查看防火墙的状态 systemctl status firewalld; 如果是active, 则表示开启中.
[root@linux_maven bin]# systemctl status firewalld
● firewalld.service - firewalld - dynamic firewall daemon
   Loaded: loaded (/usr/lib/systemd/system/firewalld.service; enabled; vendor preset: enabled)
   Active: active (running) since 四 2020-03-05 15:37:09 CST; 4h 49min ago
     Docs: man:firewalld(1)
 Main PID: 797 (firewalld)
   CGroup: /system.slice/firewalld.service
           └─797 /usr/bin/python2 -Es /usr/sbin/firewalld --nofork --nopid


// 关闭防火墙 systemctl stop firewalld
[root@linux_maven bin]# systemctl stop firewalld

// 再查看防火墙的状态  systemctl status firewalld; inactive表示已经关闭
● firewalld.service - firewalld - dynamic firewall daemon
   Loaded: loaded (/usr/lib/systemd/system/firewalld.service; enabled; vendor preset: enabled)
   Active: inactive (dead) since 四 2020-03-05 20:27:24 CST; 3s ago
     Docs: man:firewalld(1)
  Process: 797 ExecStart=/usr/sbin/firewalld --nofork --nopid $FIREWALLD_ARGS (code=exited, status=0/SUCCESS)
 Main PID: 797 (code=exited, status=0/SUCCESS)
nexus网页登录

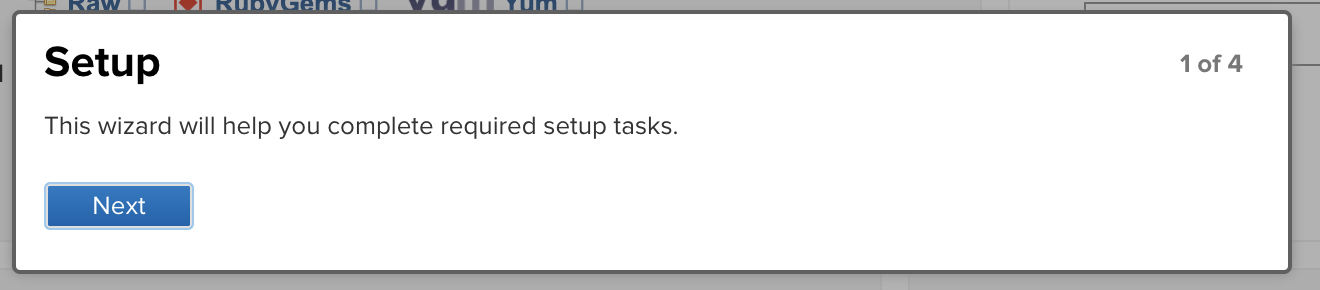
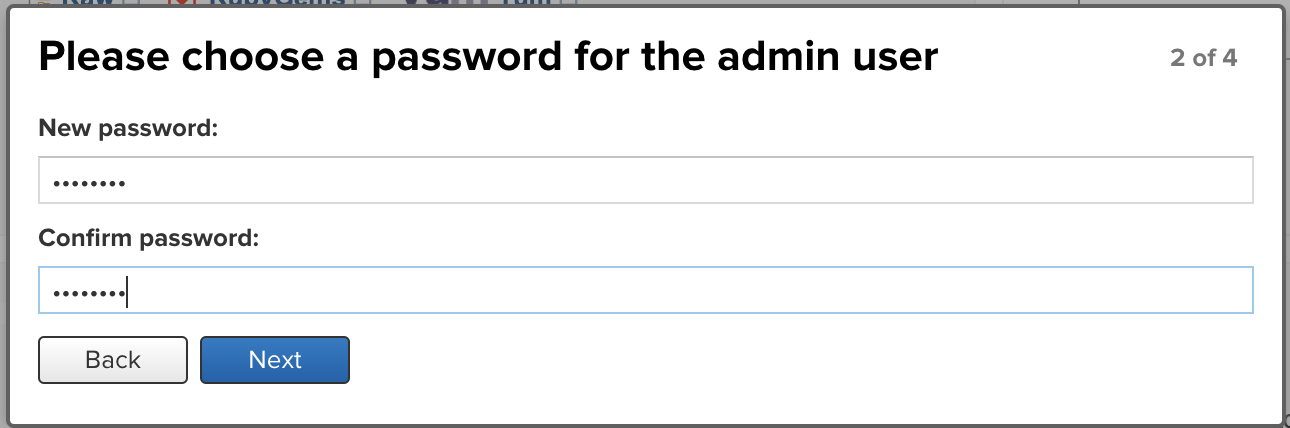
// 本人的提示的路径是: /usr/local/sonatype-work/nexus3/admin.password
// 所以直接使用以下命令:
cat /usr/local/sonatype-work/nexus3/admin.password
18a4f5b5-589a-4614-904d-15e718129fa4

// 将查到的密码, 直接复制到密码框即可
初始登录, nexus需要重置密码
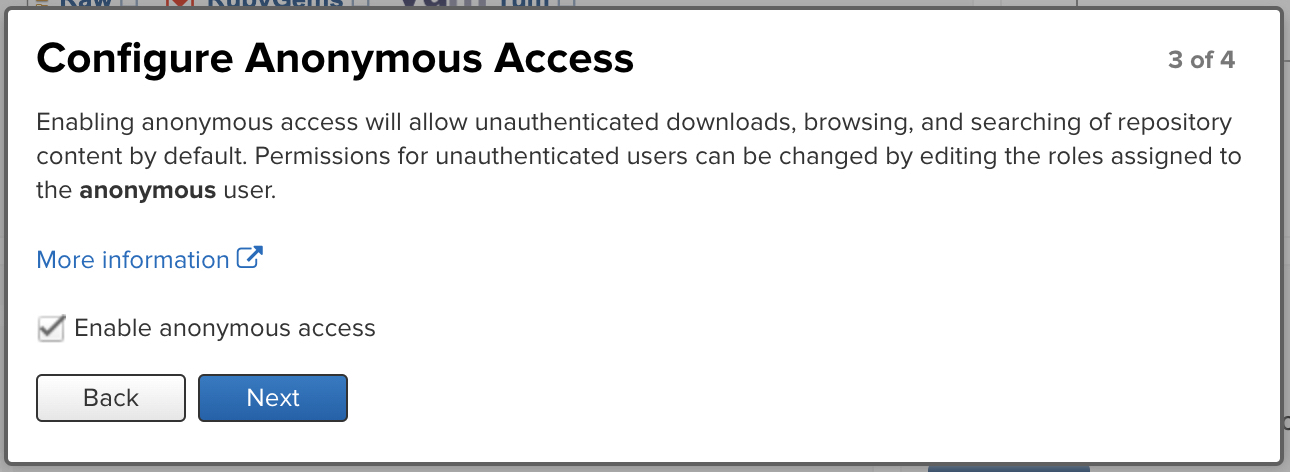
弹出一个对话框设置是否允许匿名浏览、下载仓库中的包:(建议勾选)
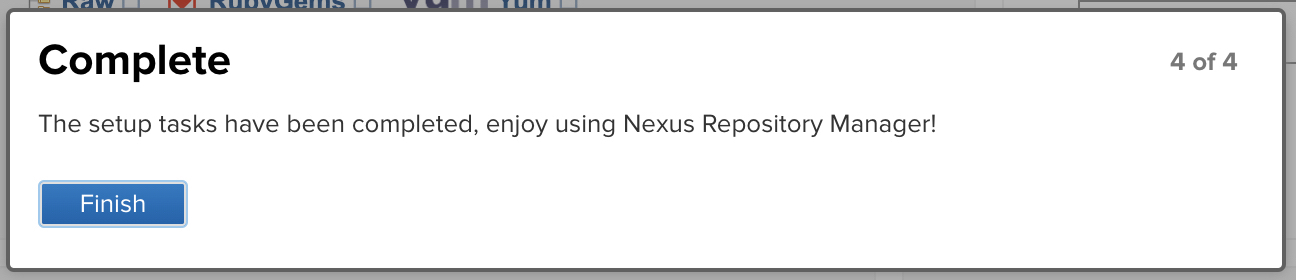
之后, 就可以愉快地玩耍了^^.
服务器配置
修改nexus的访问端口
cd /usr/local/nexus3.21/etc
vim nexus-default.properties

// 默认的端口信息为:
application-port=8081
application-host=0.0.0.0
修改后, 重启
[root@linux_maven bin]# cd /usr/local/nexus3.21/bin
[root@linux_maven bin]# ./nexus restart
WARNING: ************************************************************
WARNING: Detected execution as "root" user.  This is NOT recommended!
WARNING: ************************************************************
Shutting down nexus
Stopped.
Restarting nexus
重启有点慢, 要等个一两分钟
使用命令:
ps -ef | grep nexus, 以及:netstat -nltp可以查看是否已经重启成功
添加第三方 maven 仓库的代理配置到 nexus
以管理员账号 admin 登陆 nexus,打开 Repositories 配置界面,
默认情况下 nexus 仅配置了 maven 中心仓库的代理 maven-centralmaven-public 为所有代理仓库的自定义汇集,用于控制 nexus 按特定顺序分别从配置的第三方仓库中下载依赖包。
几个可能比较好的第三方maven仓库代理配置:
maven-central > https://repo1.maven.org/maven2/ - 内置配置,国内使用速度慢
maven-jcenter > https://jcenter.bintray.com - 国内使用速度慢
maven-aliyun > https://maven.aliyun.com/nexus/content/groups/public/ - 国内使用速度快
maven-spring-milestone > https://repo.spring.io/milestone - spring的里程碑版本专用
具体怎么配置, 请看这
本地maven配置
设置本地maven的settings.xml, 正常情况下配置文件在
~/.m2/settings.xml<settings> <!-- server 这个是配置向maven私服上传jar包用的 --> <!-- 开始还不明白为什么需要两个账号配置, 后来考虑到账号安全才明白 releases -- 这个账号的配置是给管理员用的, 一般是项目经理, 或运维 只有这些人才有发布正式版本的权限 正常情况下, 开发人员的电脑里是没有这个账号配置的 那开发人员怎么配置? snapshots -- 这个账号配置就是给开发人员用的, 主要上传一些开发中的, 非稳定版本jar包 这样, 通过两个server配置, 就可以做到开发版本和正式版本一次配置, 分开提交 --> <servers> <server> <!-- 正式版本提交的账号配置 --> <!-- 非项目经理/运维, 不需要配置管理员的账号 --> <id>release</id> <username>admin</username> <password>admin123</password> </server> <server> <!-- 开发(快照)版本提交的账号配置 --> <!-- 如果没有相关账号的, 需要管理员去私服进行配置 --> <id>snapshots</id> <username>deployment</username> <password>deployment123</password> </server> </servers> <mirrors> <mirror> <!--This sends everything else to /public --> <id>nexus</id> <mirrorOf>*</mirrorOf> <!-- 自己maven私服public仓库, 集成其它几个镜像仓库 --> <url>http://192.168.1.126:8081/repository/maven-public/</url> </mirror> </mirrors> <profiles> <profile> <id>nexus</id> <!--Enable snapshots for the built in central repo to direct --> <!--all requests to nexus via the mirror --> <repositories> <repository> <id>central</id> <!-- 中央仓库的地址 --> <url>https://repo1.maven.org/maven2/</url> <releases><enabled>true</enabled></releases> <snapshots><enabled>true</enabled></snapshots> </repository> </repositories> <pluginRepositories> <pluginRepository> <id>central</id> <!-- 中央仓库的地址 --> <url>https://repo1.maven.org/maven2/</url> <releases><enabled>true</enabled></releases> <snapshots><enabled>true</enabled></snapshots> </pluginRepository> </pluginRepositories> </profile> </profiles> <activeProfiles> <!--make the profile active all the time --> <!-- 使profile的配置生效 --> <activeProfile>nexus</activeProfile> </activeProfiles> </settings>
详情请看《Proxying Maven and npm Components》
项目配置
项目的pom.xml文件需要配置如何上传jar包到私服
<distributionManagement>
    <!-- 设置此模块打好的包放到私发布服地址 -->
    <repository>
        <!-- 此id要与settings.xml里的server账号'正式'配置的id一致 -->
        <id>release</id>
        <url>http://192.168.1.126:8081/repository/maven-releases/</url>
    </repository>

    <!-- 设置此模块打好的包放到私服快照地址 -->
    <snapshotRepository>
            <!-- 此id要与settings.xml里的server账号'开发/快照'配置的id一致 -->
        <id>snapshots</id>
        <url>http://192.168.1.126:8081/repository/maven-snapshots/</url>
    </snapshotRepository>
</distributionManagement> 进入项目的根目录, 使用命令: mvn deploy 即可将项目打包, 并上传到maven私服
参考来源
解决: Incorrect username or password
Sonatype Nexus 私服的安装(Windows 篇)
Nexus Repository Manager OSS 3.x 安装配置
Nexus Repository Manager - Proxying Maven and npm Quick Start