! The basic configuration diagram WDS services 
windows 10 installation files: link: https://pan.baidu.com/s/1A3bqwlvuA8_q9EJUo4SQug
extraction code: s37z
windows 10 to activate the software; link: https://pan.baidu.com/s / 1GqWIrx_ZrEW2e8tIFCD0zg
extraction code: fbjs
copy the contents of this open Baidu network disk phone App, the operation more convenient Oh
after you copy the contents of this open Baidu network disk phone App, the operation more convenient oh
1, ready to start building the WDS server.
1), in the virtual machine server and the client network connections to all connected to the host only mode 
2), IPV4 address to server configuration, enter the network settings to the server IPV4 address 192.168.88.88, 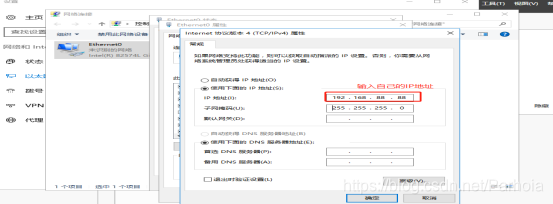
2, mounting WDS services and DHCP services
1), click the start menu, select "server Manager" on the start menu, click enter. 
2), enter and select "Add Roles and Features' 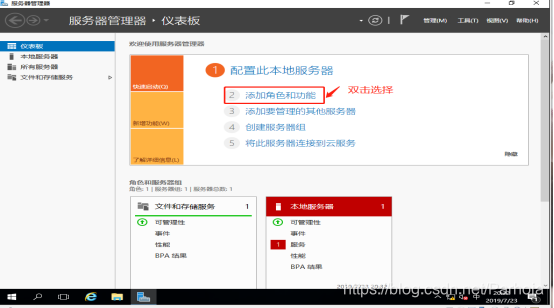
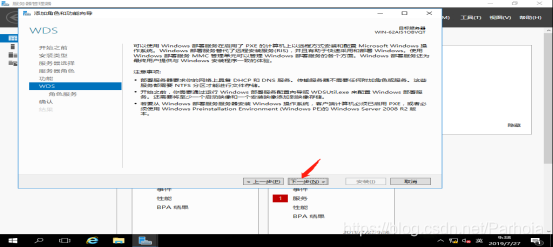
3), enter the installation services page, click Next to skip the page. 
4) Select Role-based or feature installed, and then click Next. 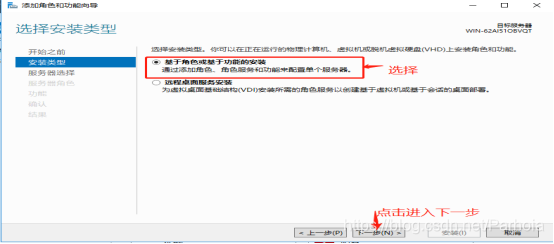
5) Select "Select from the server" to choose their own computer server, and then click Next, 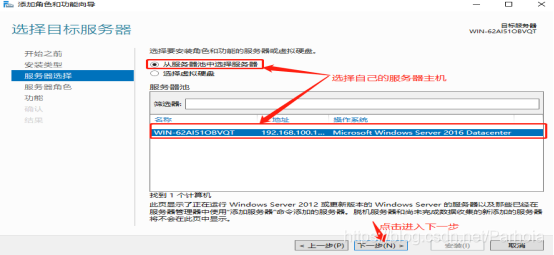
6), select Add WDS and DHCP services, the pop-up page select "Add Features", after click to the next step 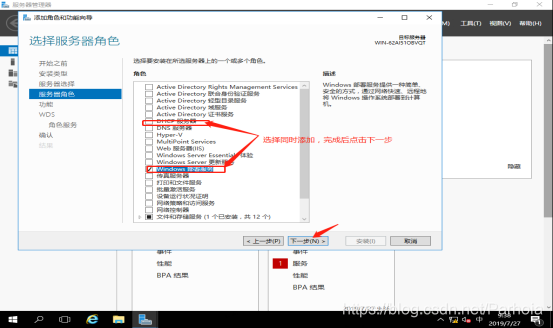
7), on the select function is not to be added directly to the next step. 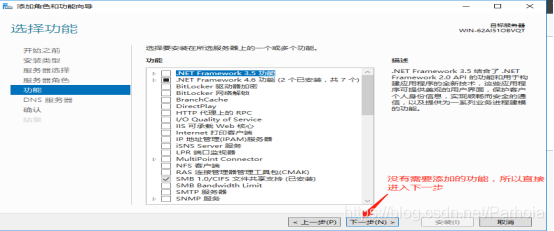
8), click Install 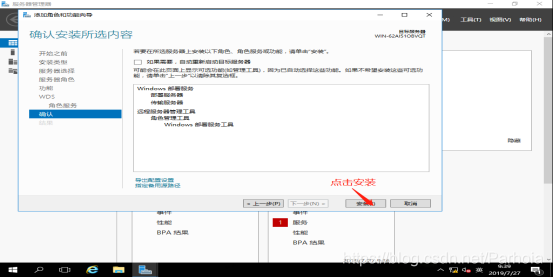
to exit the page after the installation is complete.
4, configure the DHCP service.
1), click on the menu, select windows management tool, select the DHCP service. click to enter. 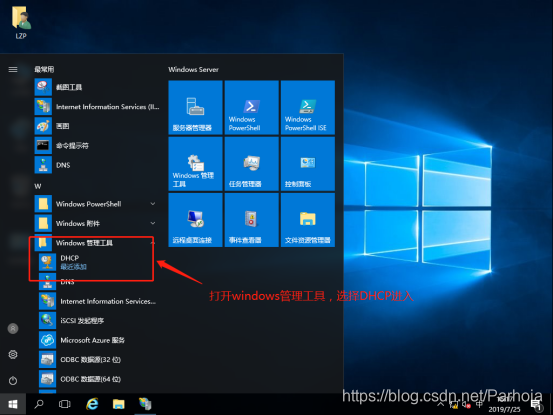
2), open IPv4, choose New Scope. 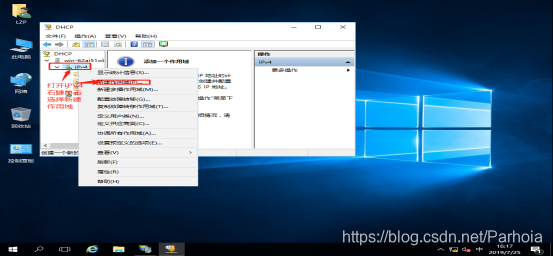
3) into the New Scope Wizard, click Next. 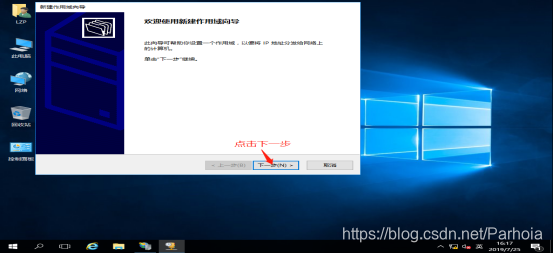
4) Enter the scope name (yun), click Next. 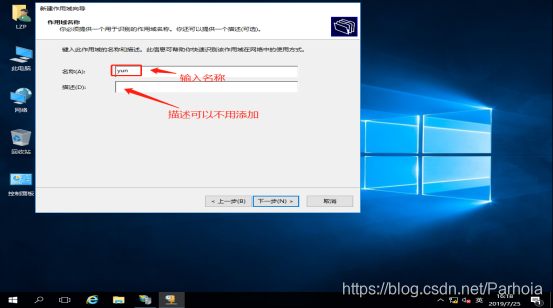
5) Enter the start address assigned scope and Address IP addresses. Then click Next. 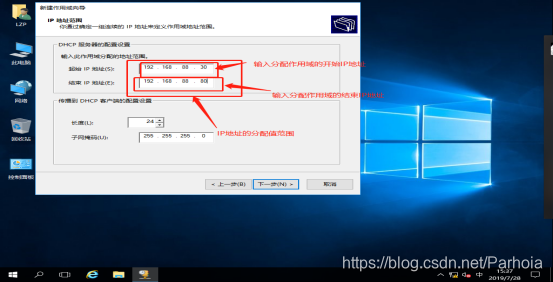
6), enter the reserved address range, and then click Add. After the addition is complete, click Next. 
7), the IP address of the default lease time is eight days, click Next 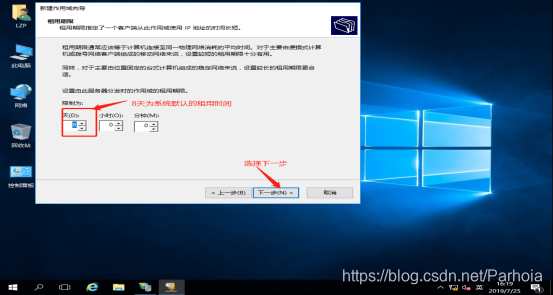
8), when configuring DHCP options, select "Yes", click "Next." 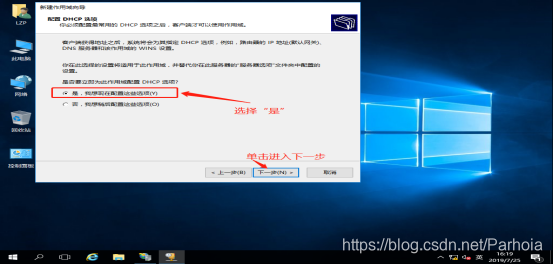
9), enter the gateway IP address, and adding, after the addition is completed, the next choice. 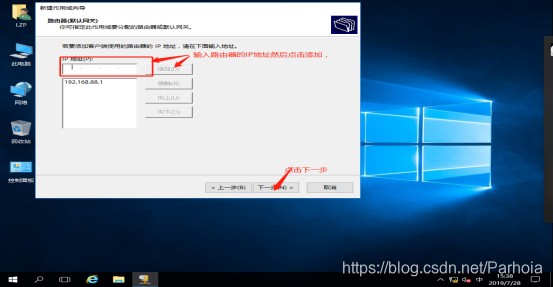
10), add a DNS server's IP address, after the addition is complete click Next. 
11), IP address WNS servers do not add, just click Next. 
12), the activation of the scope, select "Yes", directly activate and select Next. 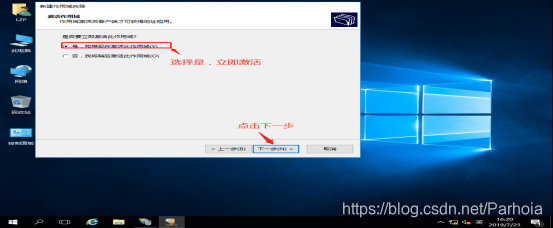
13), at the Scope Wizard Click Finish. 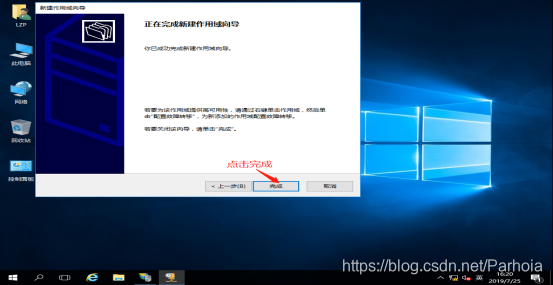
This completes the configuration of the DHCP server.
5, configure the WDS service.
1), click to select the disc logo, click to select Settings, and then enter. 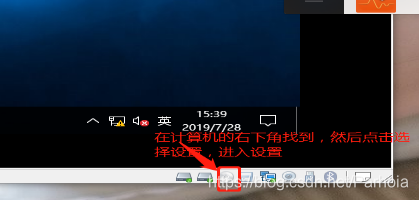
2) select the CD / DVD. And select Use ISO image file, click Browse, select the image files you want to add, and then add the right. Click OK after the addition is complete, exit the edit page, and then sign at the lower right side of the disc, click Connect. 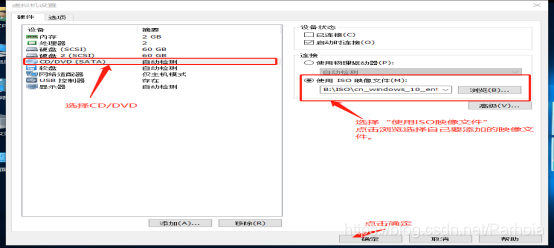
3) Click the Start menu, select "windows management tools," click opens, select "windows deployment services," click to enter. 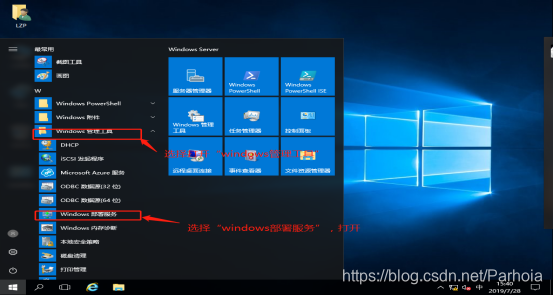
4) into the windows deployment services, click to open the server, select the host computer name, and then click to select "configure the server"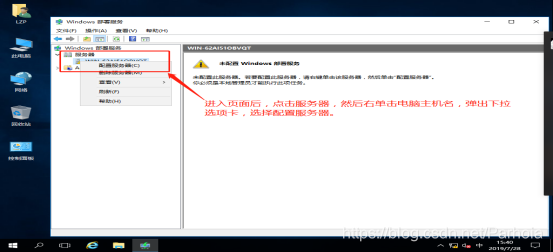
5) to enter the configuration requirements for the server page, click "Next" to continue. 
6) into the installation options page, click and choose "Geographic Server" and click "Next" 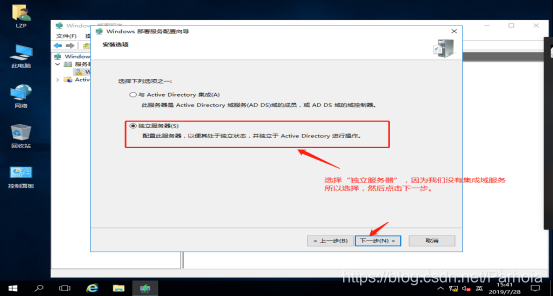
7), remote installation folder selected by default, then click "Next" to continue 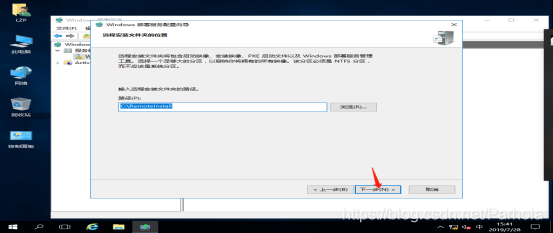
8), enter the proxy DHCP service page, in which two select all option, and then click "Next" to continue 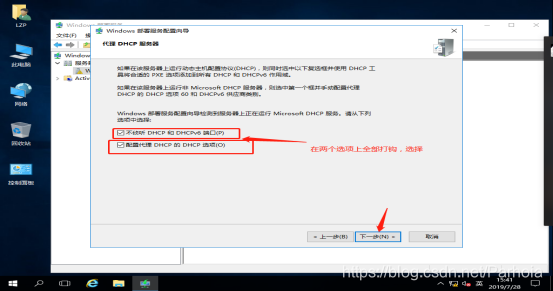
9), enter the initial setup PXE server, because when we install the system server is not known to the client. So I choose "respond to all client computers" then click "Next" to continue 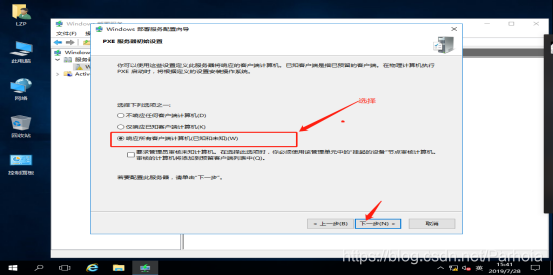
10), after the completion of the configuration directly click "Finish." 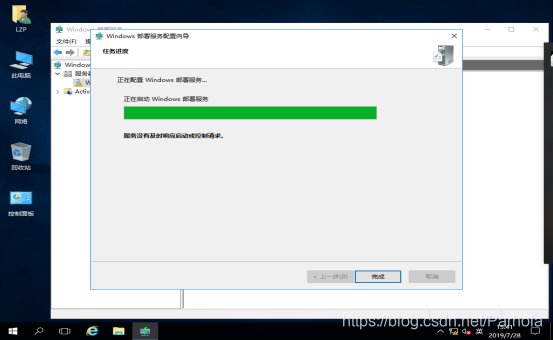
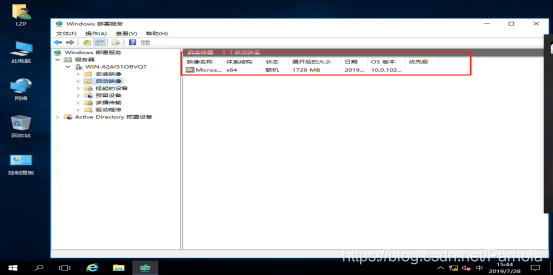
6, configure the boot image.
1) to start configuring the boot image, right-click the "boot images" pop-up drop-down menu, select Add a boot image. 
2) into the image file, select Browse, click enter 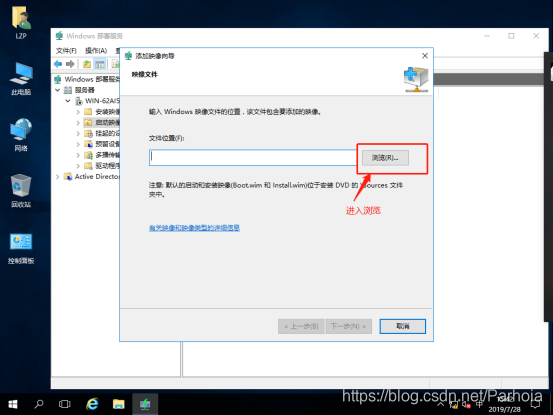
3), add windows into the image file, select the DVD drive, select the sources folder in the drive, enter the selection boot.win file. Finished adding image file. 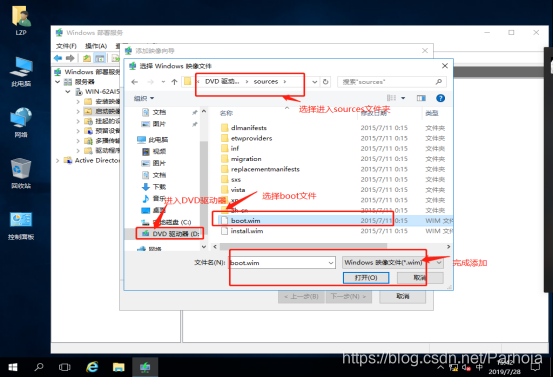
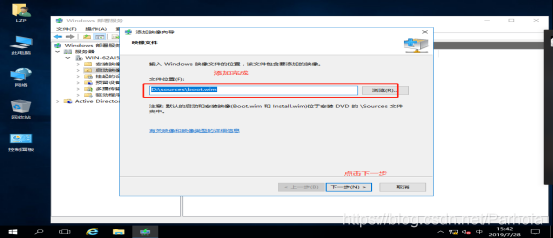
4), into the image metadata. Click on "Next" 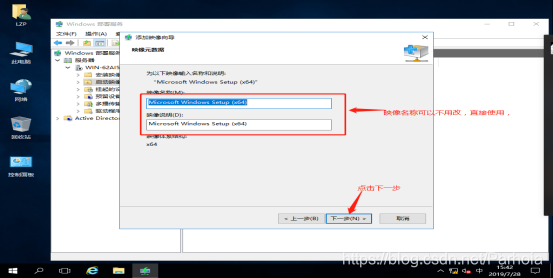
5), enter the summary, look at their own choice, and then click Next 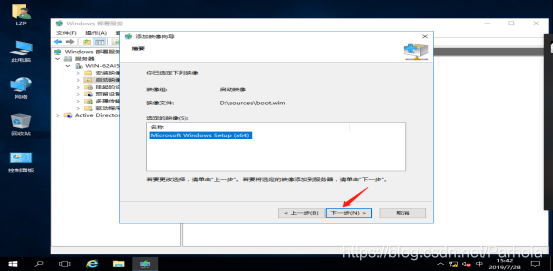
6), enter the task progress, the progress of the task is complete, click Finish. 
7, the image configuration installed
1), the configuration starts the installation image. Right-click the "install image" select "Add installation image" in the drop-down menu. 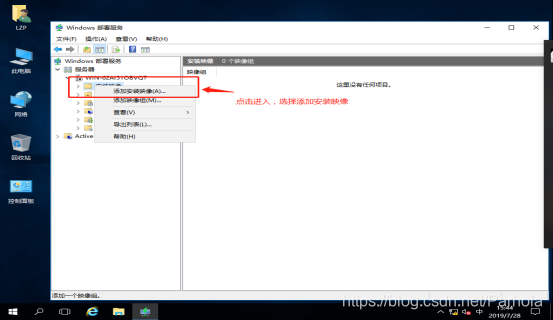
2) into the image group, created in the image of the group named select the default, and then click Next 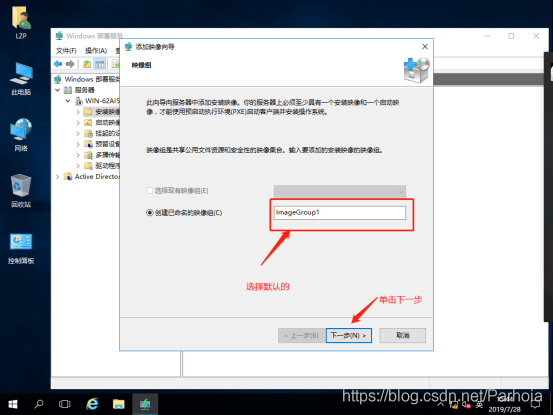
3), into the image file page, select the image file you want to add, and then click Next. 

4) into the available image, choose their own system to be installed, then click Next. 
5) into the summary screen, choose a good look at yourself and choose to install the file system, and then click Next.
6) to enter the page to complete the interface, see the progress bar is full, click Done 
interface view after completion. 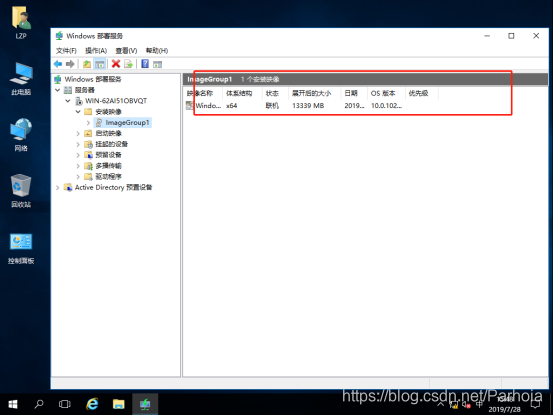
In the upper side after the completion of the system configuration can be installed
to open a virtual ground, and basic configuration, and then provided to the host connection mode only. You can install a virtual machine.
WDS Service (Automatic Deployment System) network installation system
Guess you like
Origin blog.51cto.com/14504925/2432893
Recommended
Ranking