1. 在默认的base虚拟环境下安装nb_conda
之所以在base环境下安装,是因为我们通常在base环境下打开jupyter notebook
C:\Users\52572>conda install nb_conda
2. 创建anaconda虚拟环境
win10下打开命令行(win+R,键入cmd,enter),默认处于base虚拟环境下,输入
C:\Users\52572>conda create -n Django python==3.7.4
成功创建名为Django的虚拟环境,如图

3. 在虚拟环境下安装ipykernel
首先激活虚拟环境,再conda install ipykernel
C:\Users\52572>conda activate Django
(Django) C:\Users\52572>conda install ipykernel
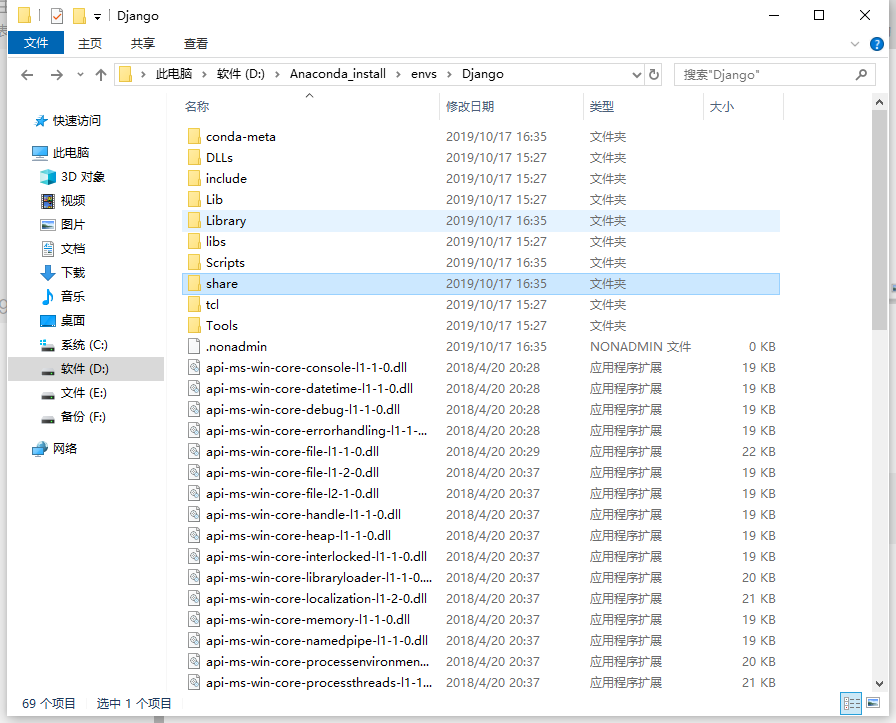
安装完成后会发现多了一个share文件夹,如图
4. 打开jupyter notebook
安装完成后我们打开jupyter notebook,
C:\Users\52572>jupyter notebook
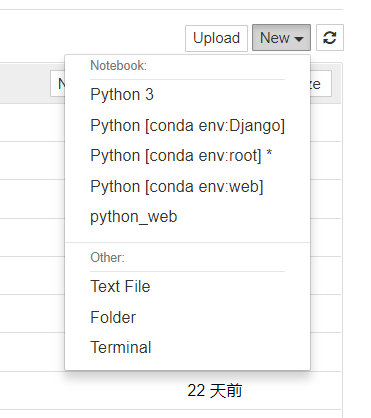
点击New,可以发现多了两个kernel

Python3 是notebook自带的, 下面的两个则是安装nb_conda后显示的,其中Python[conda env:Django]就是Django虚拟环境中的解释器。而最后一个是base环境下的解释器,等同于第一个Python3
补充
还有一种方法不需要安装nb_conda
1.新建一个虚拟环境web(同上)
2.在虚拟环境下安装ipykernel(同上)
3.进入web虚拟环境,命令行输入
(web) C:\Users\52572>python -m ipykernel install --user --name python_web
其中python_web是给kernel自定义的名称
4.打开jupyter notebook,点击New,可以发现多了两个kernel
其中Python[conda env:web]是通过第一种方法直接产生的kernel,python_web是通过第二种方法产生的kernel,两者是同一个。
5.删除第二种方法创建的kernel
在默认base虚拟空间下,命令行输入jupyter kernelspec list 可以查看可使用的kernel
扫描二维码关注公众号,回复:
10622089 查看本文章

C:\Users\52572>jupyter kernelspec list
Available kernels:
  python_web    C:\Users\52572\AppData\Roaming\jupyter\kernels\python_web
  python3       D:\Anaconda_install\share\jupyter\kernels\python3
继续键入jupyter kernelspec remove python_web, 输入y确认删除,如下:
C:\Users\52572>jupyter kernelspec remove python_web
Kernel specs to remove:
  python_web            C:\Users\52572\AppData\Roaming\jupyter\kernels\python_web
Remove 1 kernel specs [y/N]: y
[RemoveKernelSpec] Removed C:\Users\52572\AppData\Roaming\jupyter\kernels\python_web
总结:
- 在base虚拟环境下安装nb_conda
- 创建虚拟环境
- 在虚拟环境下安装ipykernel
- 打开jupyter notebook,选择合适的kernel即可
