springboot 集成mybatis有两种方法:1.依赖mybatis-spring-boot-starter,2是采用spring+mybatis手动配置的方法,笔者采用第二种方法因为手动可以配置一些属性
1.先在pom.xml中添加依赖,之前的基础上加的
<!-- 整合mybatis start -->
		<dependency>
            <groupId>org.springframework</groupId>
            <artifactId>spring-jdbc</artifactId>
        </dependency>
        <dependency>
            <groupId>org.mybatis</groupId>
            <artifactId>mybatis</artifactId>
            <version>3.2.2</version>
        </dependency>
        <dependency>
            <groupId>org.mybatis</groupId>
            <artifactId>mybatis-spring</artifactId>
            <version>1.2.0</version>
        </dependency>
        <dependency>
            <groupId>com.alibaba</groupId>
            <artifactId>druid</artifactId>
            <version>1.0.9</version>
        </dependency>
        <dependency>
            <groupId>mysql</groupId>
            <artifactId>mysql-connector-java</artifactId>
        </dependency>
        <dependency>
			<groupId>com.github.pagehelper</groupId>
		    <artifactId>pagehelper</artifactId>
		    <version>3.4.2</version>
		</dependency>
        <!-- <dependency>
            <groupId>org.mybatis.generator</groupId>
            <artifactId>mybatis-generator-core</artifactId>
        </dependency> -->

<!-- 整合mybatis end -->
2.application.properties
spring.datasource.type=com.alibaba.druid.pool.DruidDataSource
spring.datasource.url=jdbc:mysql://localhost:3306/test
spring.datasource.username=root
spring.datasource.password=root
spring.datasource.driverClassName=com.mysql.jdbc.Driver
spring.datasource.max-idle=10
spring.datasource.max-wait=10000
spring.datasource.min-idle=5
spring.datasource.initial-size=5
spring.datasource.validation-query=SELECT 1
spring.datasource.test-on-borrow=false
spring.datasource.test-while-idle=true
spring.datasource.time-between-eviction-runs-millis=18800
3.新建MyBatis基础配置 MyBatisConfig.java
/**
 * MyBatis基础配置
SqlSessionFactory和一个SqlSessionTemplate,
为了支持注解事务,增加了@EnableTransactionManagement注解,
并且反回了一个PlatformTransactionManagerBean
 */
@Configuration
@EnableTransactionManagement
public class MyBatisConfig implements TransactionManagementConfigurer {

	@Autowired
    private DataSource dataSource;

	public PlatformTransactionManager annotationDrivenTransactionManager() {
		return new DataSourceTransactionManager(dataSource);

	}

    @Bean(name = "sqlSessionFactory")
    public SqlSessionFactory sqlSessionFactoryBean() {
        SqlSessionFactoryBean bean = new SqlSessionFactoryBean();
        /* 分页信息可以设置到mybatis配置文件中去*/
        //分页插件
        PageHelper pageHelper = new PageHelper();
        Properties properties = new Properties();
        /*这些属性参考Druid 的相关属性*/
        properties.setProperty("reasonable", "true");
        properties.setProperty("supportMethodsArguments", "true");
        properties.setProperty("returnPageInfo", "check");
        properties.setProperty("dialect", "mysql");
        properties.setProperty("params", "count=countSql");
        pageHelper.setProperties(properties);

        //添加插件
        bean.setPlugins(new Interceptor[]{pageHelper});

        //添加XML目录
        ResourcePatternResolver resolver = new PathMatchingResourcePatternResolver();
        try {
        	/*mapper .xml的扫描路径*/
            bean.setMapperLocations(resolver.getResources("classpath:mapper/*.xml"));
            /* 设置mybatis configuration 路径 */
            //bean.setConfigLocation(new ClassPathResource("mybatis-config.xml"));
            /*设置数据源*/
            bean.setDataSource(dataSource);
            /* 设置typeAlias 包扫描路径 */
            //bean.setTypeAliasesPackage("com.lifeng.domain");
            return bean.getObject();
        } catch (Exception e) {
            e.printStackTrace();
            throw new RuntimeException(e);
        }
    }

    @Bean
    public SqlSessionTemplate sqlSessionTemplate(SqlSessionFactory sqlSessionFactory) {
        return new SqlSessionTemplate(sqlSessionFactory);
    }
}
4. MyBatisMapperScannerConfig.java MyBatis扫描接口(如果不采用接口扫描方式,采用获取SqlSessionFactory来操作数据库的可以略过这步)
/**
 * MyBatis扫描接口
 * @author  lifeng
 * @date 2017年5月6日 下午9:34:24
 * @version V1.0
 */
@Configuration
//TODO 注意,由于MapperScannerConfigurer执行的比较早,所以必须有下面的注解
@AutoConfigureAfter(MyBatisConfig.class)
public class MyBatisMapperScannerConfig {
	@Bean
    public MapperScannerConfigurer mapperScannerConfigurer() {
        MapperScannerConfigurer mapperScannerConfigurer = new MapperScannerConfigurer();
        mapperScannerConfigurer.setSqlSessionFactoryBeanName("sqlSessionFactory");
        mapperScannerConfigurer.setBasePackage("com.lifeng.mapper");
        return mapperScannerConfigurer;
    }
}
5.新建mapper接口
@Repository
public interface UserMapper {
	public List<User> queryAll();
}
6.UserMapper映射文件xml
<mapper namespace="com.lifeng.mapper.UserMapper">
	<!-- 查询所有 -->
	<select id="queryAll" resultType="com.lifeng.domain.User">
		select * from user where 1=1
	</select>
</mapper>
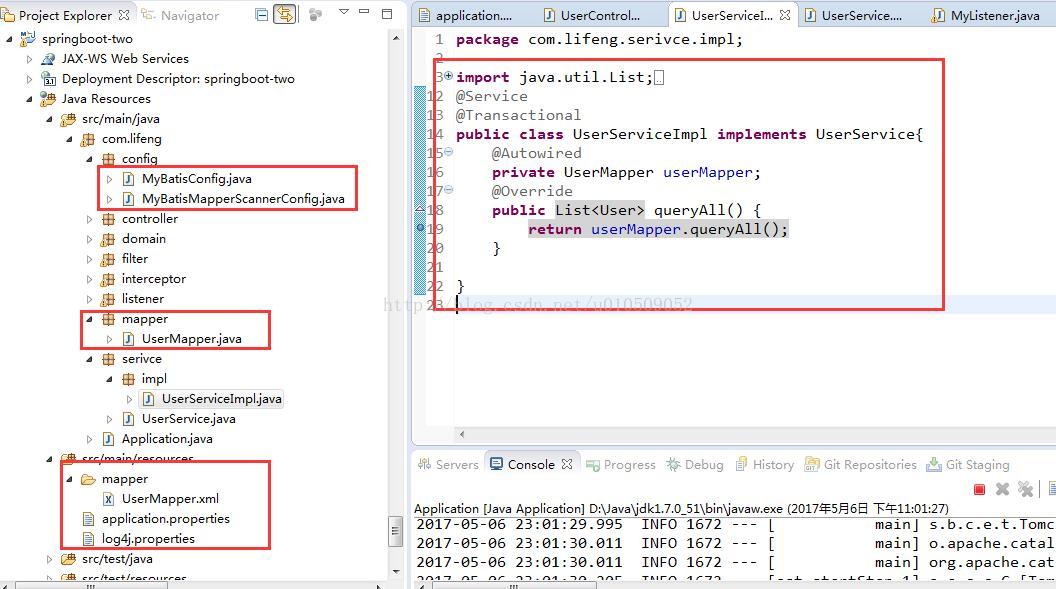
有了UserMapper接口,在service类就可以注入使用了。