配置
引入Navigation(其他Kotlin需要引入的自己引一下,接下里都是Kotlin的演示)
def nav_version = "2.3.2"
implementation "androidx.navigation:navigation-fragment-ktx:$nav_version"
implementation "androidx.navigation:navigation-ui-ktx:$nav_version"
下面是项目结构图,还是列一下比较清晰,虽然只是简单介绍使用。展开的是有使用到的地方
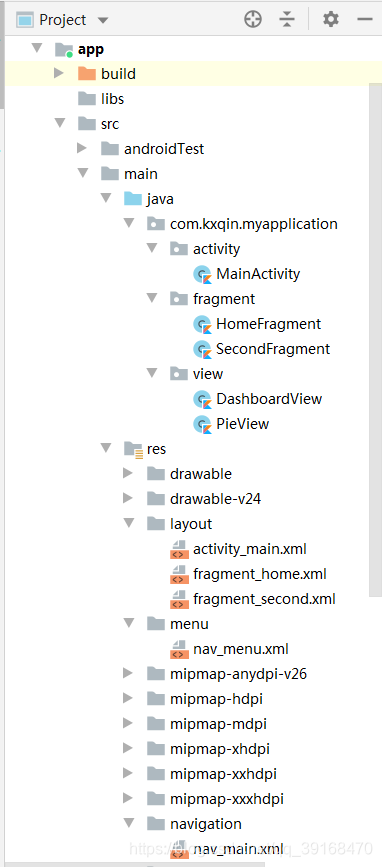
Navigation
接下来是一步步的操作,直接列代码会让人头大,待会补充。
首先在res文件夹下创建文件

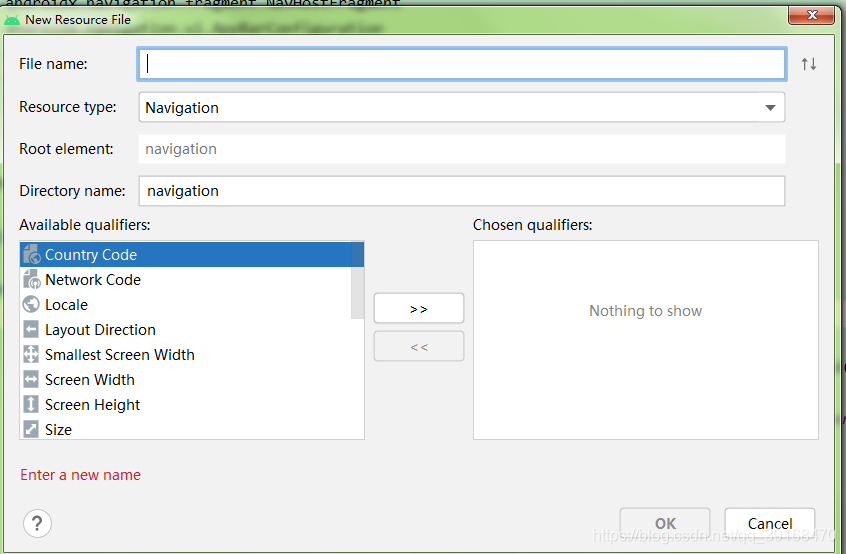
填写好名字,选择Navigation,如果没有创建过此类文件,会自动生成该文件夹存放。
接下来编写生成的文件,我这里是nav_main.xml。
<?xml version="1.0" encoding="utf-8"?>
<navigation xmlns:android="http://schemas.android.com/apk/res/android"
    xmlns:app="http://schemas.android.com/apk/res-auto"
    xmlns:tools="http://schemas.android.com/tools"
    android:id="@+id/nav_main"
    //这里定义的初始的Fragment
    app:startDestination="@id/homeFragment">

    <fragment
        android:id="@+id/homeFragment"
        android:name="com.kxqin.myapplication.fragment.HomeFragment"
        android:label="fragment_home"
        tools:layout="@layout/fragment_home">
        //这里定义跳转,直接在视图用小箭头表示会自动生成
        <action
            android:id="@+id/action_homeFragment_to_secondFragment"
            app:destination="@id/secondFragment"
            //可以自己添加动画
            app:enterAnim="@anim/fragment_fade_enter"
            app:exitAnim="@anim/fragment_fade_exit" />
    </fragment>

    <fragment
        android:id="@+id/secondFragment"
        android:name="com.kxqin.myapplication.fragment.SecondFragment"
        android:label="fragment_second"
        tools:layout="@layout/fragment_second" />
</navigation>
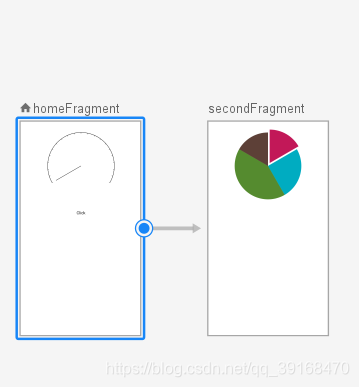
使用这个按钮可以快键添加组件,这里就是可视化操作平台,额不要觉得low啊,其实挺好用的。
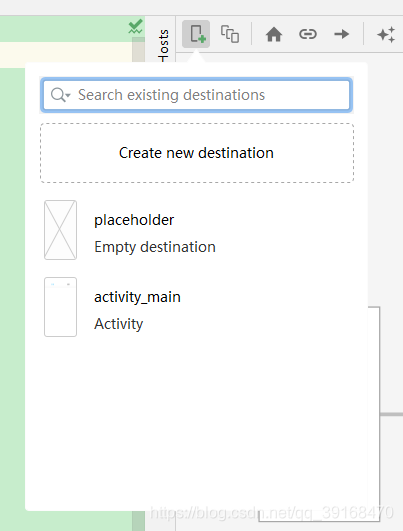
用这个箭头拉一下就是快捷action跳转操作了,不过这个action需要在后续代码中定义指定操作才会生效哦。(这不是废话嘛,本文也没有做这方面的操作。)
接下来是主页面的代码
<?xml version="1.0" encoding="utf-8"?>
<LinearLayout xmlns:android="http://schemas.android.com/apk/res/android"
    xmlns:app="http://schemas.android.com/apk/res-auto"
    xmlns:tools="http://schemas.android.com/tools"
    android:layout_width="match_parent"
    android:layout_height="match_parent"
    tools:context=".activity.MainActivity"
    android:orientation="vertical">

    <com.google.android.material.bottomnavigation.BottomNavigationView
        android:id="@+id/navView"
        android:layout_width="match_parent"
        android:layout_height="wrap_content"
        app:menu="@menu/nav_menu" />

    <!--此处name固定为此类!-->
    <androidx.fragment.app.FragmentContainerView
        android:id="@+id/nav_host_fragment_container"
        android:layout_width="match_parent"
        android:layout_height="match_parent"
        android:name="androidx.navigation.fragment.NavHostFragment"
        app:navGraph="@navigation/nav_main"
        app:defaultNavHost="true" />

</LinearLayout>
我们需要安放一个容器FragmentContainerView来装我们的这些Fragment,id的定义是必须有的,否则编译的时候也会报错。app:navGraph="@navigation/nav_main"是刚才建的Navigation下的文件。
此处我使用了BottomNavigationView,是底部栏,只是我放在了上面。
同样生成一个Menu类型的文件,此处我定义为nav_menu.xml。
<?xml version="1.0" encoding="utf-8"?>
<menu xmlns:android="http://schemas.android.com/apk/res/android"
    xmlns:app="http://schemas.android.com/apk/res-auto">
    <item
        android:id="@+id/homeFragment"
        android:title="主页" />
    <item
        android:id="@+id/secondFragment"
        android:title="饼图" />
</menu>
注意!此处item的id要和刚才nav_main.xml中的Fragment的id一致,否则待会点击的时候就没有效果了!
让我们看一看MainActivity的代码
class MainActivity : AppCompatActivity() {


    private val binding: ActivityMainBinding by viewbind()

    override fun onCreate(savedInstanceState: Bundle?) {


        super.onCreate(savedInstanceState)
        setContentView(binding.root)
        val appBarConfig = AppBarConfiguration.Builder(R.id.homeFragment, R.id.secondFragment).build()
        //用fragment容器构建导航控制器
        val navController = (supportFragmentManager.findFragmentById(R.id.nav_host_fragment_container) as NavHostFragment).navController
        //为导航控制器设置配置
        NavigationUI.setupActionBarWithNavController(this, navController, appBarConfig)
        //关联NavigationView和导航控制器
        NavigationUI.setupWithNavController(binding.navView, navController)
    }
}
此处使用了ViewBinding,不了解的同学可以看一下上篇文章哦,有简单使用的介绍。
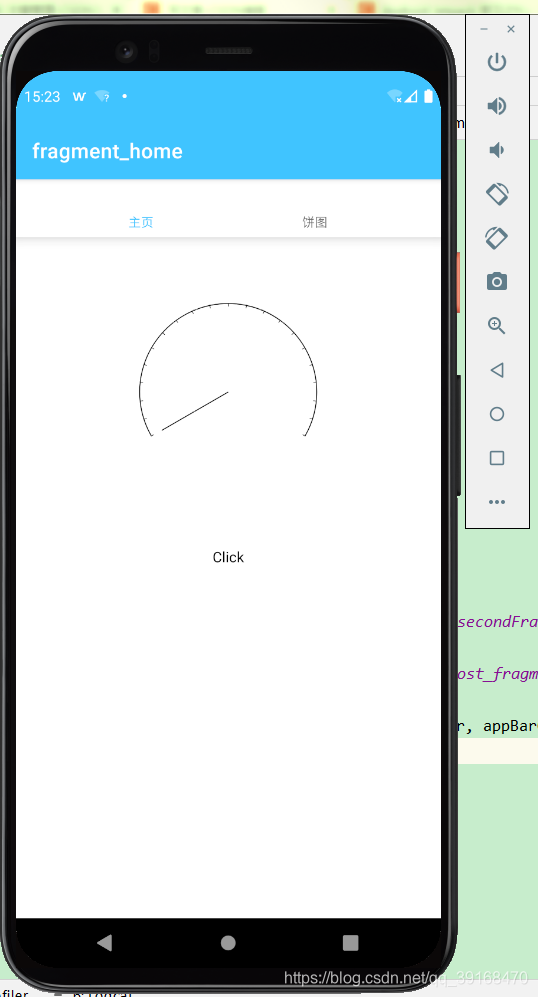
这样点击tab就可以切换Fragment啦,赶紧去尝试一下吧!
扫描二维码关注公众号,回复:
12462697 查看本文章
