1、全局安装tki-qrcode插件
npm i tki-qrcode
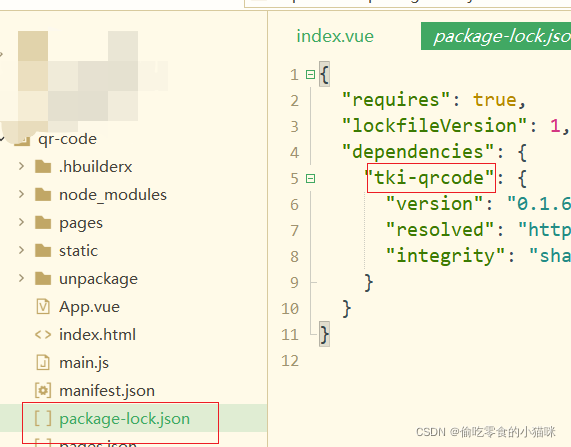
2、查看下载插件后的版本信息
3、在页面中引入tki-qrcode
import tkiQrcode from "tki-qrcode"
export default {


	components: {


		tkiQrcode
	}
}
4、生成二维码整体代码
<template>
	<view class="content">
		<view class="text-area">
			<text class="title">{

    {

    title}}</text>
		</view>
		<view>
			<view class="qrimg">
				<tki-qrcode ref="qrcode" :val="val" :size="size" :unit="unit" :background="background" :foreground="foreground"
				 :pdground="pdground" :lv="lv" :onval="onval" :loadMake="loadMake"
					@result="qrR" />
			</view>
		</view>

	</view>
</template>

<script>
	import tkiQrcode from "tki-qrcode"
	export default {


		components: {


			tkiQrcode
		},
		data() {


			return {


				val: '生成二维码内容', //要生成二维码的值
				size: 250, // 二维码的大小 单位为rpx
				background: '#ffffff', //背景色
				foreground: '#000000',
				pdground: '#000000', //角标色
				icon: '', //二维码图标
				iconsize: 30, //二维码图标大小
				lv: 3, //二维码容错级别
				onval: true, //val值变化时自动重新生成二维码
				unit: 'upx',
				loadMake: true, //组件加载完成后自动生成二维码
				src: '',
				showLoading: true, //loading
				loadingText: 'loading内容', //loading内容
				title: 'Hello'
			};
		},
		methods:{


			qrR(){


				console.log("二维码生成")
			}
		}
	}

</script>

<style>
	.content {


		display: flex;
		flex-direction: column;
		align-items: center;
		justify-content: center;
	}

	.text-area {


		display: flex;
		justify-content: center;
	}

	.title {


		font-size: 36rpx;
		color: #8f8f94;
	}
</style>
5、效果展示
此样式是平时黑色二维码样式,此为打过马赛克的二维码(不打马赛克博客无法展示图片,无奈(O~O)

注:
- 二维码中的内容可绑定链接和其他内容值
- 根据自己的需要进行val值的绑定