配置GLFW
首先用VS新建一个C++空项目,官网下载GLFW,GLFW是一个专门针对OpenGL的C语言库,它提供了一些渲染物体所需的最低限度的接口。在官网的Download页面下载预编译的二进制文件。如果出现不兼容的问题,参考LearnOpenGL中的方法,先下载源代码包,再用CMAKE生成文件。

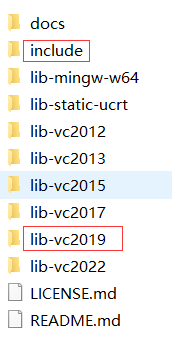
解压文件,需要include和lib-vc2019两个文件夹,我安装的VS2019,其他版本选择对应的文件夹。
在项目根目录新建Dependencies文件夹,表示所有依赖的文件,在下级新建GLFW文件夹,把include和lib-vc2019复制过去,目录结构如下
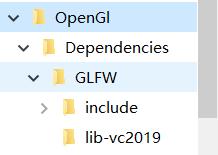
lib-vc2019中的dll文件不需要可以删除

VS中右键解决方案 – 属性,选择所有配置,平台选择x64或者Win32。
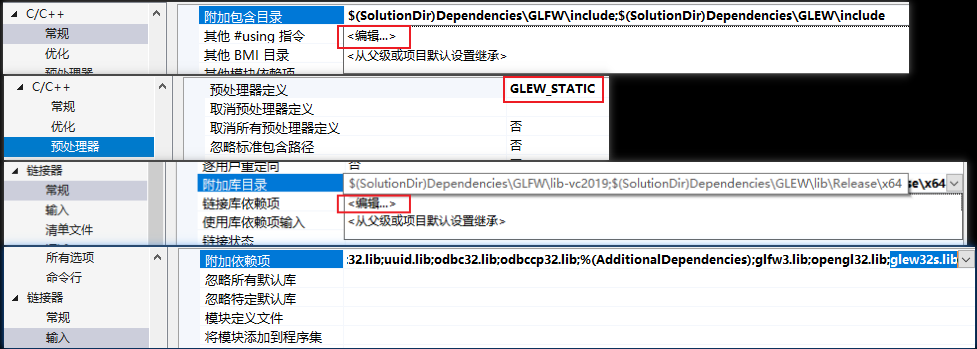
在C/C++ – 常规 – 附加包含目录添加$(SolutionDir)Dependencies\GLFW\include,这里$(SolutionDir)表示项目的根目录。

然后在链接器 – 常规 – 附加库目录添加$(SolutionDir)Dependencies\GLFW\lib-vc2019
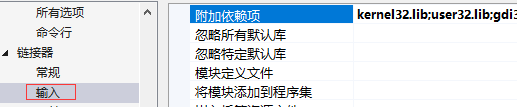
在链接器 – 输入 – 附加依赖项中添加glfw3.lib和opengl32.lib这两个库,注意分号。
创建窗口
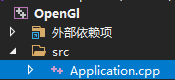
在项目中新建一个src文件夹,并添加一个脚本写代码,将GLFW官网Documentation页面下的代码复制过来,右键解决方案,生成(Build)编译运行。
Application.cpp
#include <GLFW/glfw3.h>

int main(void)
{


    GLFWwindow* window;

    /* Initialize the library */
    if (!glfwInit())
        return -1;

    /* Create a windowed mode window and its OpenGL context */
    window = glfwCreateWindow(640, 480, "Hello World", NULL, NULL);
    if (!window)
    {


        glfwTerminate();
        return -1;
    }

    /* Make the window's context current */
    glfwMakeContextCurrent(window);

    /* Loop until the user closes the window */
    while (!glfwWindowShouldClose(window))
    {


        /* Render here */
        glClear(GL_COLOR_BUFFER_BIT);

        /* Swap front and back buffers */
        glfwSwapBuffers(window);

        /* Poll for and process events */
        glfwPollEvents();
    }

    glfwTerminate();
    return 0;
}
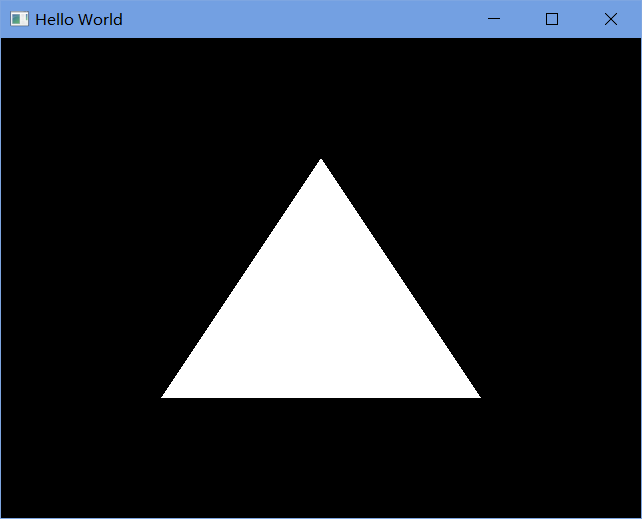
最后,终于看到了用OpenGL绘制的窗口。
绘制三角形
Application.cpp
#include <GLFW/glfw3.h>
int main(void)
{


    GLFWwindow* window;

    /* Initialize the library */
    if (!glfwInit())
        return -1;

    /* Create a windowed mode window and its OpenGL context */
    window = glfwCreateWindow(640, 480, "Hello World", NULL, NULL);
    if (!window)
    {


        glfwTerminate();
        return -1;
    }

    /* Make the window's context current */
    glfwMakeContextCurrent(window);

    /* Loop until the user closes the window */
    while (!glfwWindowShouldClose(window))
    {


        /* Render here */
        glClear(GL_COLOR_BUFFER_BIT);

		//绘制三角形,即时模式
        glBegin(GL_TRIANGLES);
        glVertex2f(-0.5f, -0.5f);
        glVertex2f(0.0f, 0.5f);
        glVertex2f(0.5f, -0.5f);
        glEnd();

        /* Swap front and back buffers */
        glfwSwapBuffers(window);

        /* Poll for and process events */
        glfwPollEvents();
    }

    glfwTerminate();
    return 0;
}
配置GLEW
GLEW是一个跨平台的开源C/C++扩展加载库。从官网下载后解压到之前的Dependencies文件夹下,为了更加清晰改名为GLEW。
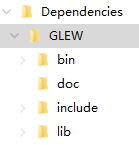
配置过程和GLFW类似,只是增加一个预处理器定义GLEW_STATIC。
Application.cpp
//需要先引用GL/glew.h,不然会报错
#include <GL/glew.h>
#include <GLFW/glfw3.h>
#include <iostream>

int main(void)
{


    GLFWwindow* window;

    /* Initialize the library */
    if (!glfwInit())
        return -1;

    /* Create a windowed mode window and its OpenGL context */
    window = glfwCreateWindow(640, 480, "Hello World", NULL, NULL);
    if (!window)
    {


        glfwTerminate();
        return -1;
    }

    /* Make the window's context current */
    glfwMakeContextCurrent(window);

    //输出版本号
    std::cout << glGetString(GL_VERSION) << std::endl;

    //必须在创建上下文之后,初始化glew
    GLenum err = glewInit();
    if (GLEW_OK != err)
        std::cout << err << std::endl;

    //......

    return 0;
}