文章目录
1、引入依赖
npm install svg-sprite-loader -save
2、根目录的vue.config.js配置
const path = require('path');
function resolve(resolvePath) {


    return path.join(__dirname, resolvePath);
}
module.exports = {


    configureWebpack: {


        resolve: {


            symlinks: false,
            alias: {


                '@': path.resolve('src')
            }
        },
    },
    chainWebpack(config) {


        // 禁用系统内部对svg的处理
        config.module.rule('svg').exclude.add(resolve('./src/icons/svg'));
        // 新建规则处理svg文件
        config.module
            .rule('icons')
            .test(/\.svg$/) // 添加svg的匹配规则
            .include.add(resolve('./src/icons/svg')) // 添加处理的文件路径
            .end() // 上面的add方法改变了上下文,调用end()退回到include这一级
            .use('svg-sprite-loader') // 使用"svg-sprite-loader"这个依赖
            .loader('svg-sprite-loader') // 选中这个依赖
            .options({


                symbolId: 'icon-[name]', // 这个配置是这个包的配置不属于webpack,可以查看相关文档,symbolId指定我们使用svg图片的名字
            }); //传入配置
    }
};
3、在组件文件夹(compontents)中创建svgIcon.vue
文件名注意大小写
<template>
<svg :class="svgClass" aria-hidden="true">
<use :xlink:href="iconName" />
</svg>
</template>
<script>
export default {


  name: "SvgIcon",
  props: {


    iconClass: {


      type: String,
      required: true,
    },
    className: {


      type: String,
      default: "",
    },
  },
  computed: {


    iconName() {


      return `#icon-${

      this.iconClass}`;
    },
    svgClass() {


      if (this.className) {


        return "svg-icon " + this.className;
      } else {


        return "svg-icon";
      }
    },
  },
};
</script>
<style scoped>
.svg-icon {


  width: 50px;
  height: 50px;
  vertical-align: -0.15em;
  fill: currentColor;
  overflow: hidden;
}
</style>
4、在src目录下创建icons文件
在icons文件中创建svg文件存储svg格式的图片和index.js文件,index.js和icons文件夹是同级的。如下图

src --> icons --> index.js的文件配置
import Vue from 'vue'
import SvgIcon from '../compontents/svgIcon' // SvgIcon组件
Vue.component('svg-icon', SvgIcon)
// require.context,通过正则匹配到文件,全部引入
const requireAll = requireContext => requireContext.keys().map(requireContext)
const req = require.context('./svg', false, /\.svg$/)
requireAll(req)
5、处理svg格式的图片
svg中和path中的fill删除或者改为fill="currentColor", fill-opacity 等可以不用管

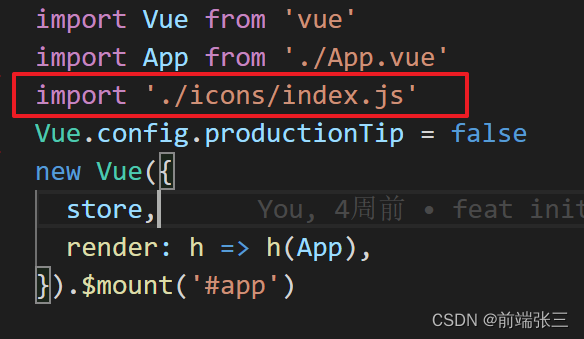
6、在main.js文件中引入icons文件中的index.js文件
import './icons/index.js'
7、使用
这里直接在app.vue里面使用的,由于在入口文件 main.js 里面引入了 src/icons/index.js ,而这个index.js 中引入了svgIcon.vue并注册了,所以是可以全局使用的
<template>
<div>
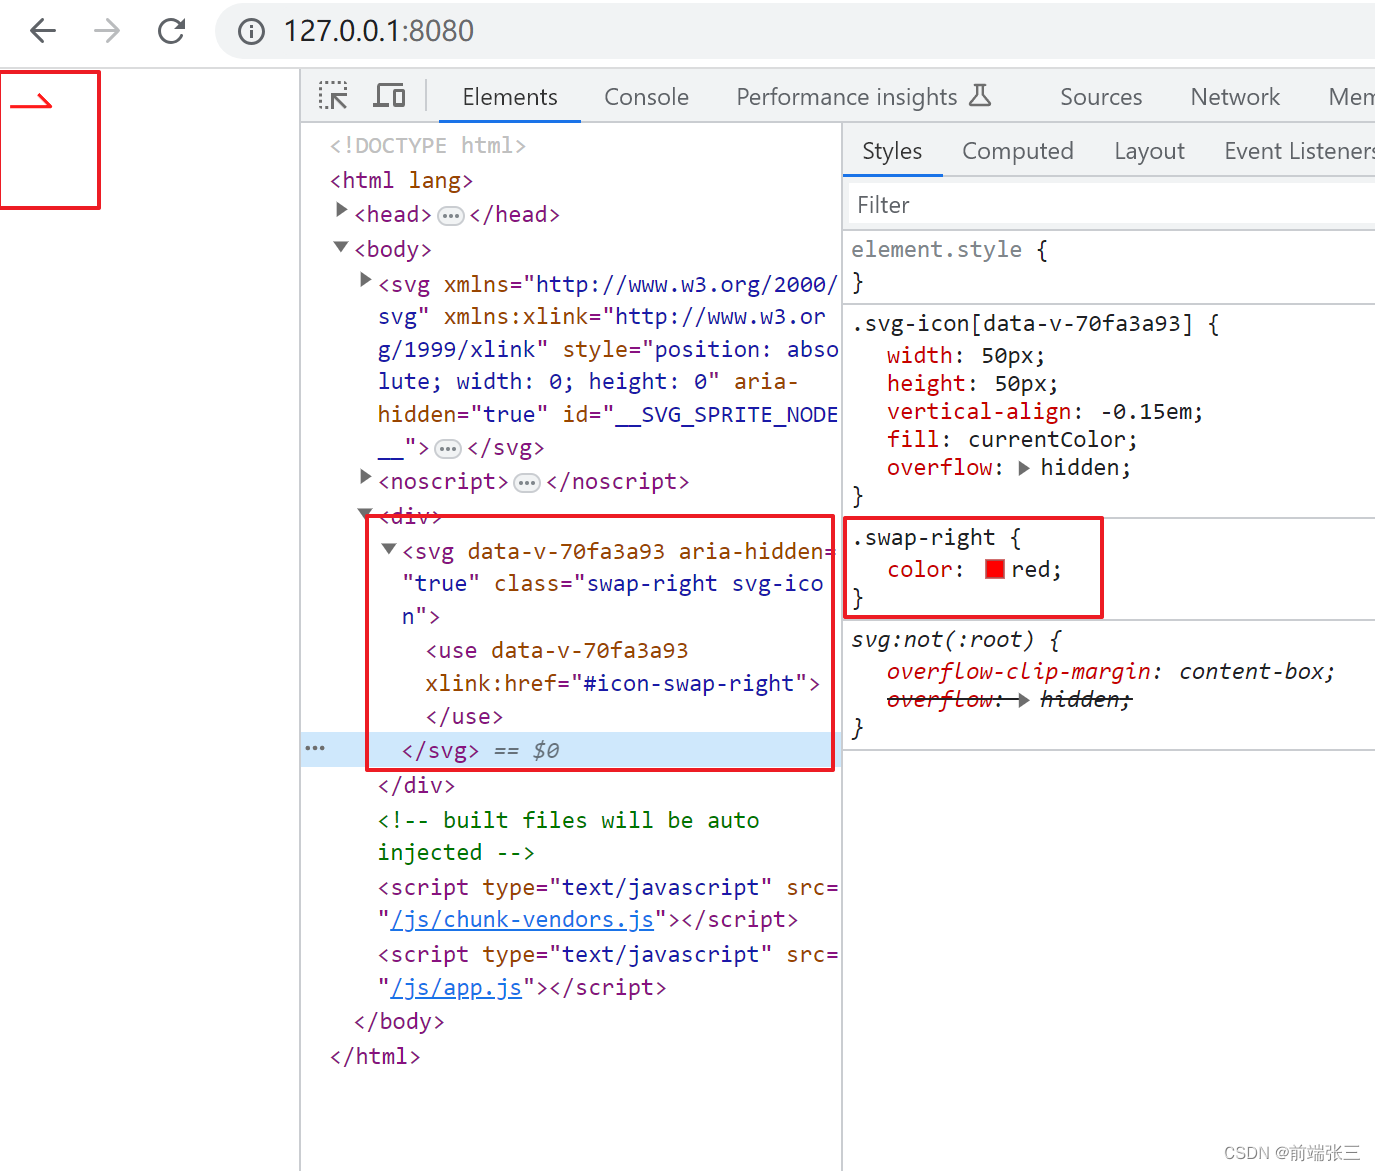
<svg-icon icon-class="swap-right" class="swap-right" />
</div>
</template>
<script>
export default {
name: 'App',
}
</script>
<style>
.swap-right {
color:red;
}
</style>
8、效果图
1、项目成功运行后的样子
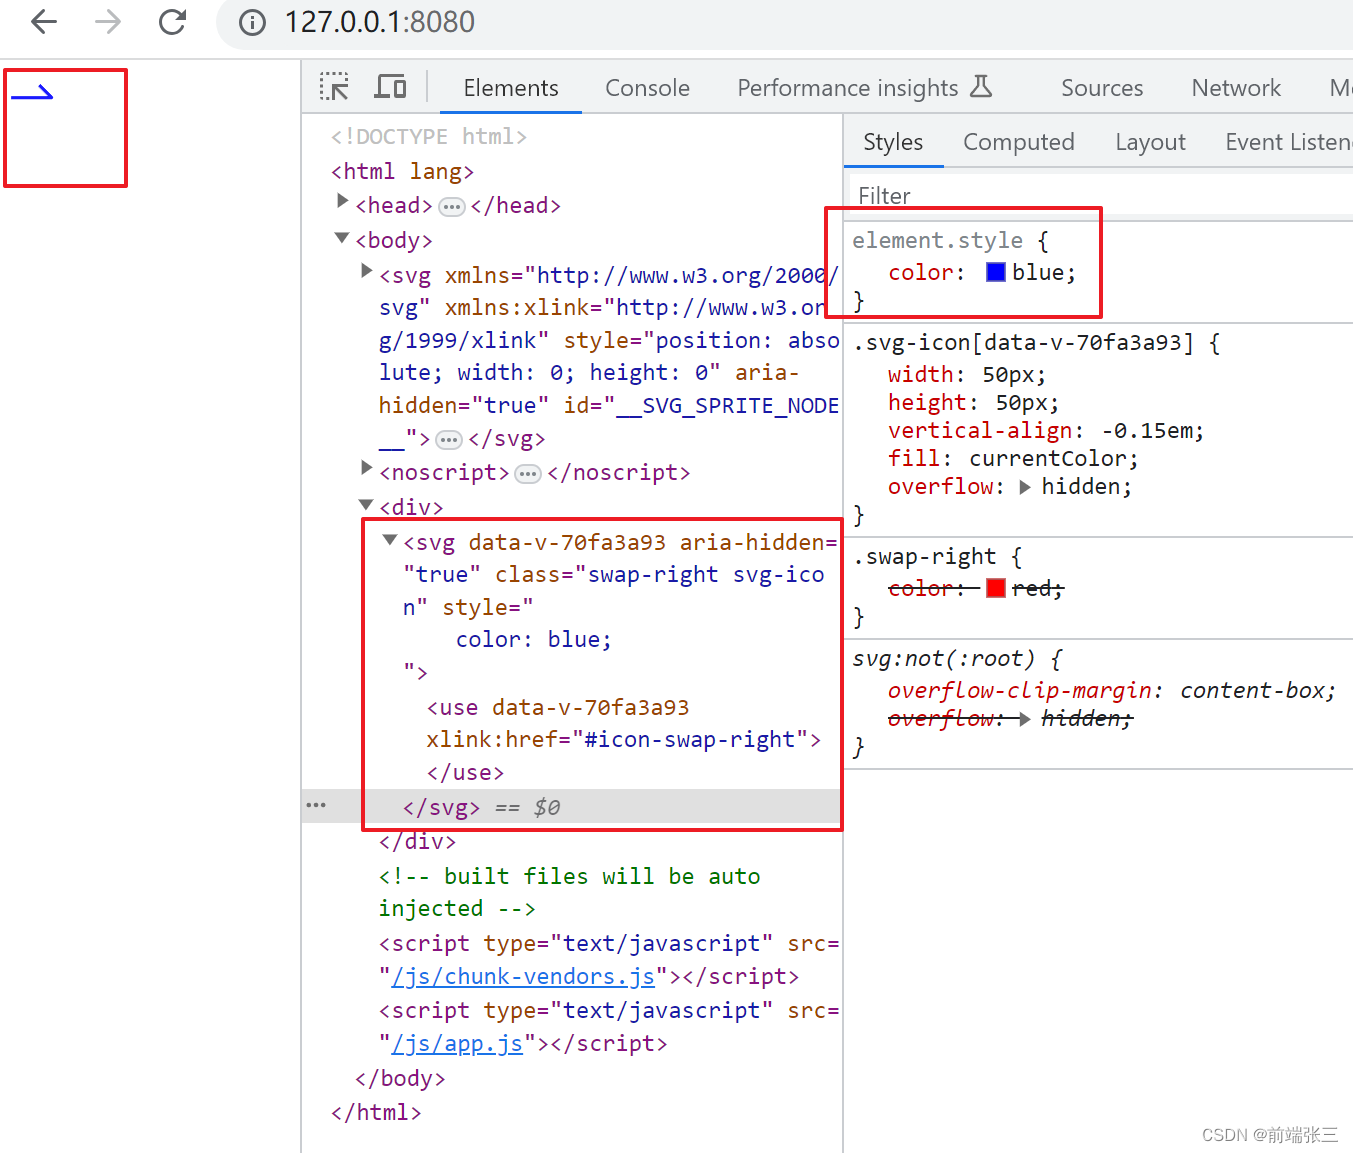
2、直接在html上添加样式,设置为蓝色的效果
总结
以上就是关于vue封装svg组件来修改svg图片颜色具体过程了,需要特别注意的是:大小写的文件名。
如果你不想如此麻烦或者说只有一两个svg需要改颜色,请参考我的文章:vue项目中img使用svg图片修改颜色https://blog.csdn.net/weixin_44784401/article/details/127821034?spm=1001.2014.3001.5502