在处理图像的时候经常是读取图片以后把图片转换为灰度图。作为一个刚入坑的小白,我在这篇博客记录了四种处理的方法。
首先导入包:
import numpy as np
import cv2
import tensorflow as tf
from PIL import Image方法一:在使用OpenCV读取图片的同时将图片转换为灰度图:
img = cv2.imread(imgfile, cv2.IMREAD_GRAYSCALE)
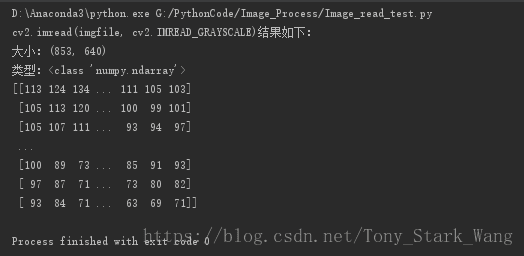
print("cv2.imread(imgfile, cv2.IMREAD_GRAYSCALE)结果如下:")
print('大小:{}'.format(img.shape))
print("类型:%s"%type(img))
print(img)运行结果如下图所示:
方法二:使用OpenCV,先读取图片,然后在转换为灰度图:
    img = cv2.imread(imgfile)
    #print(img.shape)
    #print(img)
    gray_img = cv2.cvtColor(img, cv2.COLOR_BGR2GRAY) #Y = 0.299R + 0.587G + 0.114B
    print("cv2.cvtColor(img, cv2.COLOR_BGR2GRAY)结果如下:")
    print('大小:{}'.format(gray_img.shape))
    print("类型:%s" % type(gray_img))
    print(gray_img)
运行结果如下:

方法三:使用PIL库中的Image模块:
img = np.array(Image.open(imgfile).convert('L'), 'f') #读取图片,灰度化,转换为数组,L = 0.299R + 0.587G + 0.114B。'f'为float类型
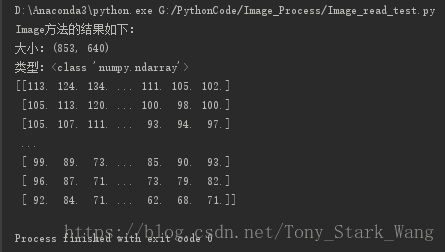
print("Image方法的结果如下:")
print('大小:{}'.format(img.shape))
print("类型:%s" % type(img))
print(img)运行结果如下:
更多关于使用PIL库中的Image模块的convert()函数的知识请参考博客:https://www.2cto.com/kf/201603/492898.html
方法四:TensorFlow方法:
    with tf.Session() as sess:
        img = tf.read_file(imgfile) #读取图片,
        img_data = tf.image.decode_jpeg(img, channels=3) #解码
        #img_data = sess.run(tf.image.decode_jpeg(img, channels=3))
        img_data = sess.run(tf.image.rgb_to_grayscale(img_data)) #灰度化
        print('大小:{}'.format(img_data.shape))
        print("类型:%s" % type(img_data))
        print(img_data)
运行结果如下:


可以看出:TensorFlow的方法的结果与上面的三种方法的处理结果略有不同。所以在处理图像的时候最好保持方法的一致性,最好不要用这种方法读取完图片然后用另一种方法处理图片,以避免不必要的bug影响图片处理处理结果。