关于nginx
Nginx功能丰富,可作为HTTP服务器,也可作为反向代理服务器,邮件服务器。支持FastCGI、SSL、Virtual Host、URL Rewrite、Gzip等功能。并且支持很多第三方的模块扩展。

Nginx的稳定性、功能集、示例配置文件和低系统资源的消耗让他后来居上,在全球活跃的网站中有12.18%的使用比率,大约为2220万个网站。
nginx的用途十分广泛,这里我们主要学习一下用nginx实现负载均衡
1.nginx的配置安装,并实现负载均衡
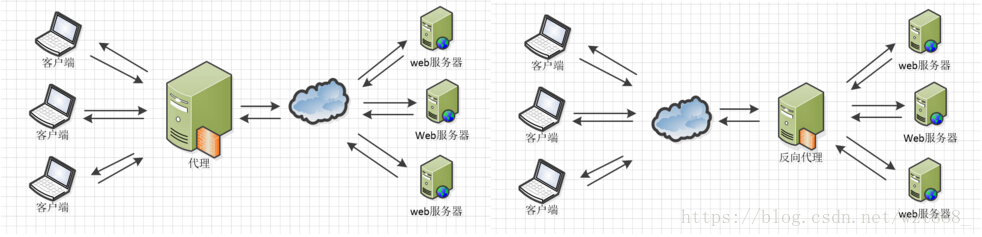
负载均衡是Nginx常用的一个功能,负载均衡其意思就是分摊到多个操作单元上进行执行,例如Web服务器、FTP服务器、企业关键应用服务器和其它关键任务服务器等,从而共同完成工作任务。简单而言就是当有2台或以上服务器时,根据规则随机的将请求分发到指定的服务器上处理,负载均衡配置一般都需要同时配置反向代理,通过反向代理跳转到负载均衡。而Nginx目前支持自带3种负载均衡策略,还有2种常用的第三方策略。
[root@server1 ~]# ls
nginx-1.14.0.tar.gz
[root@server1 ~]# tar zxf nginx-1.14.0.tar.gz
[root@server1 ~]# ls
nginx-1.14.0 nginx-1.14.0.tar.gz
[root@server1 ~]# cd nginx-1.14.0
[root@server1 nginx-1.14.0]# ./configure --prefix=/usr/local/nginx --with-http_ssl_module --with-http_stub_status_module --with-threads --with-file-aio
./configure: error: the HTTP rewrite module requires the PCRE library. #根据提示信息安装相应的软件
You can either disable the module by using --without-http_rewrite_module
option, or install the PCRE library into the system, or build the PCRE library
statically from the source with nginx by using --with-pcre=<path> option.
[root@server1 nginx-1.14.0]# yum install pcre-devel -y
[root@server1 nginx-1.14.0]# ./configure --prefix=/usr/local/nginx --with-http_ssl_module --with-http_stub_status_module --with-threads --with-file-aio
./configure: error: SSL modules require the OpenSSL library.
You can either do not enable the modules, or install the OpenSSL library
into the system, or build the OpenSSL library statically from the source
with nginx by using --with-openssl=<path> option.
[root@server1 nginx-1.14.0]# yum install openssl-devel -y
[root@server1 nginx-1.14.0]# ./configure --prefix=/usr/local/nginx --with-http_ssl_module --with-http_stub_status_module --with-threads --with-file-aio #没有报错信息则代表成功
[root@server1 nginx-1.14.0]# make
[root@server1 nginx-1.14.0]# make install
[root@server1 sbin]# pwd
/usr/local/nginx/sbin
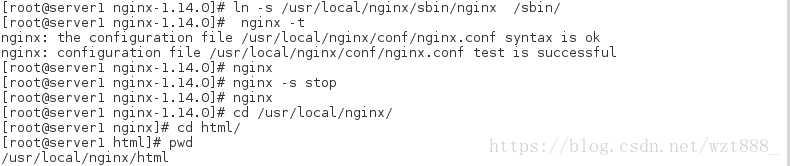
[root@server1 sbin]# ln -s /usr/local/nginx/sbin/nginx /sbin/ #建立软链接
[roots@server1 sbin]# nginx -t #检测语法错误
[root@server1 sbin]# nginx #出现这种情况的原因是,nginx的默认生成端口是80,与httpd端口冲突,解决方案是把httpd卸载掉或者把httpd的服务关闭
nginx: [emerg] bind() to 0.0.0.0:80 failed (98: Address already in use)
nginx: [emerg] bind() to 0.0.0.0:80 failed (98: Address already in use)
nginx: [emerg] bind() to 0.0.0.0:80 failed (98: Address already in use)
nginx: [emerg] bind() to 0.0.0.0:80 failed (98: Address already in use)
nginx: [emerg] bind() to 0.0.0.0:80 failed (98: Address already in use)
nginx: [emerg] still could not bind()
[root@server1 sbin]# nginx
[root@server1 sbin]# nginx -s stop
[root@server1 sbin]# nginx -s reload
[root@server1 conf]# pwd #修改nginx的配置文件在此目录中,/root/nginx-1.14.0/conf 这个目录是nginx的原码文件所在目录,修改不生效
/usr/local/nginx/conf
[root@server1 nginx]# cd html/
[root@server1 html]# ls
50x.html index.html
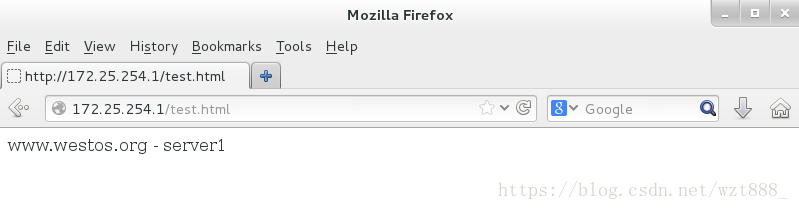
[root@server1 html]# vim text.html
www.westos.org
#测试nginx是否可用
[root@server1 conf]# useradd  -M -d /usr/local/nginx/  nginx  #添加nginx用户
[root@server1 conf]# id nginx   #查看用户是否添加成功
uid=500(nginx) gid=500(nginx) groups=500(nginx)
[root@server1 conf]# sysctl -a | grep file
    fs.file-nr = 480    0   98864
    fs.file-max = 98864       #虚拟机的大小
[root@[root@server1 conf]# lscpu
    Architecture:          x86_64
    CPU op-mode(s):        32-bit, 64-bit
    Byte Order:            Little Endian
    CPU(s):                1     #只有一个cpu在工作
    On-line CPU(s) list:   0
    Thread(s) per core:    1
    Core(s) per socket:    1
    Socket(s):             1
    NUMA node(s):          1
    Vendor ID:             GenuineIntel
    CPU family:            6
    Model:                 13
    Stepping:              3
    CPU MHz:               2400.008
    BogoMIPS:              4800.01
    Hypervisor vendor:     KVM
    Virtualization type:   full
    L1d cache:             32K
    L1i cache:             32K
    L2 cache:              4096K
    NUMA node0 CPU(s):     0

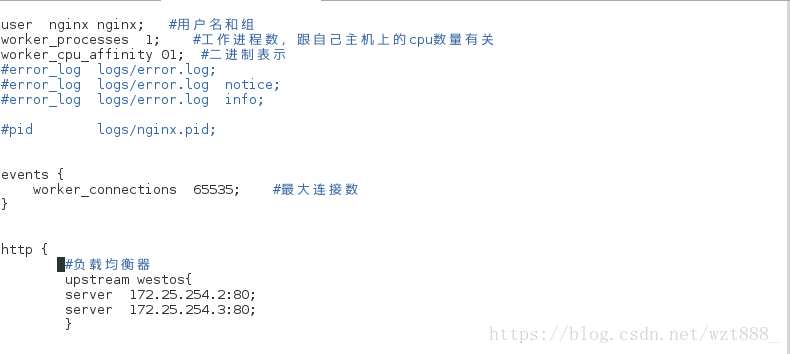
[root@server1 conf]# vim nginx.conf #编辑配置文件

[root@server1 conf]#vim /etc/security/limits.conf
    nginx  -   nofile  65536  #比最大的连接数大一点即可
[root@server1 conf]# nginx  -s reload   #加载配置文件,使之生效
nginx: the configuration file /usr/local/nginx/conf/nginx.conf syntax is ok
nginx: configuration file /usr/local/nginx/conf/nginx.conf test is successful
[root@server1 conf]# nginx -s reload
#如果server2和server3的httpd服务都关闭,则会出现下列报错
[root@server2 ~]# /etc/init.d/httpd stop
Stopping httpd:                                            [  OK  ]
[root@server3 ~]# /etc/init.d/httpd stop
Stopping httpd:                                            [  OK  ]
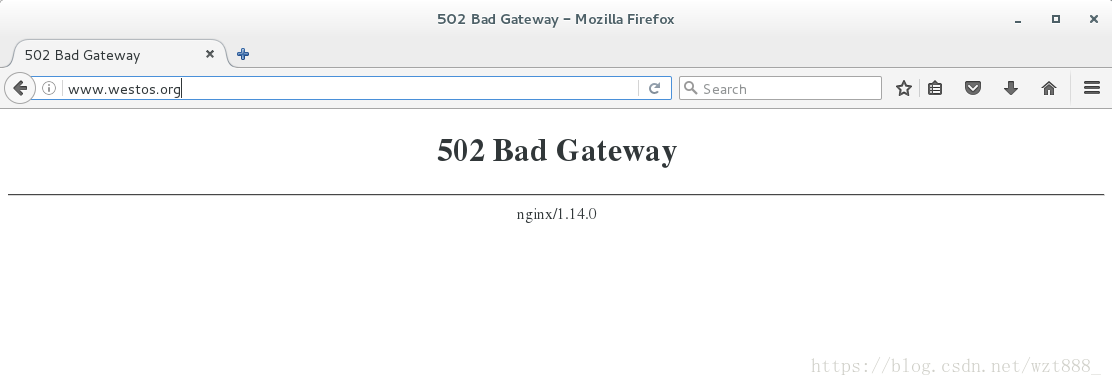
#测试
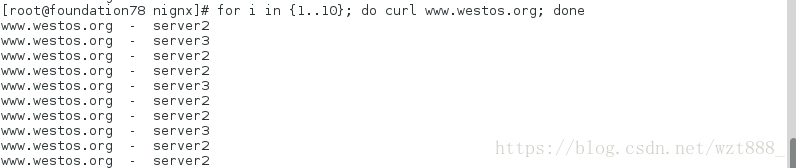
RR
按照轮询(默认)方式进行负载,每个请求按时间顺序逐一分配到不同的后端服务器,如果后端服务器down掉,能自动剔除。虽然这种方式简便、成本低廉。但缺点是:可靠性低和负载分配不均衡。
ip_hash

上面方式有一个问题,那就是下一个请求来的时候请求可能分发到另外一个服务器,当我们的程序不是无状态的时候(采用了session保存数据),这时候就有一个很大的很问题了,比如把登录信息保存到了session中,那么跳转到另外一台服务器的时候就需要重新登录了,所以很多时候我们需要一个客户只访问一个服务器,那么就需要用iphash了,iphash的每个请求按访问ip的hash结果分配,这样每个访客固定访问一个后端服务器,可以解决session的问题。
[root@server1 conf]# vim  nginx.conf
 18 http {
            #负载均衡器
 19         upstream westos{
 20         ip_hash;     #ip不变,持续连接
 21         server 172.25.44.2:80
 22         server 172.25.44.3:80;
 23          24         }

[root@server1 conf]# nginx -s reload
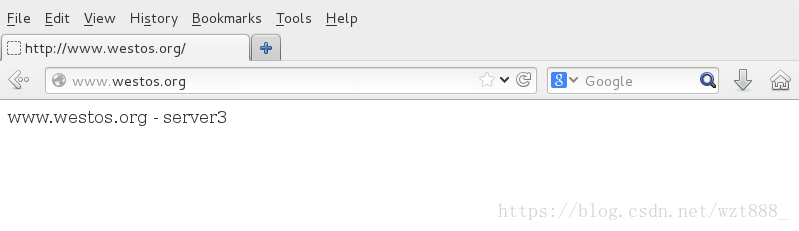
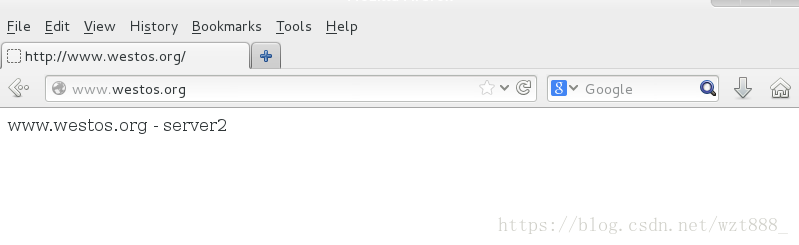
#测试ip_hash算法是否成功生效
权重
指定轮询几率,weight和访问比率成正比,用于后端服务器性能不均的情况。   [root@server1 conf]# vim  nginx.conf

Wright =2     #写在谁之后,就对谁生效
[root@server1 conf]# nginx -s reload
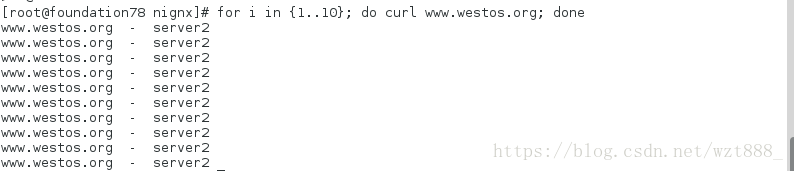
#测试(server2每次都出现两次才轮询到server3):
[root@server1 conf]# vim nginx.conf
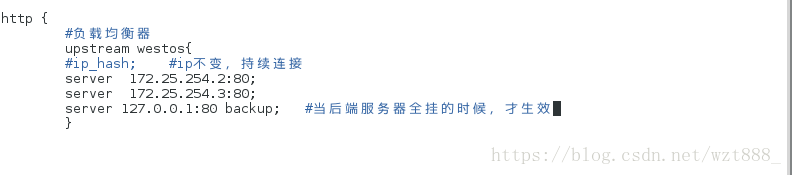
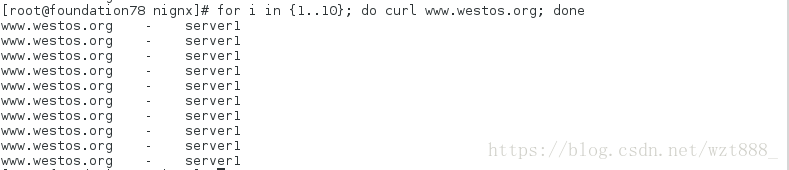
注意:server 127.0.0.1:80 backup;   #当后端服务器全挂的时候,才生效
[root@server1 conf]# nginx -s reload
#测试:
2.给nginx添加新的模块
[root@server1 ~]# nginx -s stop   #nginx的端口是唯一的,所以要关闭之前打开的两外一个版本的nginx服务
[root@server1 ~]# ls
nginx-1.10.1.tar.gz  nginx-1.14.0.tar.gz
nginx-1.14.0         nginx-sticky-module-ng.tar.gz
[root@server1 ~]# tar  zxf nginx-1.10.1.tar.gz
[root@server1 ~]# ls
nginx-1.10.1         nginx-1.14.0         nginx-sticky-module-ng.tar.gz
nginx-1.10.1.tar.gz  nginx-1.14.0.tar.gz
[root@server1 ~]# ls
nginx-1.10.1         nginx-1.14.0         nginx-sticky-module-ng.tar.gz
nginx-1.10.1.tar.gz  nginx-1.14.0.tar.gz
[root@server1 ~]# tar zxf nginx-sticky-module-ng.tar.gz
[root@server1 ~]# ls
nginx-1.10.1         nginx-1.14.0         nginx-sticky-module-ng
nginx-1.10.1.tar.gz  nginx-1.14.0.tar.gz  nginx-sticky-module-ng.tar.gz
[root@server1 ~]# cd nginx-1.10.1
[root@server1 nginx-1.10.1]# ./configure --prefix=/opt/nginx --with-http_ssl_module --with-http_stub_status_module --with-threads --with-file-aio --add-module=/root/nginx-sticky-module-ng
[root@server1 nginx-1.10.1]# make
[root@server1 nginx-1.10.1]# make install
[root@server1 nginx-1.10.1]#cd /opt/local/nginx/conf
[root@server1 conf]# cp /usr/local/nginx/conf/nginx.conf .
cp: overwrite `./nginx.conf'? y
[root@server1 conf]# ls
fastcgi.conf            koi-win             scgi_params
fastcgi.conf.default    mime.types          scgi_params.default
fastcgi_params          mime.types.default  uwsgi_params
fastcgi_params.default  nginx.conf          uwsgi_params.default
koi-utf                 nginx.conf.default  win-utf
[root@server1 conf]# vim nginx.conf
     18 http {
     19         upstream westos{
     20         #ip_hash;
     21         sticky;
     22         server 172.25.44.2:80;
     23         server 172.25.44.3:80;
     24         #server 127.0.0.1:80 backup;
     25         }
[root@server1 conf]# /opt/nginx/sbin/nginx   -t
nginx: the configuration file /opt/nginx/conf/nginx.conf syntax is ok
nginx: configuration file /opt/nginx/conf/nginx.conf test is successful
[root@server1 conf]# /opt/nginx/sbin/nginx   #以这种方式开启
#在真机上测试:
www.westos.org