版权声明:本文为博主原创文章,未经博主允许不得转载。 https://blog.csdn.net/ThinkPet/article/details/81870046
使用构造器实现spring依赖注入
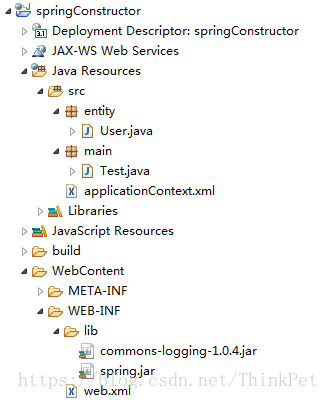
1.所需jar包
commons-logging-1.0.4.jar
spring.jar
2.实体类User.java
package entity;

public class User {

	private String name;
	private Integer age;
	private String sex;
	//构造器注入
	public User(String name, Integer age, String sex) {

		this.name = name;
		this.age = age;
		this.sex = sex;
	}
	//输出javabean的属性值方法
	public void printInfo() {
		System.out.println(name);
		System.out.println(age);
		System.out.println(sex);
	}
}
3.测试类Test.java
package main;

import org.springframework.beans.factory.BeanFactory;
import org.springframework.beans.factory.xml.XmlBeanFactory;
import org.springframework.core.io.ClassPathResource;
import org.springframework.core.io.Resource;

import entity.User;

public class Test {

	public static void main(String[] args) {
		// 导入配置文件
		Resource resource=new ClassPathResource("applicationContext.xml");
		//读取配置文件
		BeanFactory factory=new XmlBeanFactory(resource);
		//获取bean
		User user=(User)factory.getBean("user");//通过bean名来获取bean
		//调用printInfo方法
		user.printInfo();

	}

}
4.配置文件web.xml
<?xml version="1.0" encoding="UTF-8"?>
<web-app xmlns:xsi="http://www.w3.org/2001/XMLSchema-instance" xmlns="http://xmlns.jcp.org/xml/ns/javaee" xsi:schemaLocation="http://xmlns.jcp.org/xml/ns/javaee http://xmlns.jcp.org/xml/ns/javaee/web-app_3_1.xsd" id="WebApp_ID" version="3.1">
  <display-name>springConstructor</display-name>
  <welcome-file-list>
    <welcome-file>index.html</welcome-file>
    <welcome-file>index.htm</welcome-file>
    <welcome-file>index.jsp</welcome-file>
    <welcome-file>default.html</welcome-file>
    <welcome-file>default.htm</welcome-file>
    <welcome-file>default.jsp</welcome-file>
  </welcome-file-list>
</web-app>
5.applicationContext.xml
<?xml version="1.0" encoding="UTF-8"?>
<beans
xmlns="http://www.springframework.org/schema/beans"
xmlns:xsi="http://www.w3.org/2001/XMLSchema-instance"
xsi:schemaLocation="http://www.springframework.org/schema/beans http://www.springframework.org/schema/beans/spring-beans-2.5.xsd">
<!-- User Bean -->
<bean name="user" class="entity.User">
<!-- 配置构造器参数 -->
<!-- 因为实体类User.java中的构造器有3个参数,所以要配置3次constructor-arg -->
<!-- 当构造函数有多个参数时,可以使用constructor-arg
标签的index属性,index属性的值从0开始
-->
<!--
当构造器的参数需要用到另外的bean时,可以使用ref标签
<constructor-arg>
<ref bean="otherbean" >otherBean</ref>
</constructor-arg>
-->
<constructor-arg index="0">
<value>小强</value>
</constructor-arg>
<constructor-arg index="1">
<value>26</value>
</constructor-arg>
<constructor-arg index="2">
<value>男</value>
</constructor-arg>
</bean>
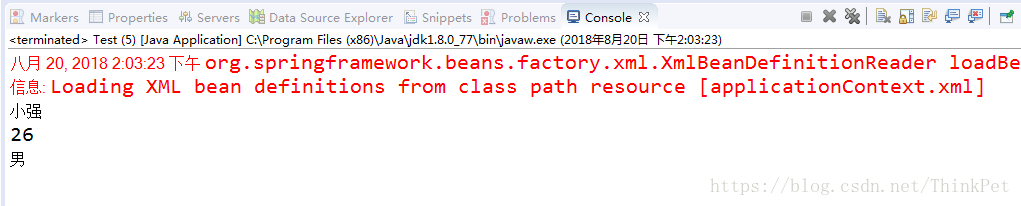
</beans>6.运行效果