构造器方式注入JavaBean
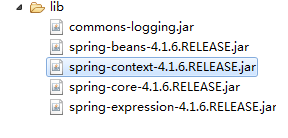
1.导入Spring的Java包:
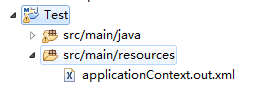
2.配置applicationContext.xml文件
注:可以下在spring tool插件使开发更轻松!
3.编写applicationContext.xml文件,并添加相应的标签。这个applicationContext.xml即为IOC容器
<?xml version="1.0" encoding="UTF-8"?>
<beans xmlns="http://www.springframework.org/schema/beans"
  xmlns:xsi="http://www.w3.org/2001/XMLSchema-instance"
  xsi:schemaLocation="http://www.springframework.org/schema/beans http://www.springframework.org/schema/beans/spring-beans.xsd">

  <bean id="hello" class="com.ming.bean.HelloWorld">
  <!-- 使用构造器的方式注入,根据参数列表的的不同,IOC容器自动调用不同的构造器 -->
  <constructor-arg name="name" value="ming" type="java.lang.String"></constructor-arg>
  <constructor-arg name="province" value="hubei" type="java.lang.String"></constructor-arg>
  <constructor-arg name="sex" value="21" type="int"></constructor-arg>
  </bean>

</beans>
4.使用IOC容器创建实例
public class HelloWorld {

	//使用构造器注入的方式,构造器一定要写,不然会报错的。
	public HelloWorld(String name, String province, int age) {
		super();
		this.name = name;
		this.province = province;
		this.age = age;
	}

	private String name;

	private String province;

	private int age;

	public String getName() {
		return name;
	}

	public void setName(String name) {
		this.name = name;
	}

	public String getProvince() {
		return province;
	}

	public void setProvince(String province) {
		this.province = province;
	}

	public int getage() {
		return age;
	}

	public void setage(int age) {
		this.age = age;
	}

	public void sayhello() {
		System.out.println("hello, my name is " + this.name
				+ ",come from "+ this.province
				+ ",age is "+ this.age);
	}

	public static void main(String[] args) {
		ApplicationContext context = new ClassPathXmlApplicationContext("applicationContext.xml");
		HelloWorld h1 = (HelloWorld) context.getBean("hello");
		h1.sayhello();
	}
}
