什么是爬虫
网络爬虫(又被称为网页蜘蛛,网络机器人,在FOAF社区中间,更经常的称为网页追逐者),是一种按照一定的规则,自动地抓取万维网信息的程序或者脚本。另外一些不常使用的名字还有蚂蚁、自动索引、模拟程序或者蠕虫。例如:给个网址,可以获取到该网址里边的(图片, url, 视频, 文件)等信息。
浏览网页时经历的过程
浏览器 (请求request)-> 输入URL地址(http://www.baidu.com/index.html file:///mnt ftp://172.25.254.250/pub)
-> http协议确定, www.baidu.com访问的域名确定 -> DNS服务器解析到IP地址
-> 确定要访问的网页内容 -> 将获取到的页面内容返回给浏览器(响应过程)
爬取网页的方法
基本方法
from urllib import request
from  urllib.error import URLError
try:
    respose = request.urlopen('http://www.baidu.com',timeout=1)
    content = respose.read().decode('utf-8')
    print(content)
except URLError as e:
    print("访问超时",e.reason)
使用Resuest对象(可以添加其他的头部信息)
from urllib import request
from urllib.error import URLError
url = 'http://www.cbrc.gov.cn/chinese/jrjg/index.html'
headers = {'User-Agent':' Mozilla/5.0 (X11; Linux x86_64; rv:45.0) '
                        'Gecko/20100101 Firefox/45.0'}
try:
    req = request.Request(url,headers=headers)
    content = request.urlopen(req).read().decode('utf-8')
    print(content)
except URLError as e:
    print(e.reason)
else:
    print('Succeess')
后续添加的头部信息:
from urllib import request
from urllib.error import URLError
url = 'http://www.cbrc.gov.cn/chinese/jrjg/index.html'
user_agent = ' Mozilla/5.0 (X11; Linux x86_64; rv:45.0)' \
          ' Gecko/20100101 Firefox/45.0'
try:
    req = request.Request(url)
    req.add_header('User-Agent',user_agent)
    content = request.urlopen(req).read().decode('utf-8')
    print(content)
except URLError as e:
    print(e.reason)
else:
    print('Succeess')
反爬虫策略
添加头部信息 ,模拟浏览器
1.Android
Mozilla/5.0 (Linux; Android 4.1.1; Nexus 7 Build/JRO03D) AppleWebKit/535.19 (KHTML, like Gecko) Chrome/18.0.1025.166 Safari/535.19
Mozilla/5.0 (Linux; U; Android 4.0.4; en-gb; GT-I9300 Build/IMM76D) AppleWebKit/534.30 (KHTML, like Gecko) Version/4.0 Mobile Safari/534.30
Mozilla/5.0 (Linux; U; Android 2.2; en-gb; GT-P1000 Build/FROYO) AppleWebKit/533.1 (KHTML, like Gecko) Version/4.0 Mobile Safari/533.1
2.Firefox
Mozilla/5.0 (Windows NT 6.2; WOW64; rv:21.0) Gecko/20100101 Firefox/21.0
Mozilla/5.0 (Android; Mobile; rv:14.0) Gecko/14.0 Firefox/14.0
3.Google Chrome
Mozilla/5.0 (Windows NT 6.2; WOW64) AppleWebKit/537.36 (KHTML, like Gecko) Chrome/27.0.1453.94 Safari/537.36
Mozilla/5.0 (Linux; Android 4.0.4; Galaxy Nexus Build/IMM76B) AppleWebKit/535.19 (KHTML, like Gecko) Chrome/18.0.1025.133 Mobile Safari/535.19
4.iOS
Mozilla/5.0 (iPad; CPU OS 5_0 like Mac OS X) AppleWebKit/534.46 (KHTML, like Gecko) Version/5.1 Mobile/9A334 Safari/7534.48.3
IP代理
当抓取网站时, 程序的运行速度很快, 如果通过爬虫去访问, 一个固定的ip访问频率很高,
网站如果做反爬虫策略, 那么就会封掉ip;
如何解决?
- 设置延迟;time.sleep(random.randint(1,5))
- 使用IP代理, 让其他IP代替你的IP访问;
如何获取代理IP?
http://www.xicidaili.com/
如何实现步骤?
1). 调用urllib.request.ProxyHandler(proxies=None); — 类似理解为Request对象
2). 调用Opener— 类似urlopen, 这个是定制的
3). 安装Opener
4). 代理IP的选择
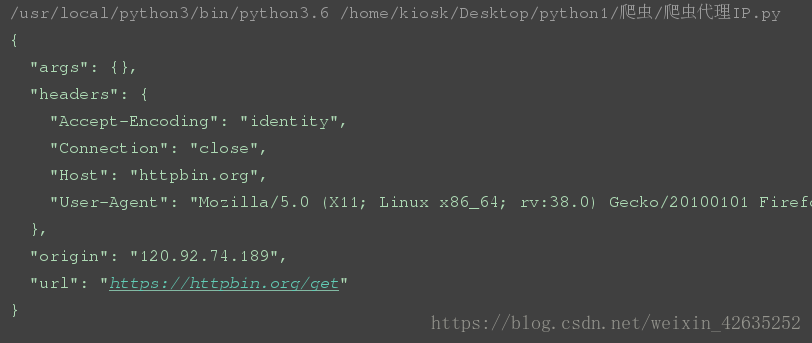
from urllib import request
url = 'https://httpbin.org/get'
proxy = {'https':'120.92.74.189:3128','http':'183.129.207.84:21231'}
user_agent = 'Mozilla/5.0 (X11; Linux x86_64; rv:38.0) Gecko/20100101 Firefox/38.0'
#调用urllib.request.ProxyHandler(proxies=None);  --- 类似理解为Request对象
proxy_support = request.ProxyHandler(proxy)
#.调用Opener - -- 类似与urlopen, 这个是定制的
opener = request.build_opener(proxy_support)
# 伪装浏览器
opener.addheaders = [('User-Agent',user_agent)]
#.安装Opener
request.install_opener(opener)
#).代理IP的选择
response = request.urlopen(url)
content = response.read().decode('utf-8')
print(content)
保存cookie信息
cookie, 某些网站为了辨别用户身份, 只有登陆之后才能访问某个页面;
进行一个会话跟踪, 将用户的相关信息包括用户名等保存到本地终端
CookieJar是基类,接着是FileCookieJar。然后是两个子类MozillaCookieJar和LWPCookieJar。
from http import cookiejar
from urllib.request import HTTPCookieProcessor
from urllib import request
#声明一个CookieJar ---> FileCookieJar --> MozillaCookie
cookie = cookiejar.CookieJar()
#利用urllib.request的HTTPCookieProcessor创建一个cookie处理器
handler = HTTPCookieProcessor(cookie)
#通过CookieHandler创建opener
# 默认使用的opener就是urlopen;
opener = request.build_opener(handler)
response = opener.open('http://www.baidu.com')
for items in cookie:
    print(items)
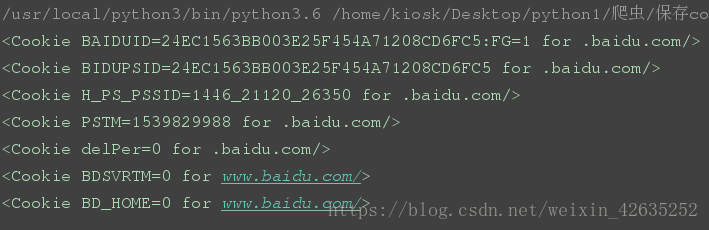
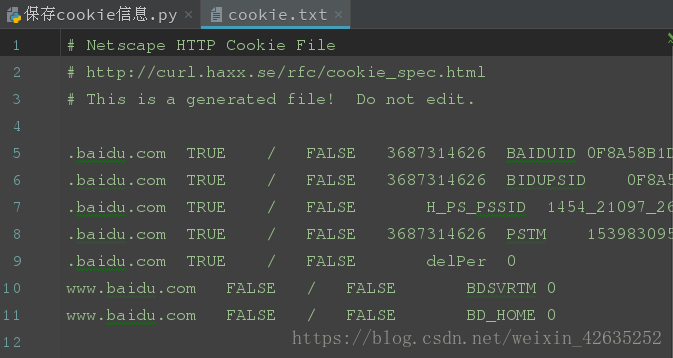
如何将Cookie以指定格式保存到文件中?
from http import cookiejar
from urllib.request import HTTPCookieProcessor
from urllib import request
#设置保存cookie的文件名
cookieFilename = 'cookie.txt'
#声明一个MozillaCookie,用来保存cookie并且可以写入文件
cookie = cookiejar.MozillaCookieJar(filename=cookieFilename)
#利用urllib.request的HTTPCookieProcessor创建一个cookie处理器
handler = HTTPCookieProcessor(cookie)
#通过CookieHandler创建opener
# 默认使用的openr就是urlopen;
opener = request.build_opener(handler)
response = opener.open('http://www.baidu.com')
# ignore_discard, 即使cookie信息将要被丢弃。 也要把它保存到文件中;
# ignore_expires, 如果在文件中的cookie已经存在, 就覆盖原文件写入;
cookie.save(ignore_discard=True,ignore_expires=True)
如何从文件中获取cookie并访问?
from http import cookiejar
from urllib.request import HTTPCookieProcessor
from urllib import request
#指定cookie文件存在的位置
cookieFilename = 'cookie.txt'
#声明一个MozillaCookie,用来保存cookie并且可以写入文件, 用来读取文件中的cookie信息
cookie = cookiejar.MozillaCookieJar()
# 从文件中读取cookie内容
cookie.load(filename=cookieFilename)
#利用urllib.request的HTTPCookieProcessor创建一个cookie处理器
handler = HTTPCookieProcessor(cookie)
 #通过CookieHandler创建opener
# 默认使用的openr就是urlopen;
opener = request.build_opener(handler)
#打开url页面
response = opener.open('http://www.baidu.com')
print(response.read().decode('utf-8'))
url解析和构造
urllib.parse.urlparse(urlstring, scheme=’’, allow_fragments=True)
功能: 将url分为6部分, 返回一个元组;
协议, 服务器的地址(ip:port), 文件路径, 访问的页面
rom urllib import parse
url = 'https://www.baidu.com/s?ie=utf-8&f=8&rsv_bp=0&rsv_idx=' \
      '1&tn=baidu&wd=hello&rsv_pq=d0f841b10001fab6&rsv_t=' \
    '2d43603JgfgVkvPtTiNX%2FIYssE6lWfmSKxVCtgi0Ix5w1mnjks2eEMG%2F0Gw&rqlang=' \
      'cn&rsv_enter=1&rsv_sug3=6&rsv_sug1=4&rsv_sug7=101&rsv_sug2=0&inputT=838&rsv_sug4=1460'
parsed_tuple = parse.urlparse(url)
print(parsed_tuple)
print(parsed_tuple.scheme,parsed_tuple.netloc,sep='\n')
通过字典编码的方式构造url地址:

from urllib.parse import urlencode
params = {
      'name':'cooffee',
      'age':20
}
base_url = 'http://www.baidu.com?'
url = base_url+urlencode(params)
print(url)

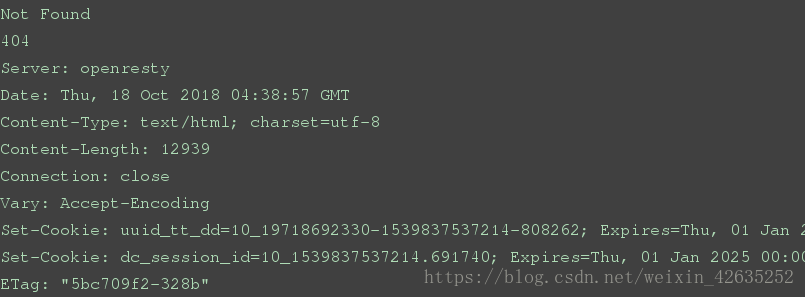
urllib常见异常处理
from urllib import request,error
try:
    url = 'https://mp.csdn.net/cooffee/hello.html'
    response = request.urlopen(url,timeout=1)
    print(response.read().decode('utf-8'))
except error.HTTPError as e:
    print(e.reason,e.code,e.headers,sep='\n')
except error.URLError as e:
    print(e.reason)
    print('超时')
else:
    print("成功")
requests模块
实例:
import requests
url = 'http://www.baidu.com'
response = requests.get(url)
print(response)
print(response.status_code)
print(response.cookies)
print(response.text)
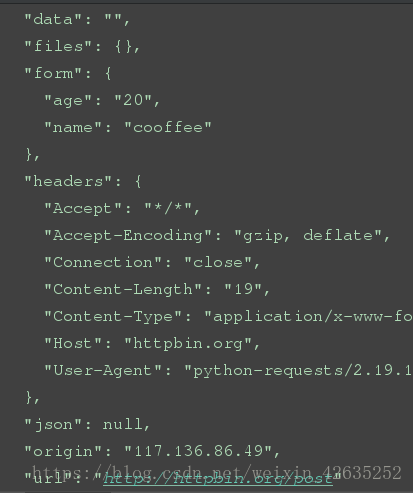
常见请求:

import requests
#上传
response = requests.post('http://httpbin.org/post',data={
    'name':'cooffee','age':20})
print(response.text)
#删除
response = requests.delete('http://httpbin.org/delete',data={
'name':'cooffee','age':20})
print(response.text)
带参数的get请求:
import requests
data={
    'start':20,
    'limit':40,
    'sort':'new_score',
    'status':'P',
}
url = 'https://movie.douban.com/subject/4864908/comment?'
response = requests.get(url,params=data)
print(response.url)
解析json格式:

import requests
ip = input("请输入查询的IP:")
url = "http://ip.taobao.com/service/getIpInfo.php?ip=%s" %(ip)
response = requests.get(url)
content = response.json()
print(content,type(content),sep='\n')
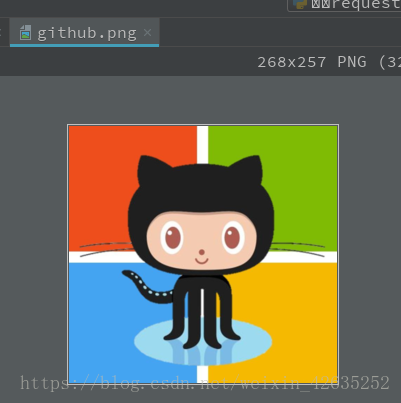
获取二进制数据

import requests
url='https://gss0.bdstatic.com' \
    '/-4o3dSag_xI4khGkpoWK1HF6hhy/baike' \
    '/w%3D268%3Bg%3D0/sign=4f7bf38ac3fc1e17fdbf8b3772ab913e' \
    '/d4628535e5dde7119c3d076aabefce1b9c1661ba.jpg'
response = requests.get(url)
with open('github.png','wb') as f:
    f.write(response.content)
添加头部信息:
import requests
url = 'http://www.cbrc.gov.cn/chinese/jrjg/index.html'
user_agent = 'Mozilla/5.0 (X11; Linux x86_64; rv:45.0) Gecko/20100101 Firefox/45.0'
headers = {
    'User-Agent': user_agent
}
response = requests.get(url,headers=headers)
print(response.status_code)
响应信息的操作:
response = requests.get(url, headers=headers)
print(response.text) # 文本
print(response.content) #二进制文本
print(response.status_code) #访问的状态
print(response.headers) #头部信息
print(response.url) #url地址
状态码的判断:
response = requests.get(url, headers=headers)
exit() if response.status_code != 200 else print(“请求成功”)
上传文件:
import requests
data = {'file':open('github.png','rb')}
response = requests.post('http://httpbin.org/post',files=data)
print(response.text)
获取cookie信息:

import requests
response = requests.get('http://www.csdn.net')
print(response.cookies)
for key,value in response.cookies.items():
    print(key + "=" + value)
读取已经存在的cookie信息访问网址内容(会话维持):

import requests
s = requests.session()
response1 = s.get('http://httpbin.org/cookies/set/name/cooffee')
response2 = s.get('http://httpbin.org/cookies')
print(response2.text)
代理设置及代理时间:
import requests
proxy = {
    'https':'61.128.208.94:3128',
    'http':'222.221.11.119:3128'
}
response = requests.get('http://httpbin.org/get', proxies=proxy,  timeout=10)
print(response.text)
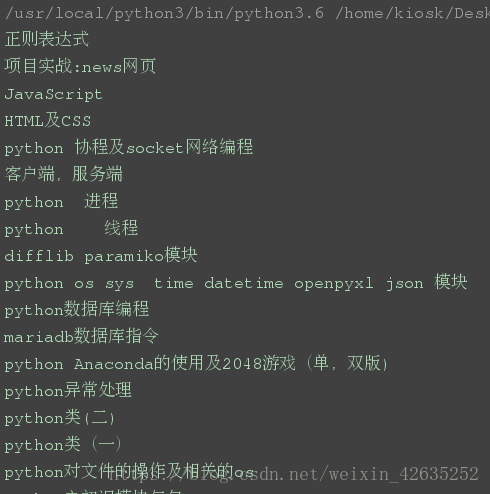
爬取博客
import requests
import re
import pdfkit
from bs4 import BeautifulSoup
from itertools import chain
def get_blog_urlli():
urlli = []
for page in range(3):
url = 'https://blog.csdn.net/weixin_42635252/article/list/'+str(page+1)
responsea = requests.get(url)
soup = BeautifulSoup(responsea.text,'html5lib')
Btitle = soup.find_all(target="_blank")
pattern = r'<a href="(https://[\w+\./]+)" target="_blank">[\s]+<span'
urlmore=re.findall(pattern,str(Btitle))
urlli.append(urlmore)
return urlli
def get_blog_content(urlli):
titlename=[]
for url in chain(*urlli):
response = requests.get(url)
if response.status_code != 200:
continue
soup = BeautifulSoup(response.text, 'html5lib')
# 获取head标签的内容
head = soup.head
# 获取博客标题
title = soup.find_all(class_="title-article")[0].get_text()
print(title)
# 获取博客内容
content = soup.find_all(class_="article_content")[0]
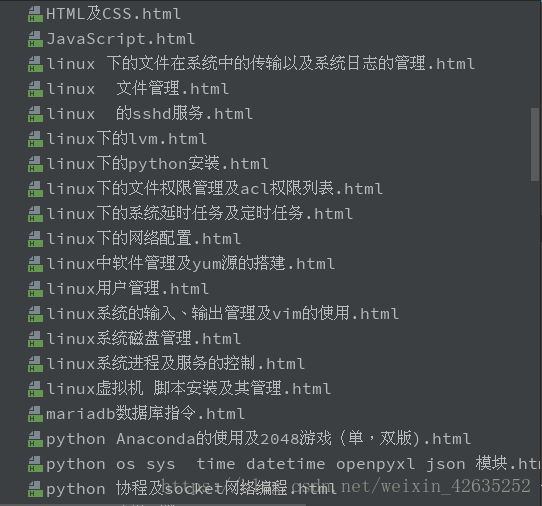
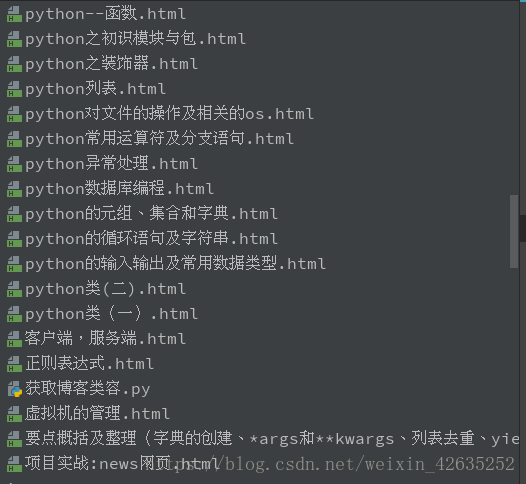
# 写入本地文件
# other = 'http://passport.csdn.net/account/login?from='
with open('%s.html'%(title), 'w') as f:
f.write(str(head))
f.write('<h1>%s</h1>\n\n' %(title))
f.write(str(content))
titlename.append(title)
return titlename
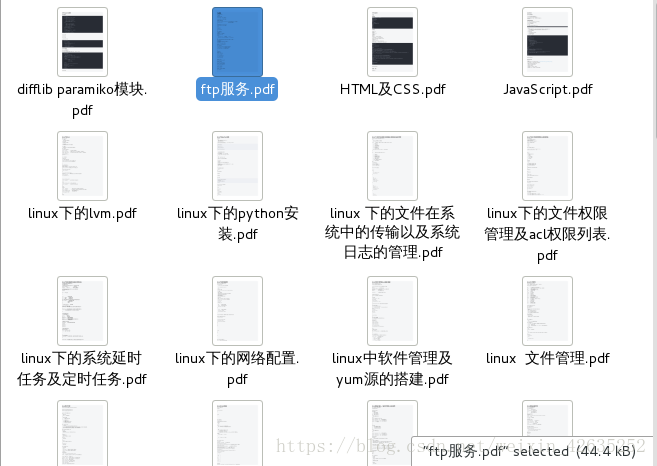
def change_pdf(titlename):
for title in titlename:
try:
pdfkit.from_file('%s.html' % (title), '/home/kiosk/Desktop/blog/%s.pdf' % (title))
except OSError as e:
print(e)
urlli=get_blog_urlli()
titlename=get_blog_content(urlli)
change_pdf(titlename)